Building a multi-channel support service for Globex customers - Instructions
1. Quick overview of the lab exercises
The animation below illustrates the 3 main integration systems you will deliver along the module.
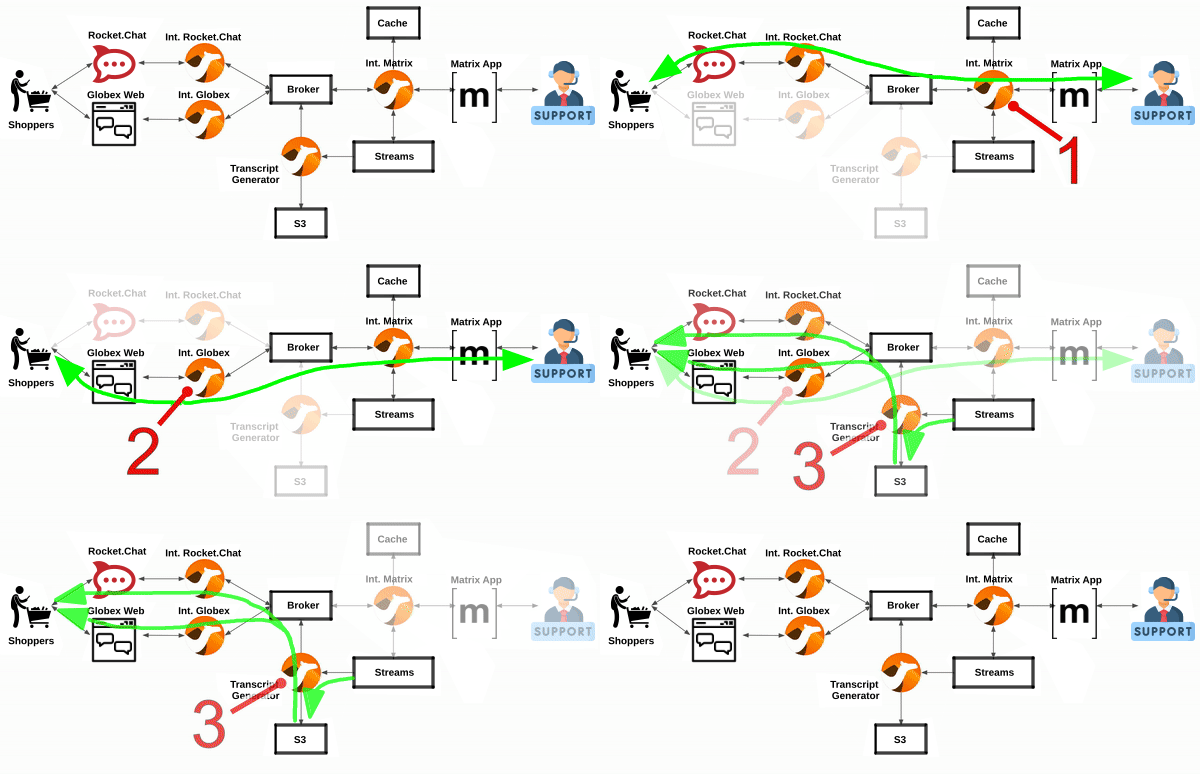
You’ll notice the architecture above contains 4 Camel applications.
-
To simplify the lab, the Rocket.Chat integration is provided and already deployed in the environment. You only need to focus on the applications below.
-
As per the animation above:
-
The Matrix integration represents the first system to build.
-
The Globex integration represents the second one to build.
-
The third one to build, persists and shares a transcript.
-
2. Prepare your Development environment
2.1. Ensure lab readiness
|
Before you proceed it is critical that your lab environment is completely ready before executing the lab instructions. |
-
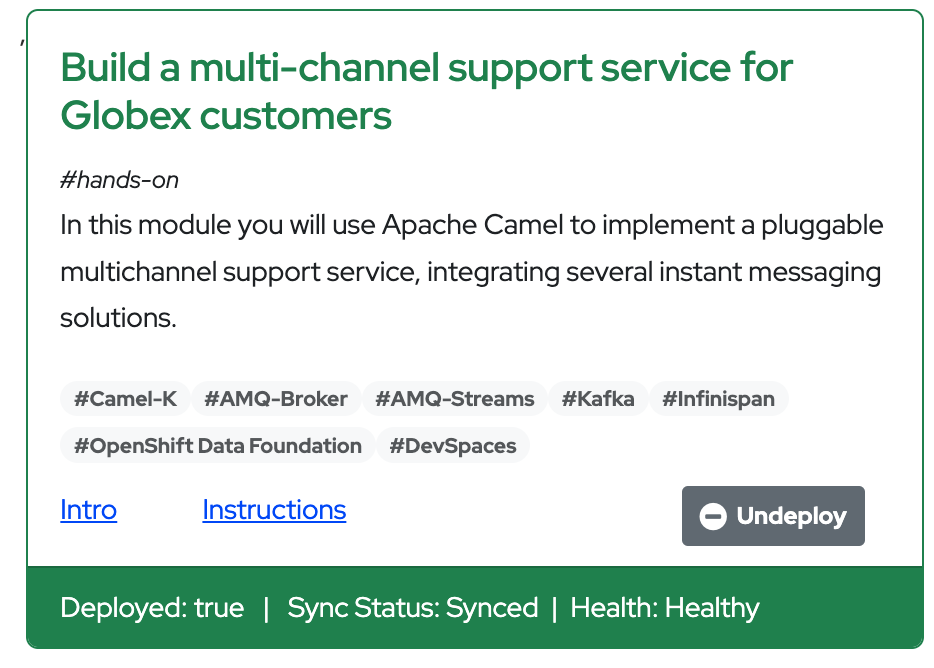
Access the Workshop Deployer browser tab and check if the Build a multi-channel support service for Globex customers card has turned green. This indicates that the module has been fully deployed and is ready to use.
2.2. Setup OpenShift Dev Spaces
|
If you have open browser tabs from just completing a previous module, please close all but the Workshop Deployer and this Instructions browser tab to avoid proliferation of tabs which can make working difficult. |
To implement the integrations you are going to use OpenShift Dev Spaces. Dev Spaces provides a browser based development environment that includes the lab’s project, an editor for coding, and a terminal from where you can test and deploy your work in OpenShift.
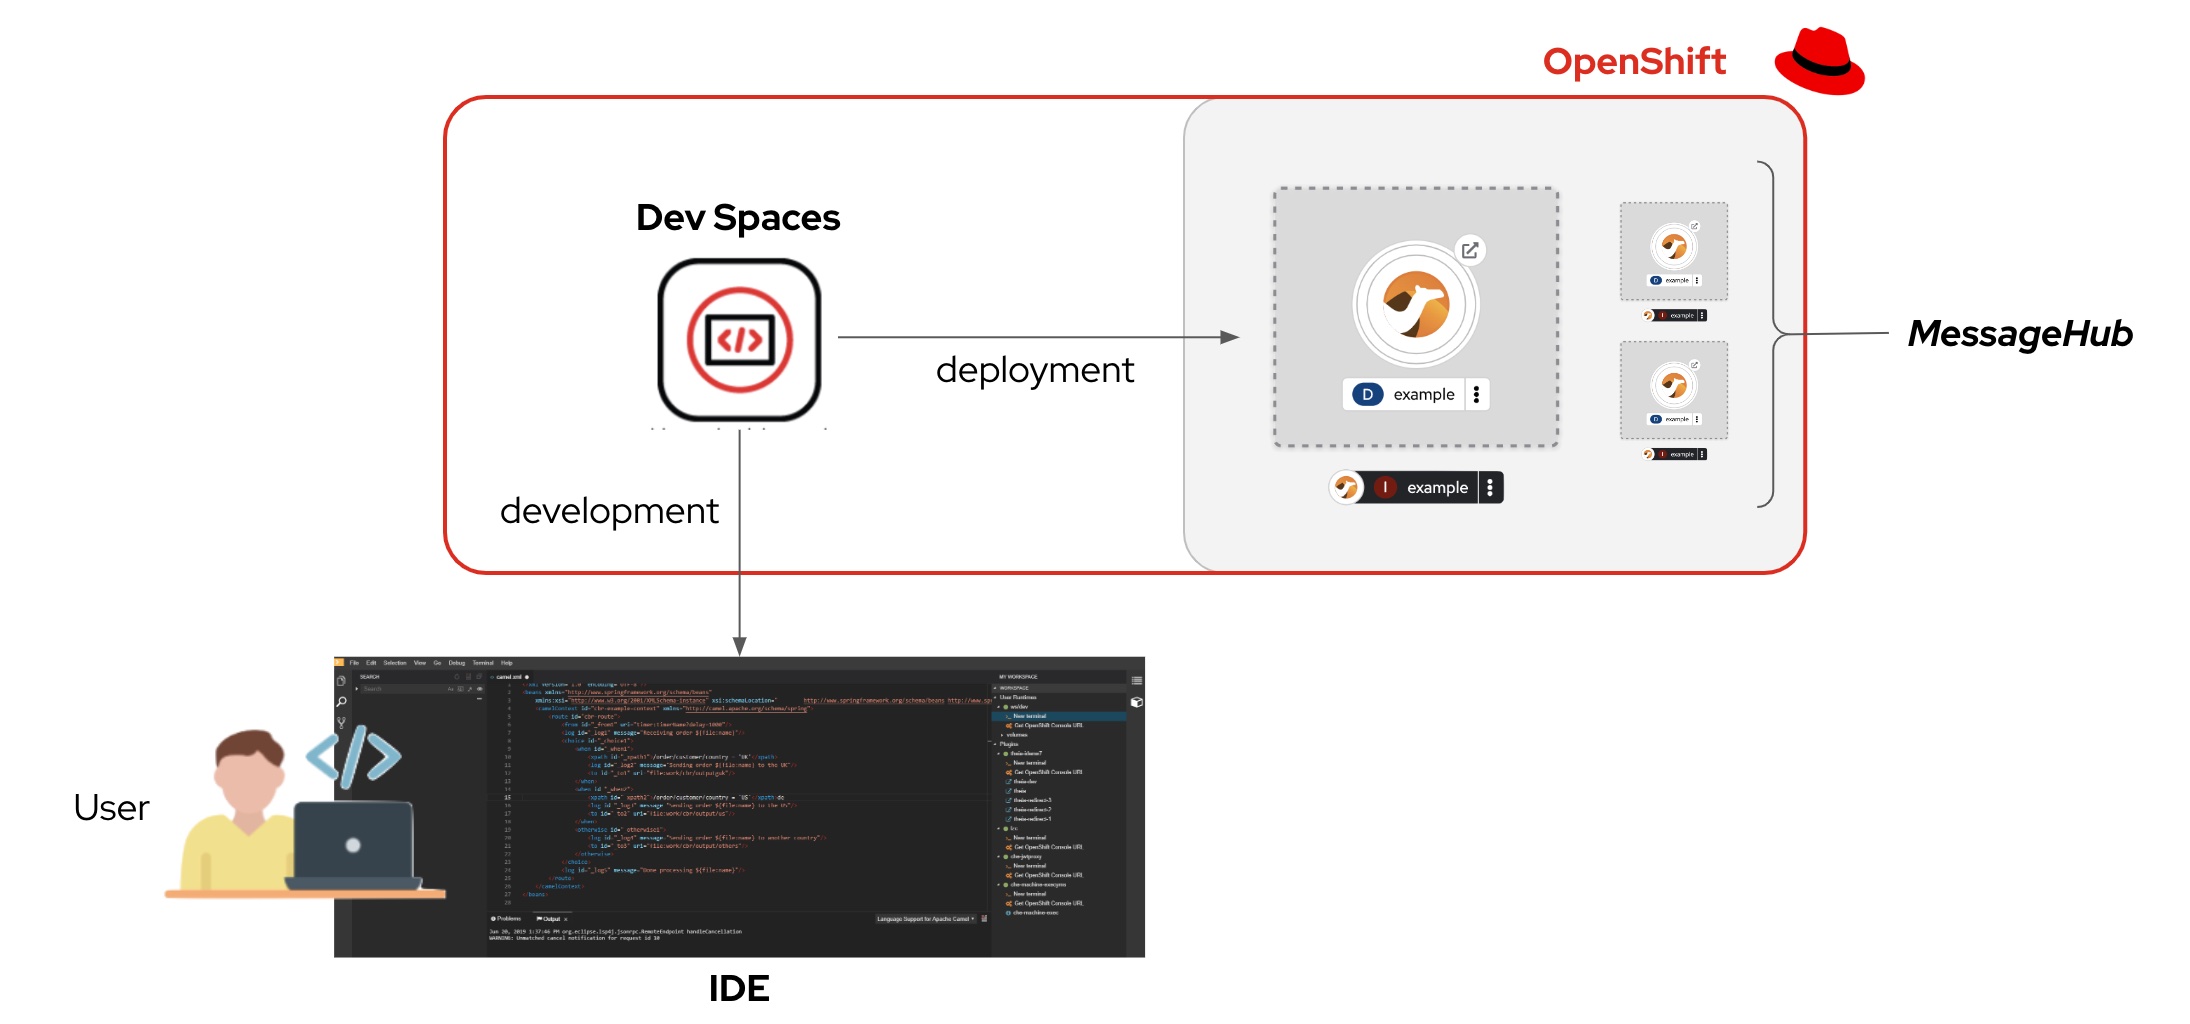
OpenShift Dev Spaces uses Kubernetes and containers to provide a consistent, secure, and zero-configuration development environment, accessible from a browser window.
-
In a browser window, navigate to the browser tab pointing to the Developer perspective of the OpenShift cluster. If you don’t have a browser tab open on the console, navigate to {openshift_cluster_console}[OpenShift Console, window=_console]. If needed login with your username and password ({user_name}/{user_password}).
-
On the top menu of the console, click on the
 icon, and in the drop-down box, select Red Hat OpenShift Dev Spaces.
-
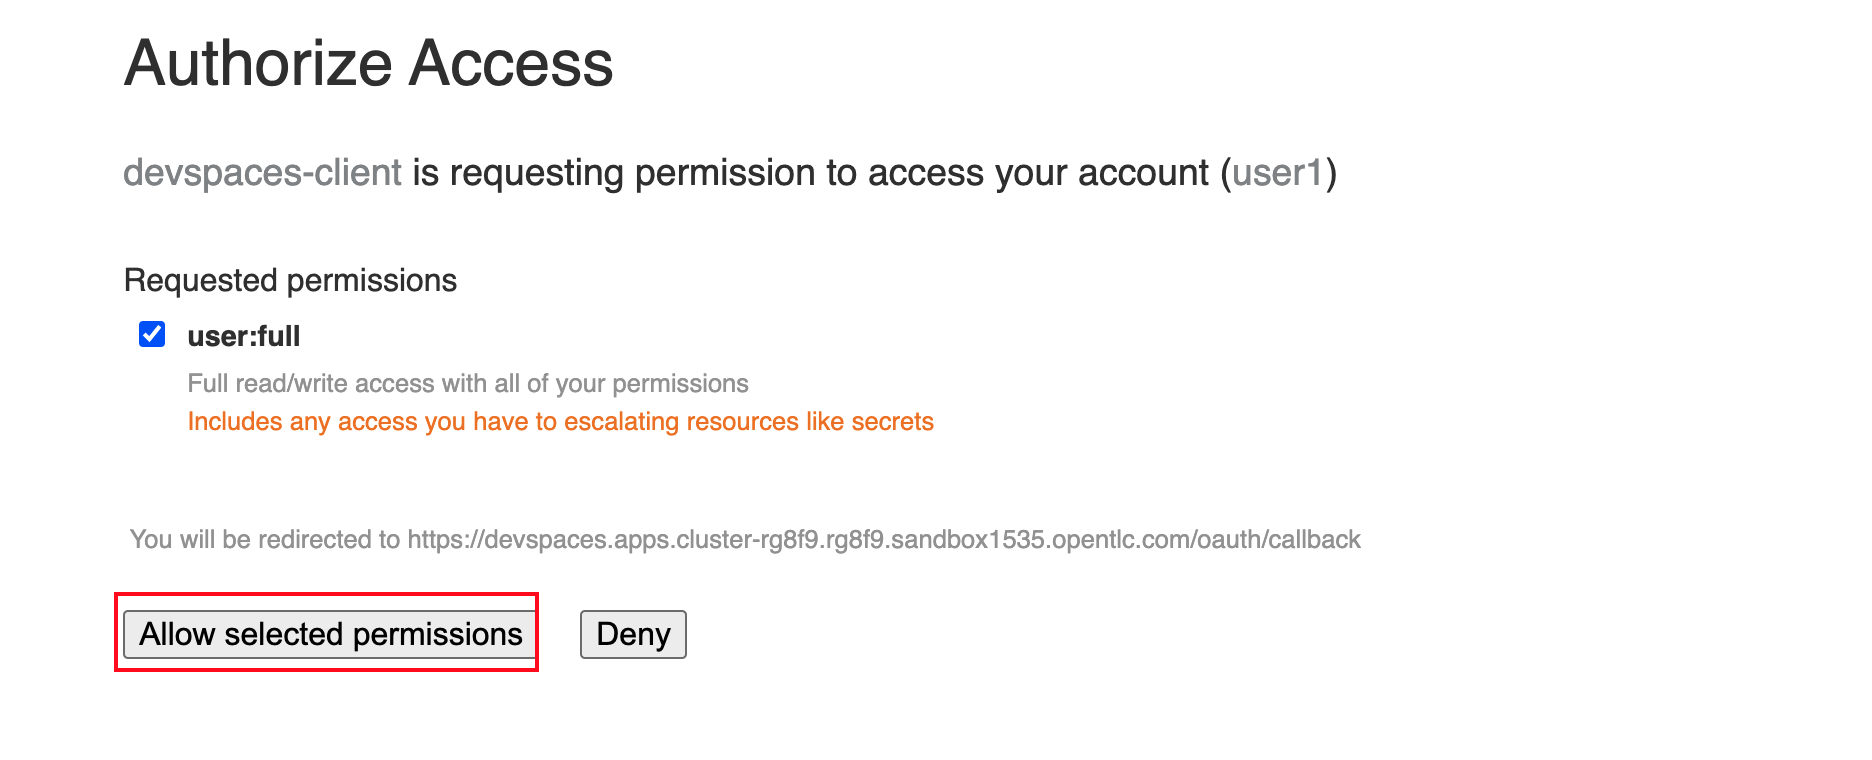
Login in with your OpenShift credentials ({user_name}/{user_password}). If this is the first time you access Dev Spaces, you have to authorize Dev Spaces to access your account. In the Authorize Access window click on Allow selected permissions.
-
You are directed to the Dev Spaces overview page, which shows the workspaces you have access to. You should see a single workspace, called cloud-architecture-workshop. The workspace needs a couple of seconds to start up.
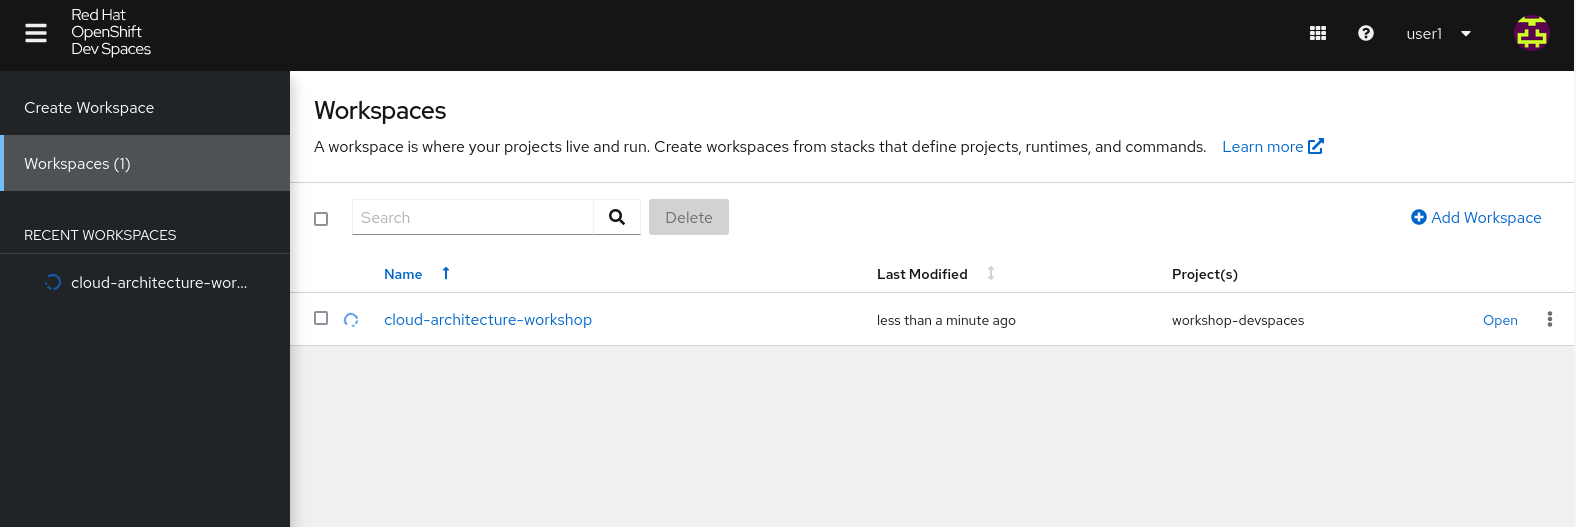
-
Click on the Open link of the workspace.
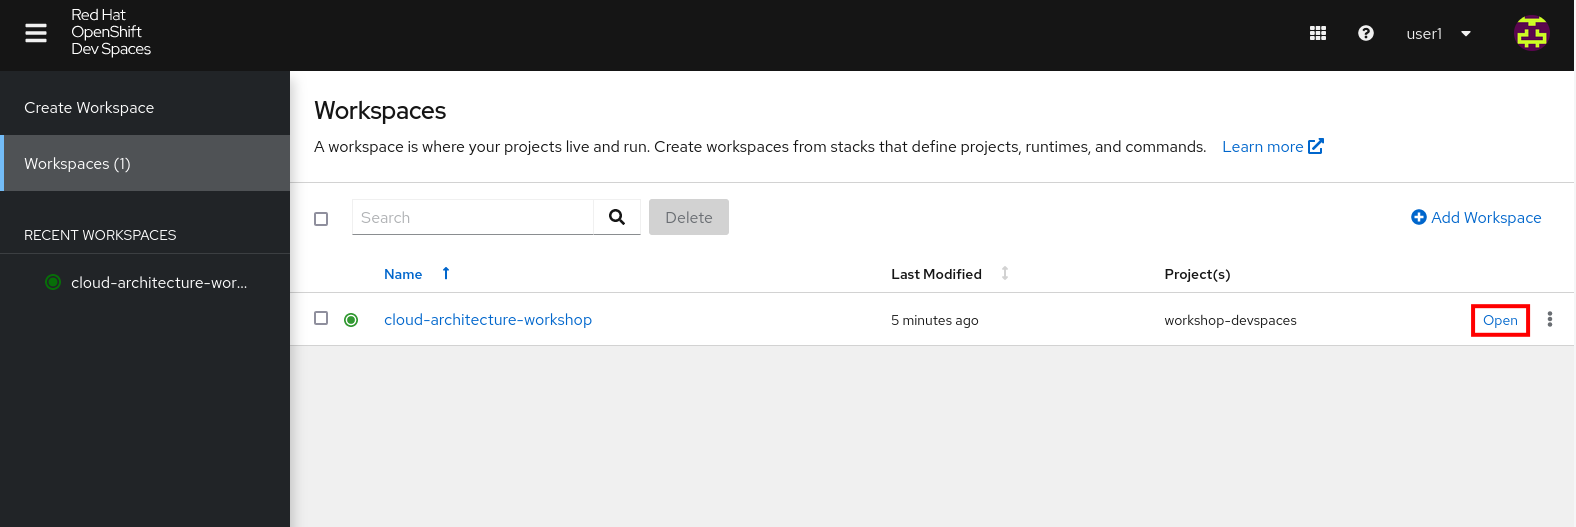
-
This opens the workspace, which will look pretty familiar if you are used to work with VS Code. Before opening the workspace, a pop-up might appear asking if you trust the contents of the workspace. Click Yes, I trust the authors to continue.
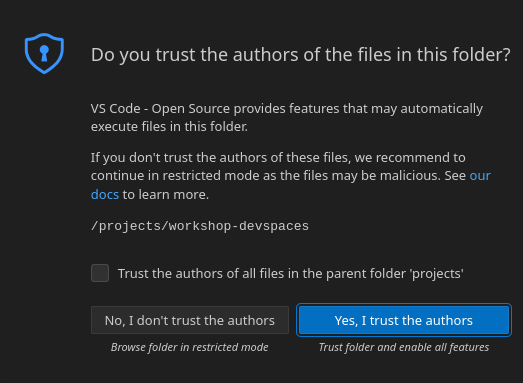
-
The workspace contains all the resources you are going to use during the workshop. In the project explorer on the left of the workspace, navigate to the folder:
-
workshop/module-camel/lab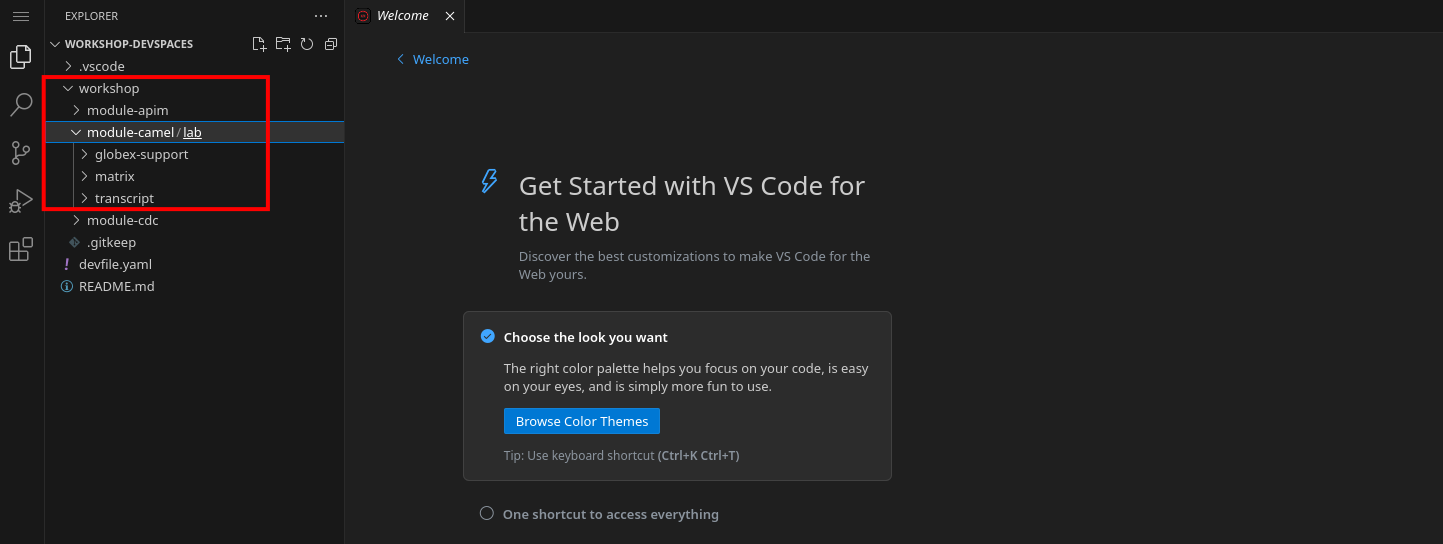
-
-
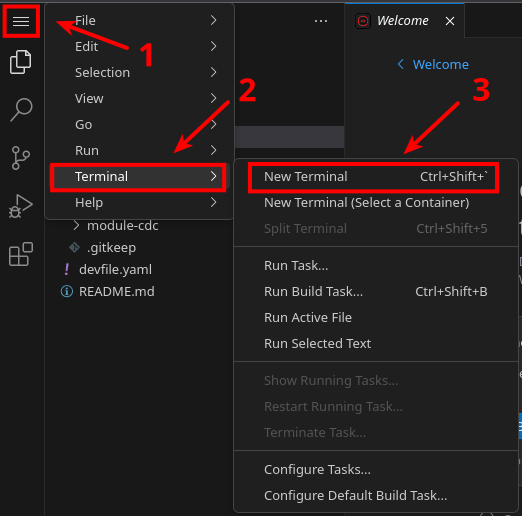
Open the built-in Terminal. Click on the [1]
 icon on the top of the left menu, and select [2] Terminal / [3] New Terminal from the drop-down menu.
-
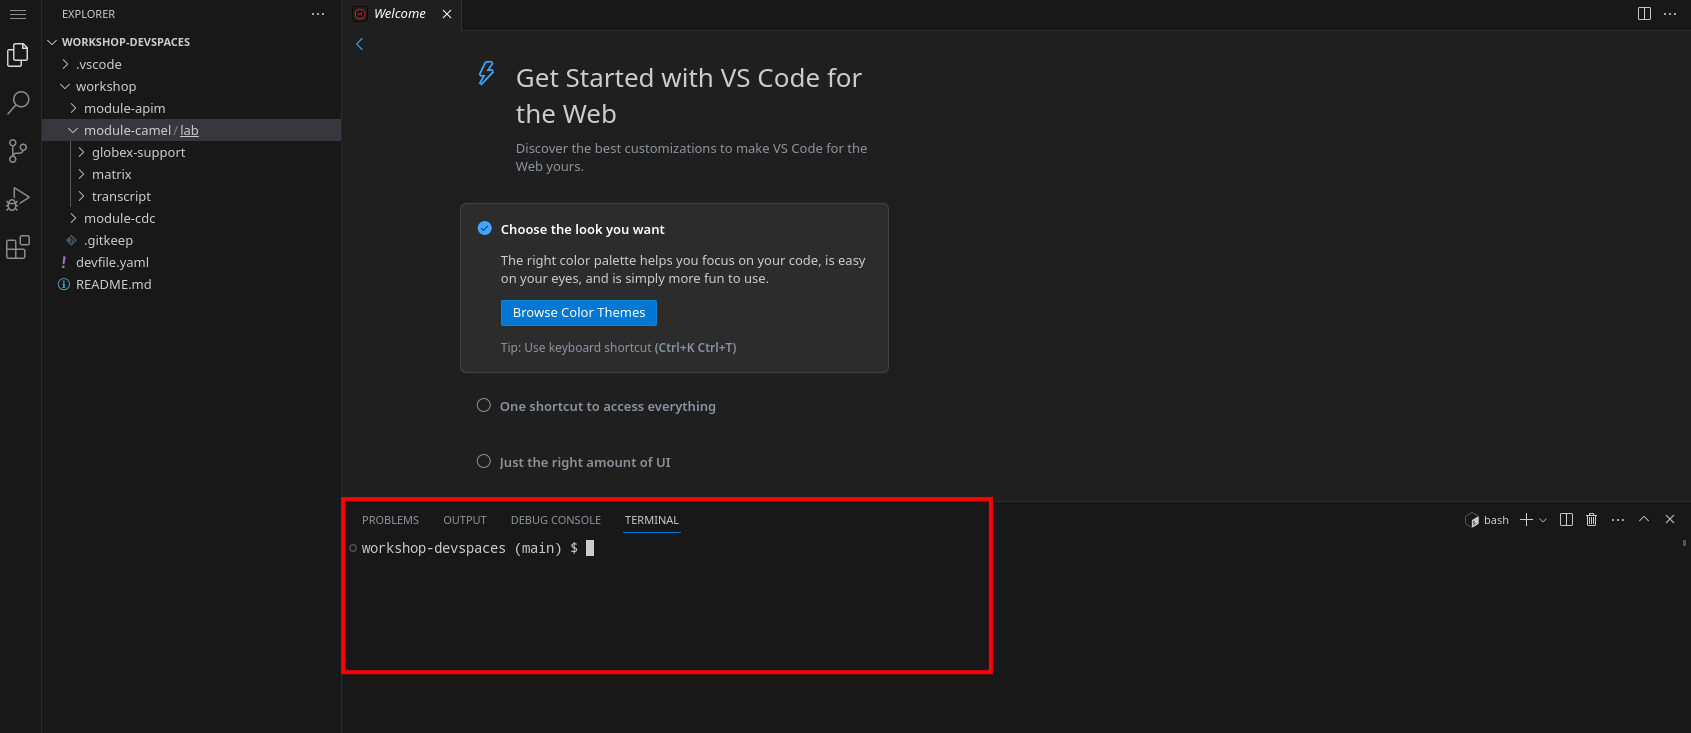
This opens a terminal in the bottom half of the workspace.
-
The OpenShift Dev Spaces environment has access to a plethora of command line tools, including oc, the OpenShift command line interface. Through OpenShift Dev Spaces you are automatically logged in into the OpenShift cluster. You can verify this with the command oc whoami.
oc whoamiOutput{user_name}If the the output of the
oc whoamicommand does not correspond to your username ({user_name}), you need to logout and login again with the correct username.oc logout oc login -u {user_name} -p {user_password} {openshift_api_internal} -
You will be working in the
globex-camel-{user_name}namespace. So run this following command to start using that particular projectoc project globex-camel-{user_name}OutputNow using project "globex-camel-{user_name}" on server "{openshift_api_internal}".