Building a secure service network with Red Hat Service Interconnect - Instructions
In this lab, you will use two OpenShift namespaces. In one namespace the Globex application is deployed. The other namespace is isolated from the rest of the cluster through a network policy (only egress allowed, no ingress) and that is where the Globex retail database is deployed. In the lab, you will create a service network between these two clusters, so that the Globex application can connect and use the database in the isolated namespace.
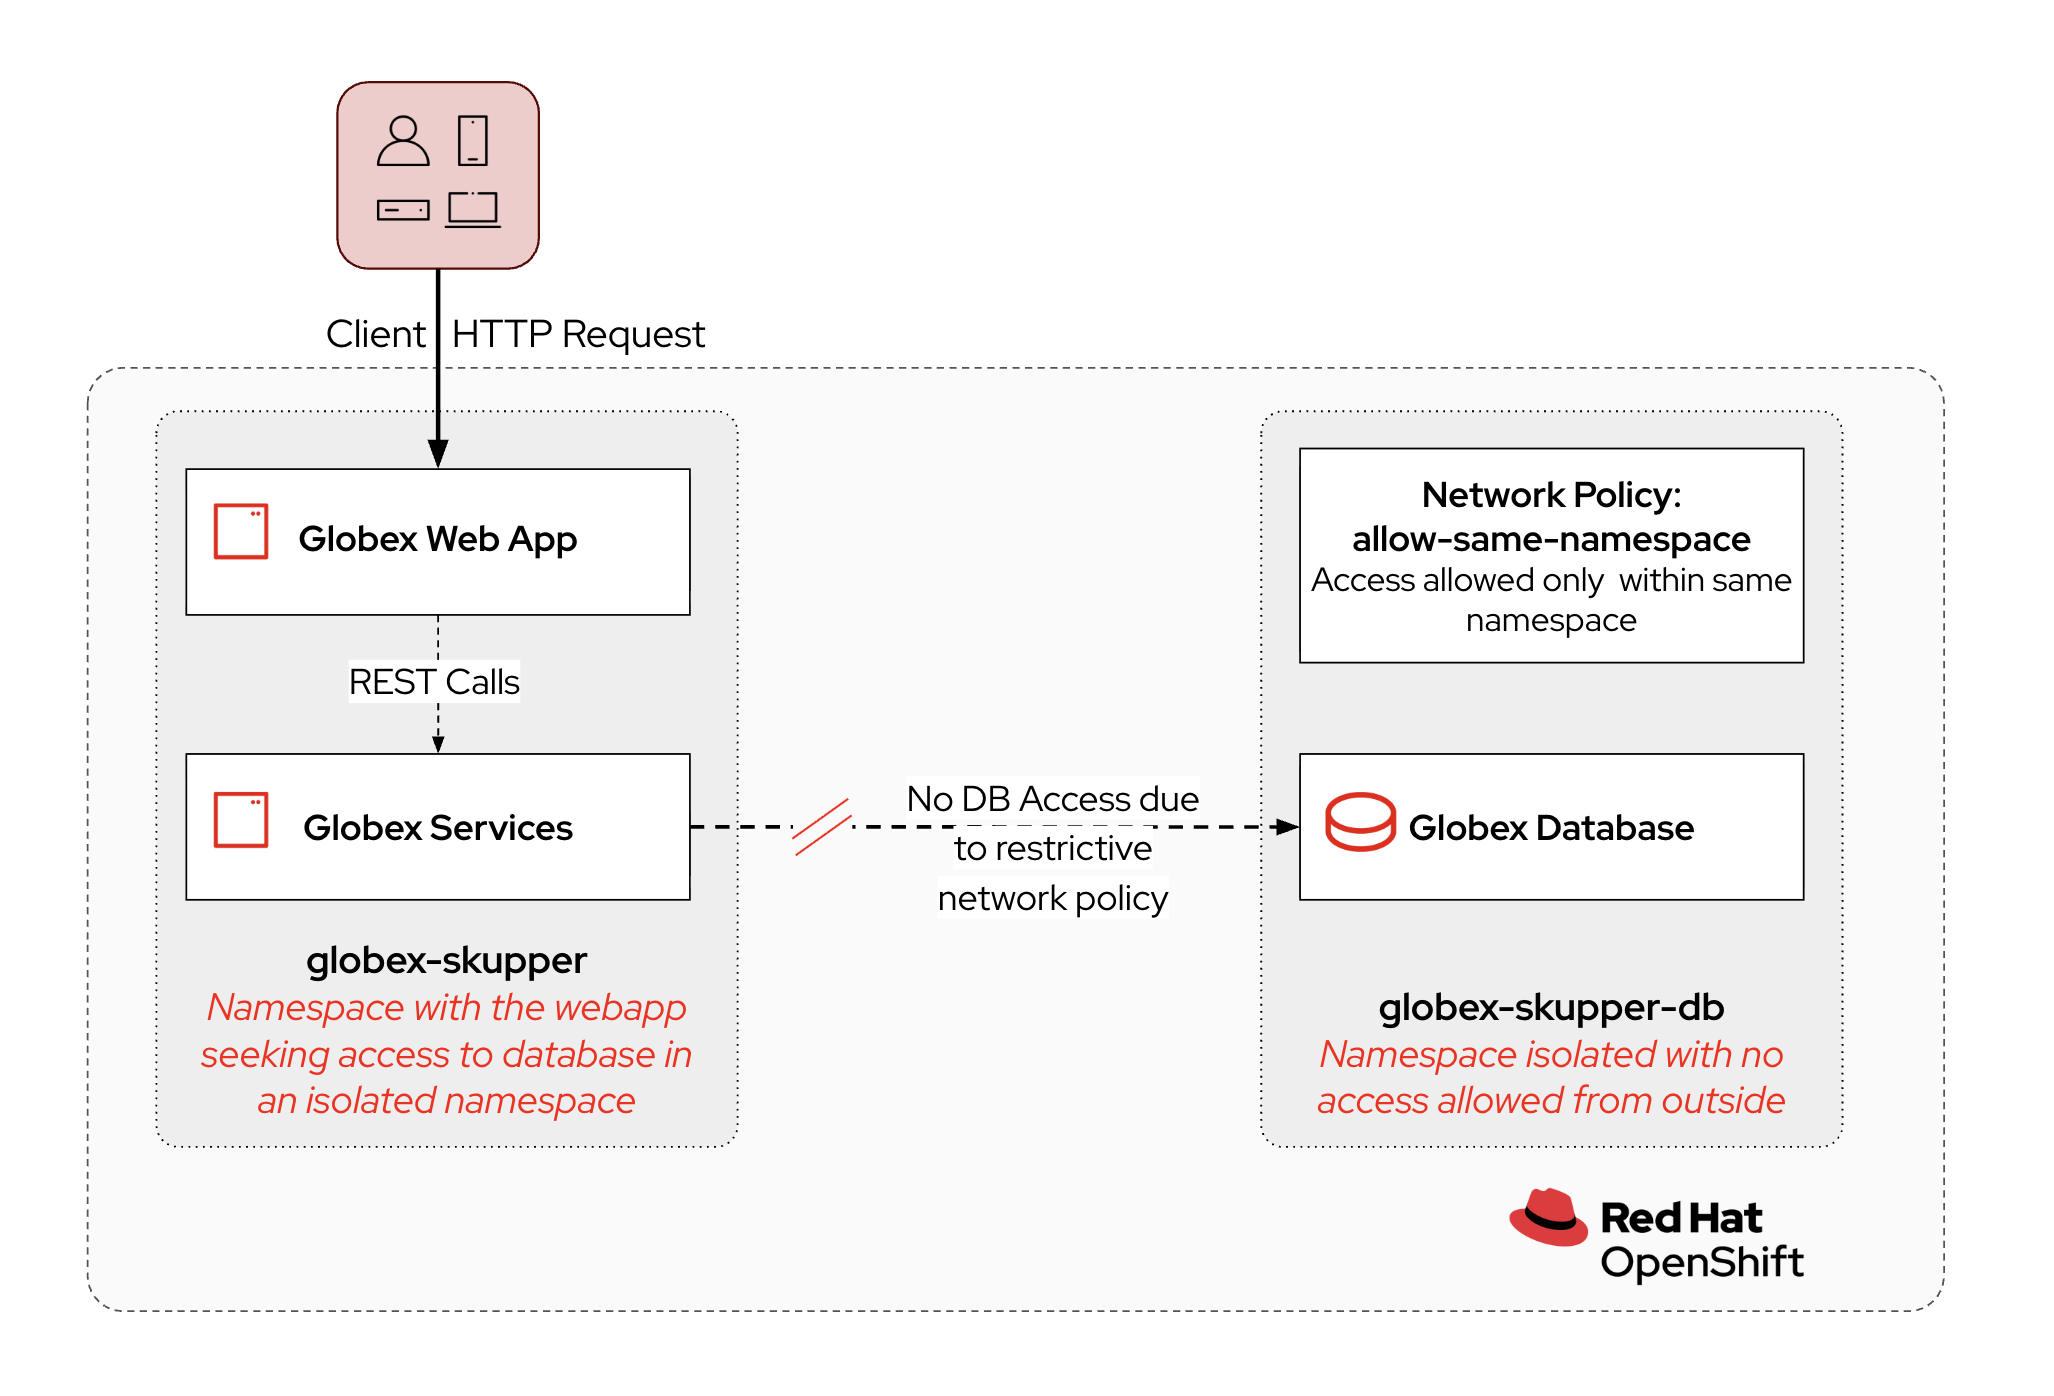
| The database is not exposed to the outside world. It cannot be reached from other namespaces in the OpenShift cluster. |
1. Prepare your Development environment
1.1. Ensure lab readiness
|
Before you proceed it is critical that your lab environment is completely ready before executing the lab instructions. |
-
Access the Workshop Deployer browser tab and check if the Launch new channels using Contract-First approach card has turned green. This indicates that the module has been fully deployed and is ready to use.
2. Deployment overview: Globex Web App namespace
-
Navigate to the {openshift_cluster_console}[OpenShift console, window="console"],and if needed, login with your username and password ({user_name}/{user_password}).
If this is the first time you open the console, you will be directed to the Developer Perspective of the console, which shows you the different namespaces you have access to.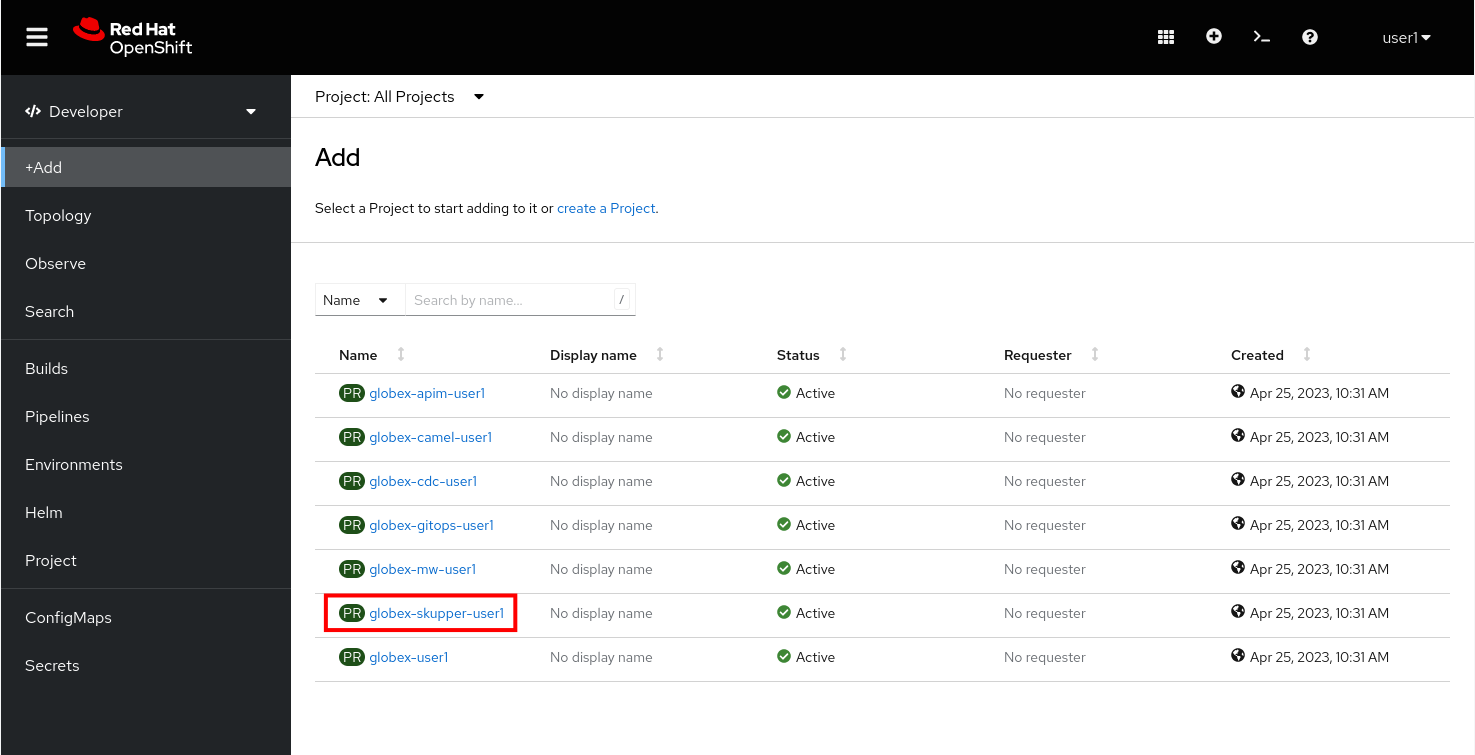
-
Click on the
globex-skupper-{user_name}link to select the namespace you are going to use in this lab, and selectTopologyfrom the left menu.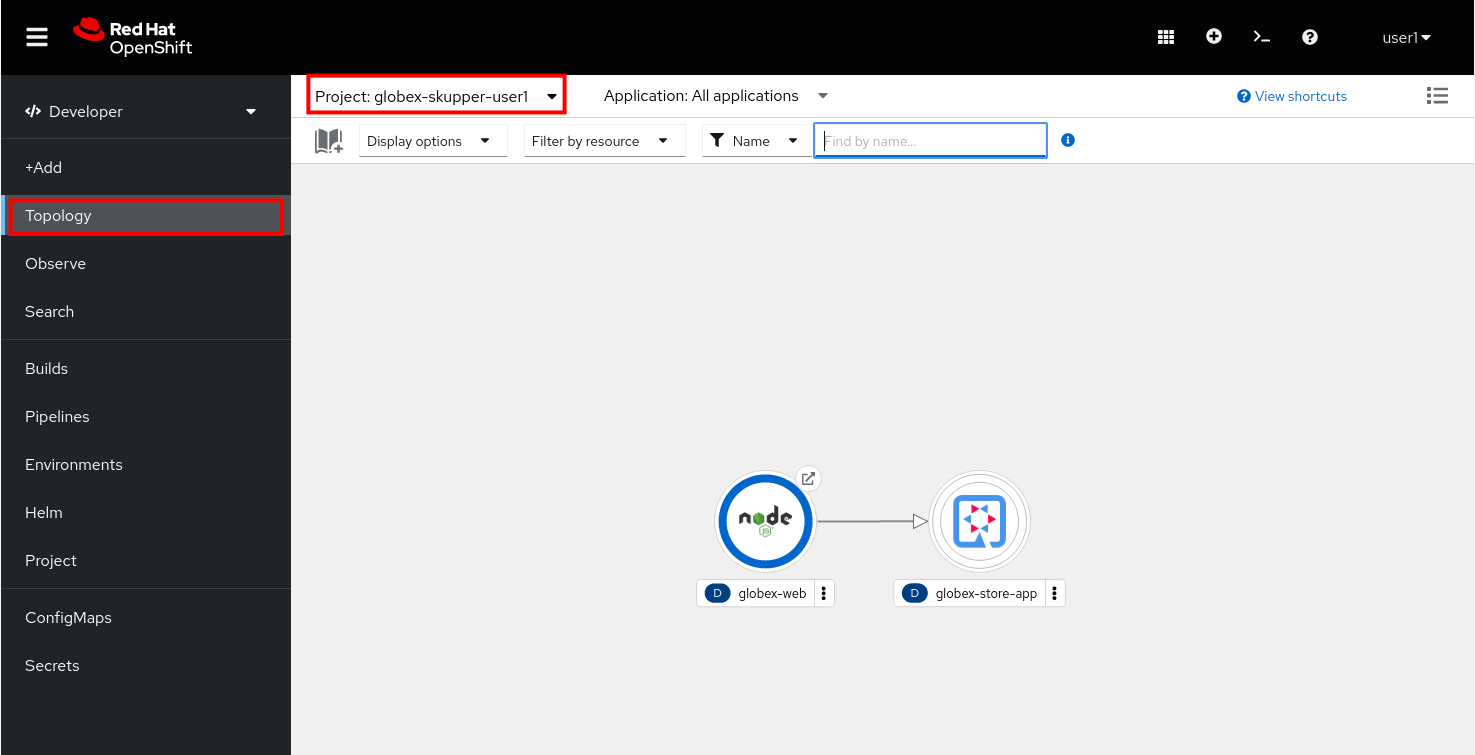
-
Expect to see two deployments: The Globex retail application frontend (called globex-web, and running on Node.js) and the Globex retail application itself, called globex-store-app. Note that the Globex retail application is scaled down to zero pods. As the database is missing, the application would not start up correctly if scaled up. You will scale it up once the connection with the database running in the isolated namespace is established.
-
You can check the state of the application by clicking on the
 icon next to the Node.js deployment.
-
This opens a new browser tab pointing to the home page of the Globex retail application.
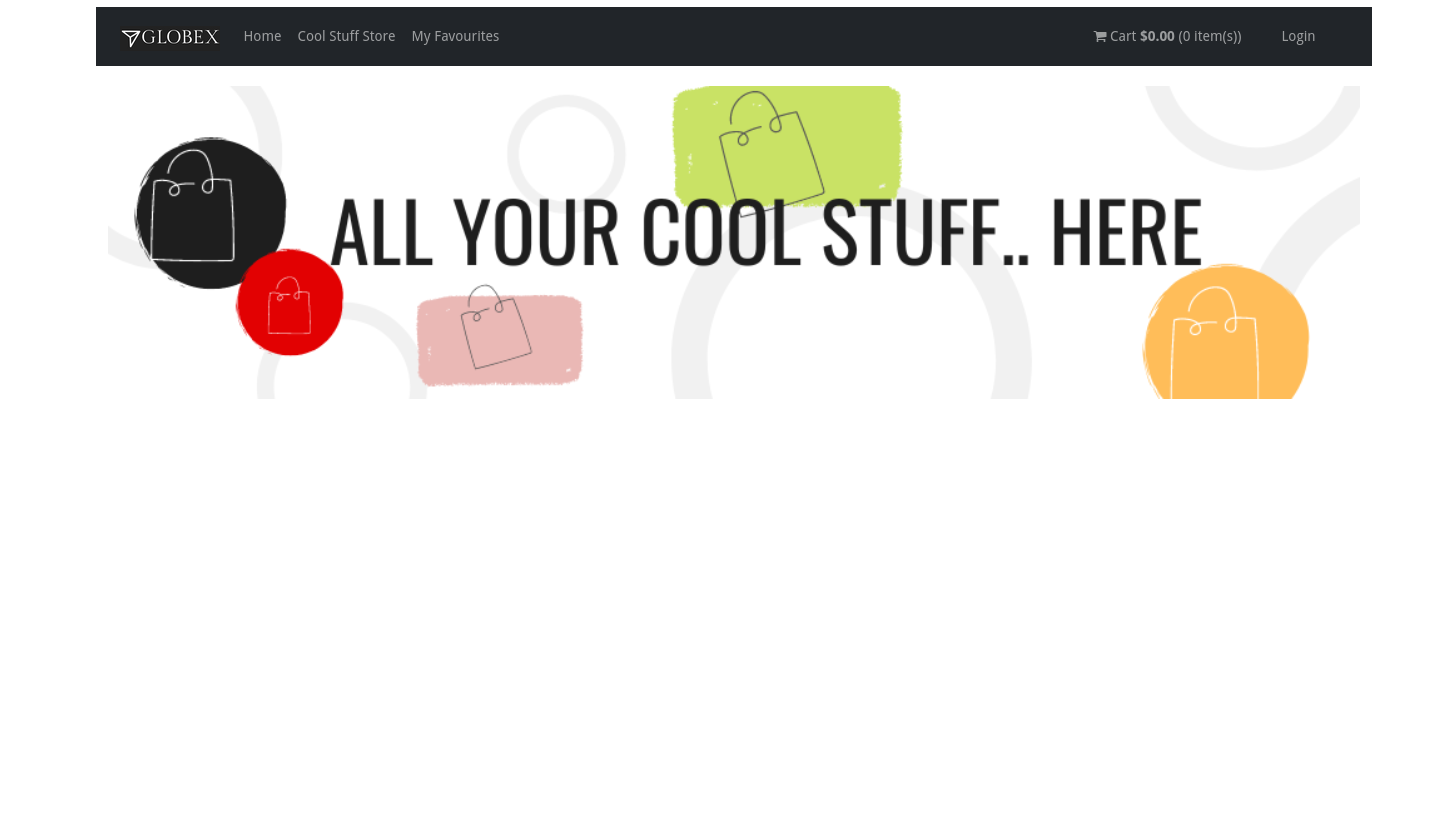
-
Click on the Cool Stuff Store link in the top menu. This opens a view of the Globex store catalog. If the application would run as expected, you should see a paginated listing of products. However in this case, you will see an empty list:

3. Deployment overview: Globex database namespace
-
In the Topology view, select the
globex-skupper-db-{user_name}namespace from the drop down box at the top.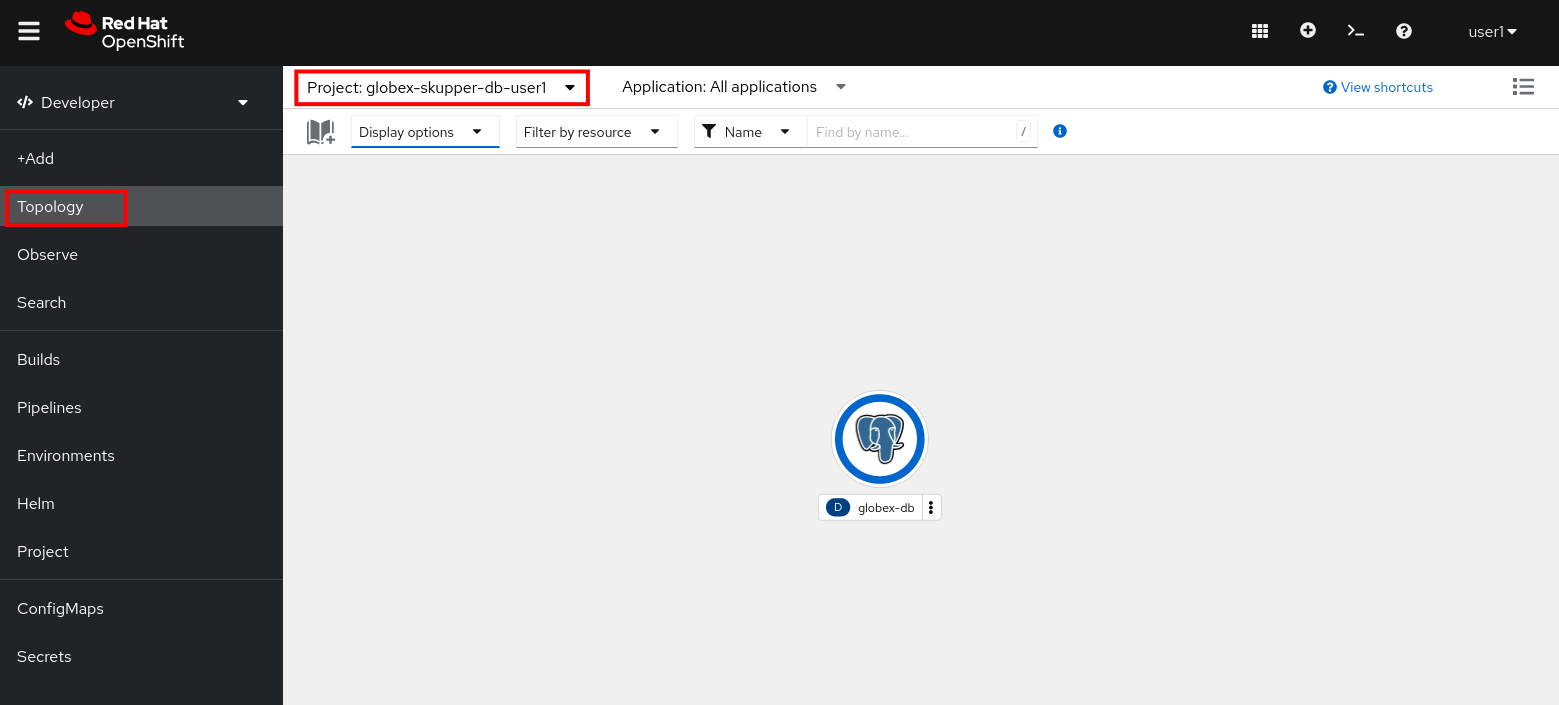
-
Expect to see the deployment for the Globex retail app database.
-
The
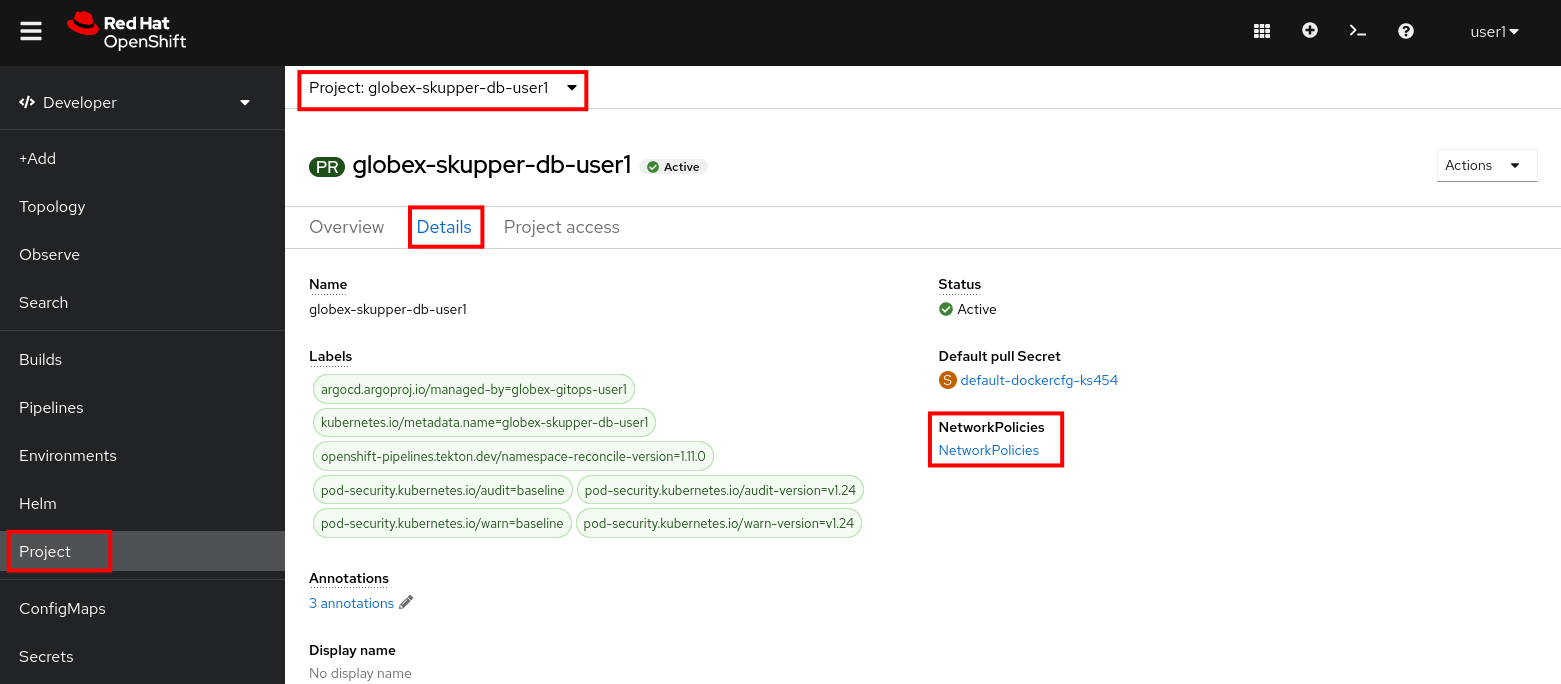
globex-skupper-db-{user_name}namespace is isolated from other namespaces and the outside world by applying a Network Policy. To view the Network Policy:-
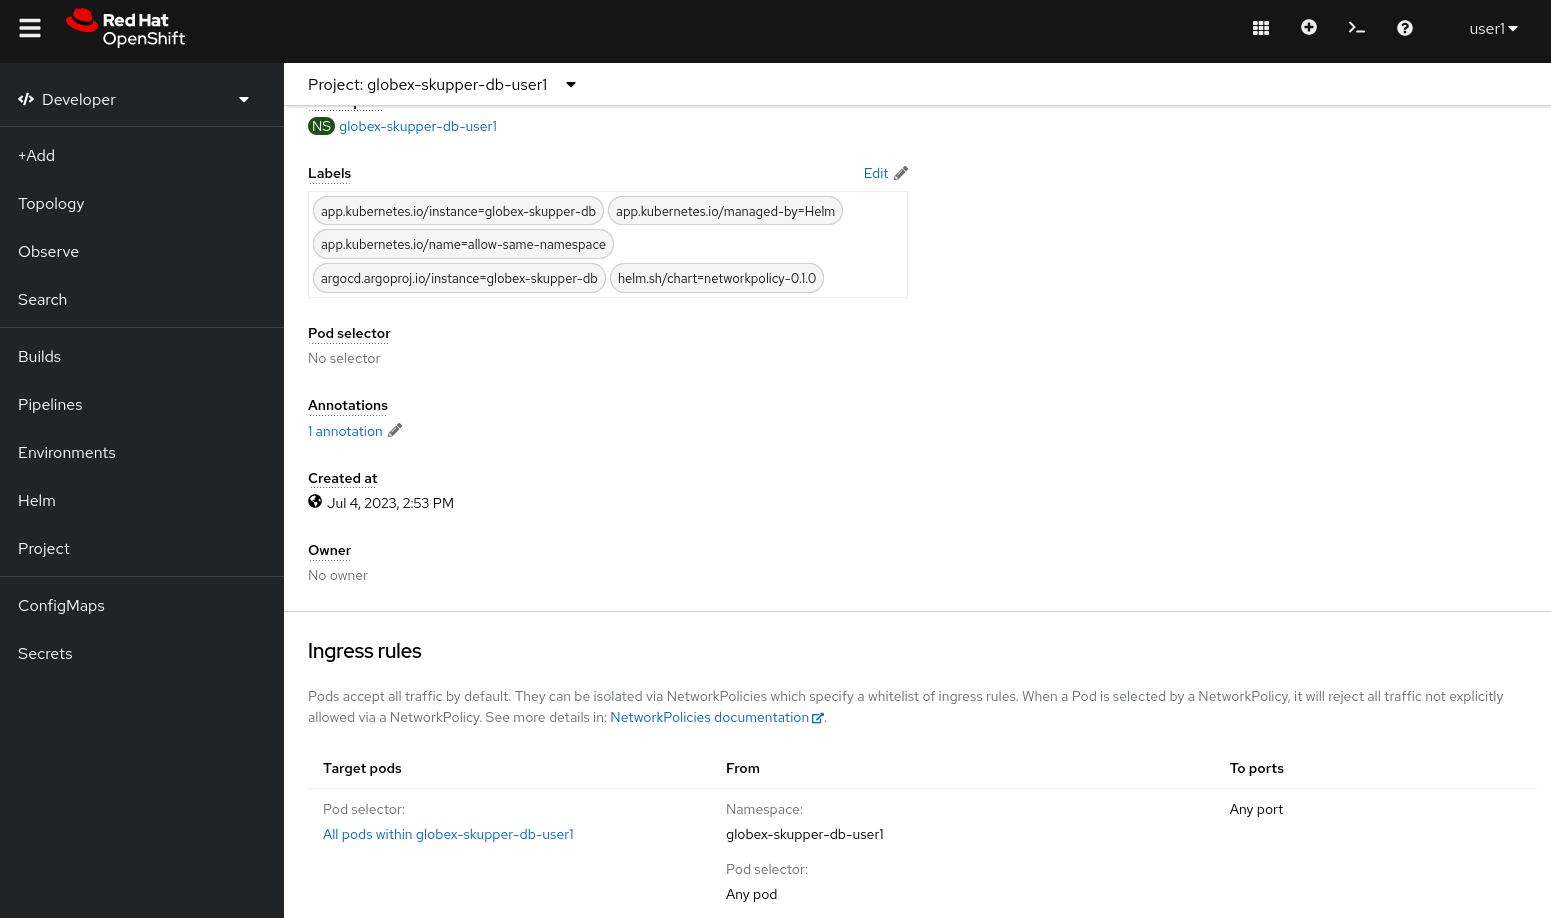
In the Developer Perspective of the OpenShift console, select Project from the menu on the left, and on the project overview page, select the Details tab. Click on the NetworkPolicies link to view the Network Policies installed in this namespace.
-
The Network Policy overview page shows one Network Policy, named allow-same-namespace. Click on the name of the Network Policy to open the details page. Scroll down to see the rules defined for ingress traffic:
-
The rule defines a whitelist for all pods within the
globex-skupper-db-{user_name}namespace, blocking all other ingress traffic into the namespace. Thus pods in theglobex-skupper-db-{user_name}can connect to each other, but connections from outside the namespace will be blocked.
-
4. Activity Overview
Building a Service network between the two namespaces of the OpenShift cluster takes several steps:
-
Set up the Service Interconnect routers on both the Web App and Database OpenShift namespaces.
-
Exchange an Access Token created on the Web App namespace where the Globex app is running with the isolated Database namespace.
-
This Access Token exchange establishes a secure link between the two namespaces. Egress from the Database namespace is allowed, so pods in the namespace can create a connection to other services running in (or outside) the cluster.
-
Validate that the microservices can use the virtual endpoint service created by the Service Interconnect to access the remote database.