Design and Govern Mobile OpenAPI Specification
In this step you will import the draft OpenAPI specs for Mobile App and edit them to include Security Schemes. Once the API design phase is complete you will then manage that with Red Hat Service Registry. The API Designer sessions are stateless and you must save your API definition as a JSON file at the end of each session.
1. Section Goals
-
Import a draft OpenAPI specification for Mobile App into an API Designer
-
Edit the draft OpenAPI specification to add OpenID Security Schemes and include Keycloak’s OpenID Provider Configuration
-
Govern the Mobile OpenAPI with Red Hat Service Registry
2. Design Mobile OpenAPI
To import the OpenAPI draft into API designer, you can import as text OR upload as file. To keep things simple in this workshop, you will import the content by simply pasting the draft spec as YAML based text into the API designer.
|
In a real-world scenario you would do the inverse: start with an empty API specification, and define the different elements of the spec document. You would then export the spec in JSON or YAML format (by copying the contents from the source editor) to your local file system and push it to version control. |
-
Launch API Designer by clicking on this link {api_designer_url}[API Designer^, window=api_designer]
-
Click on the New API button.
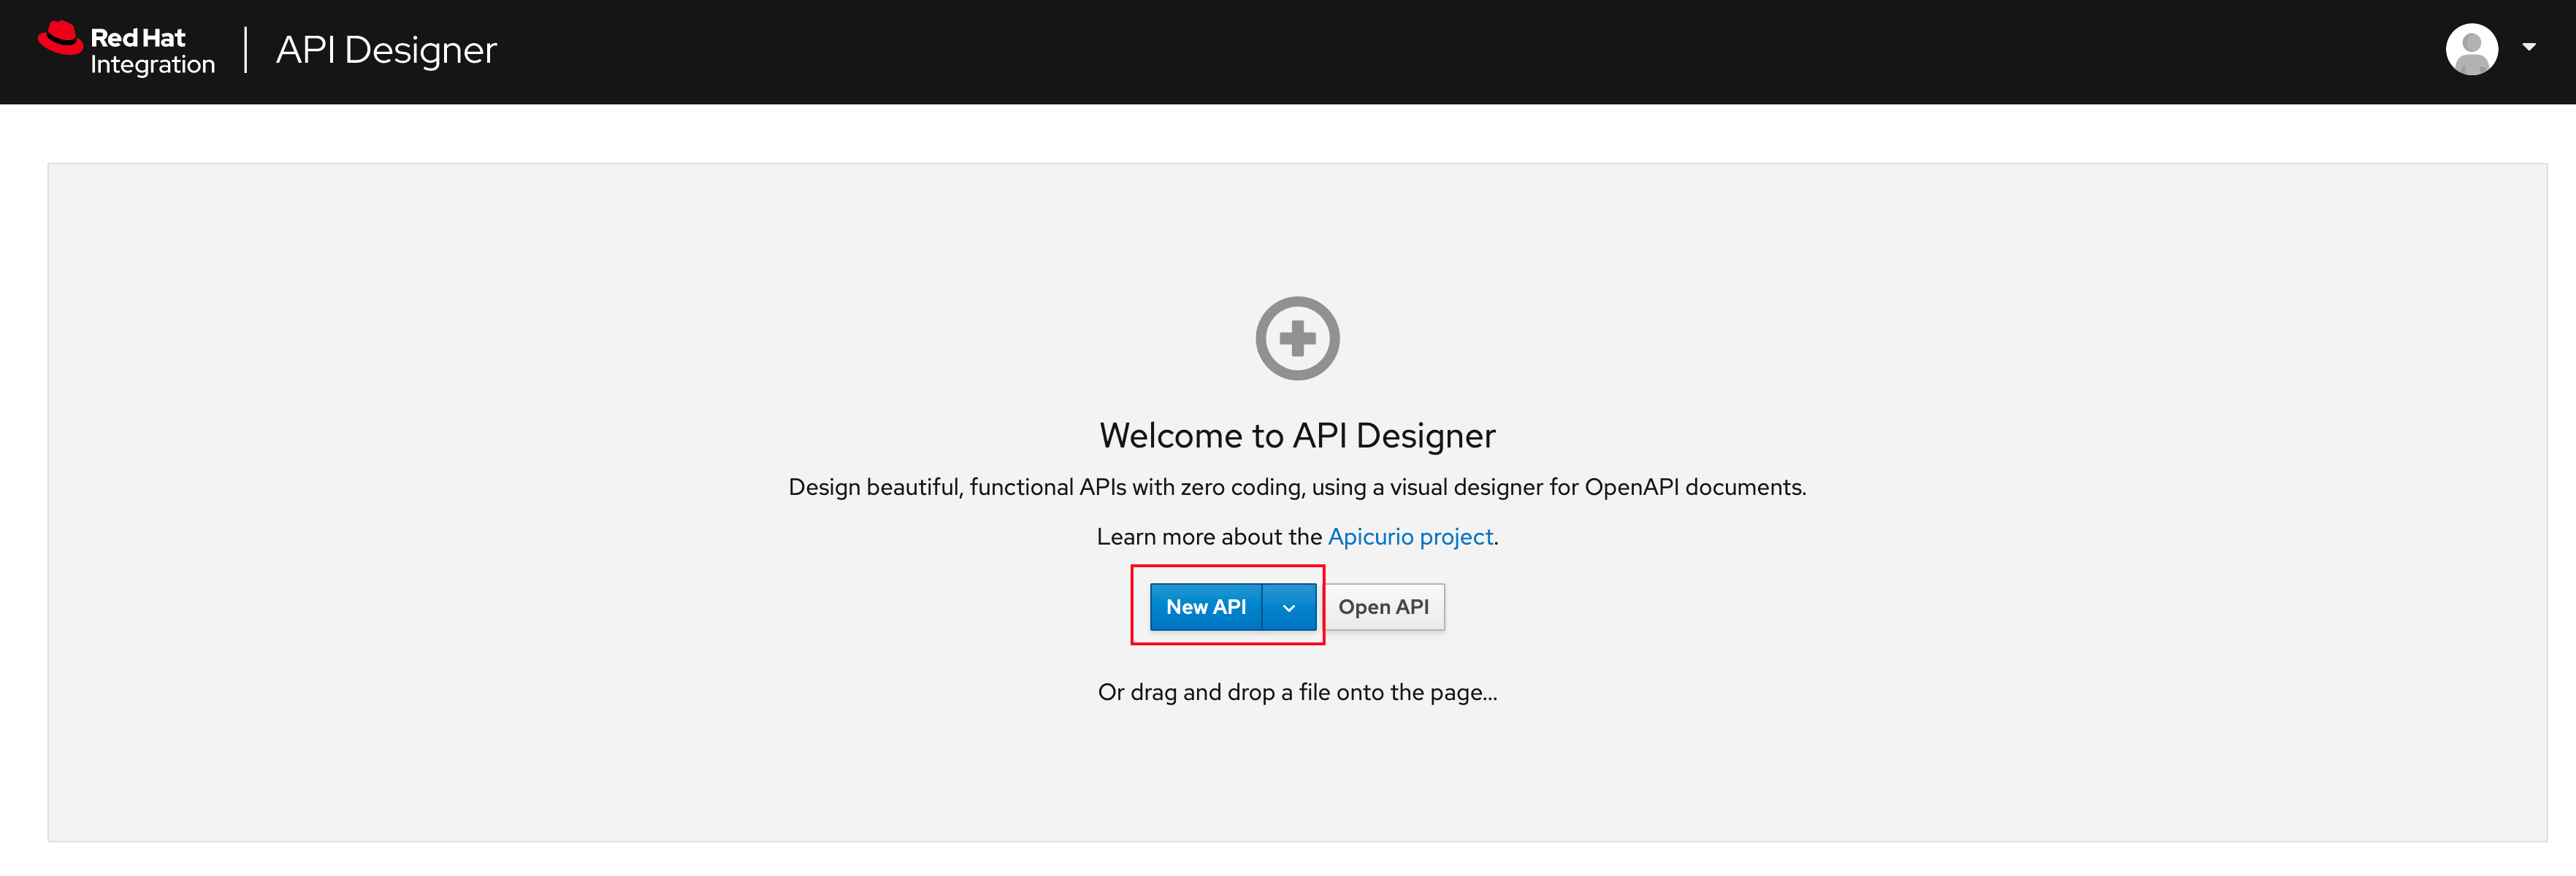 Figure 1. Red Hat API Designer - New API
 -
Click on the Source Tab on the New API page, and delete the entire content in the window.
-
Note: Keep this tab open. You will be pasting the draft OpenAPI into this window.
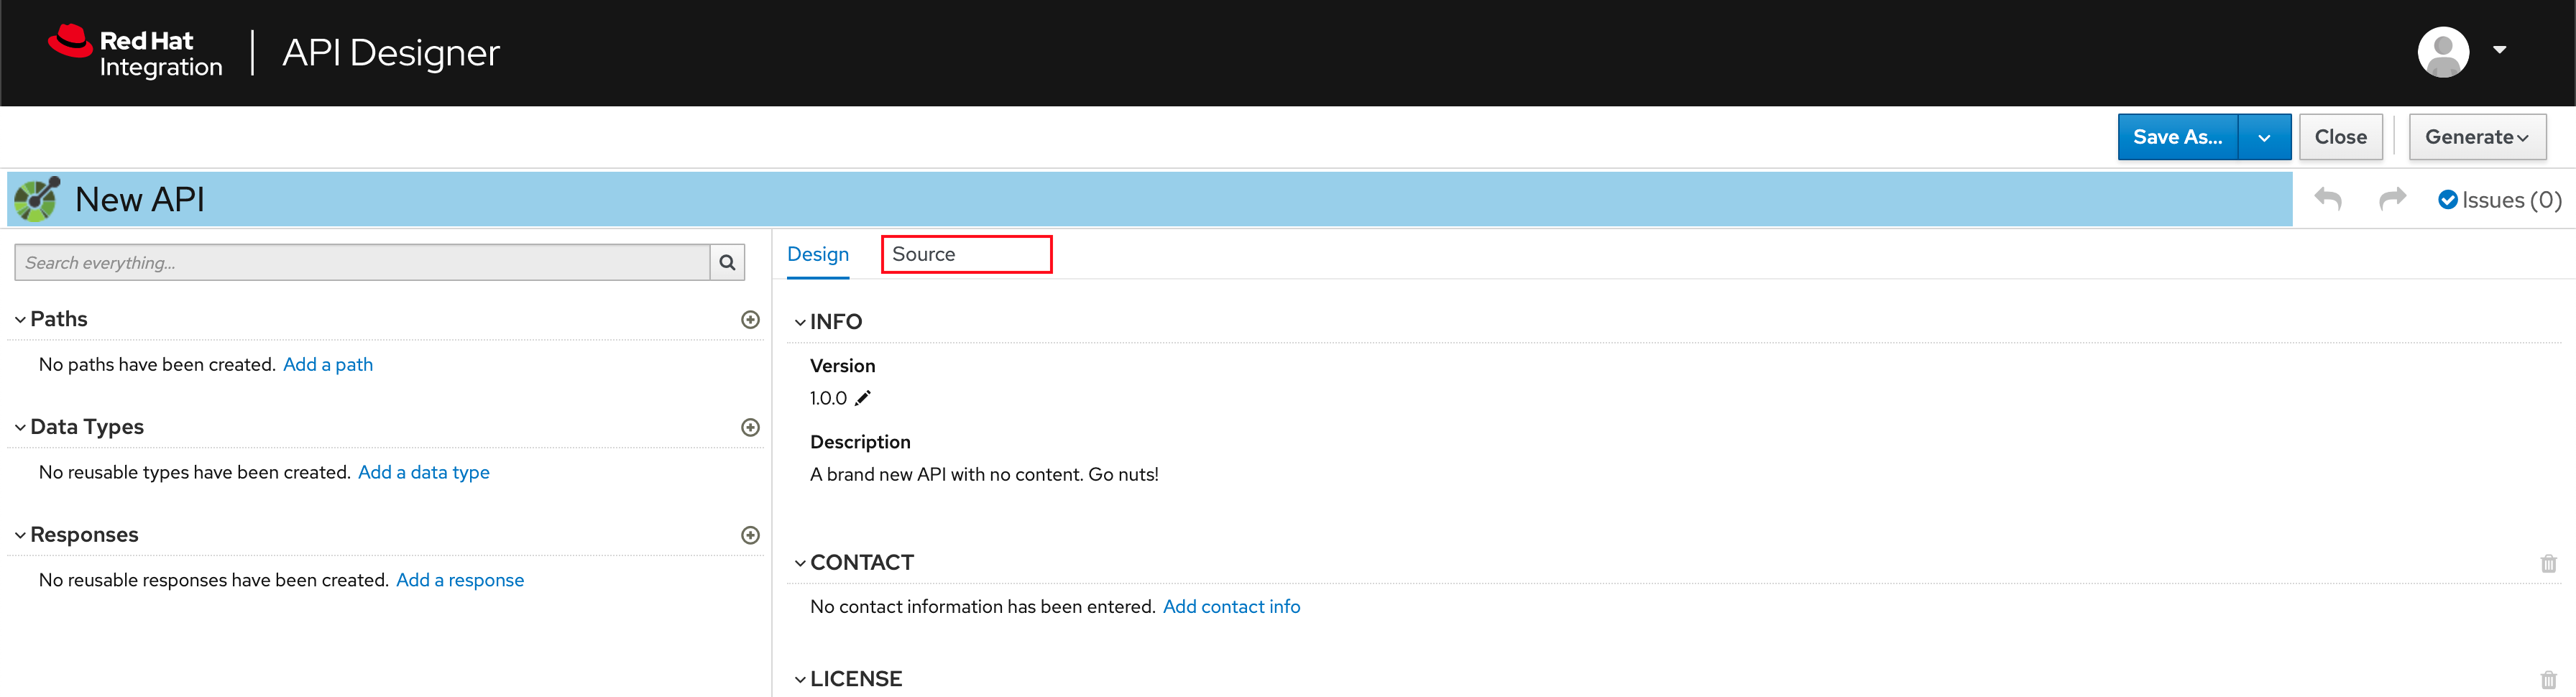 Figure 2. API Designer - Open Source Tab
 Figure 3. API Designer: Clear all content in Source Tab
-
-
To get the Mobile OpenAPI draft, navigate to the browser tab with Dev Spaces that you have earlier opened.
-
If you don’t have a browser tab open to Dev Spaces, click on {devspaces_dashboard}/dashboard/#/ide/devspaces-{user_name}/cloud-architecture-workshop[Dev Spaces IDE^, window="devspaces"]. If needed login with your username and password ({user_name}/{user_password}).
-
-
In Dev Spaces, navigate to the folder workshop/module-apim/mobile/activedoc, and open the file mobile-activedoc-draft.yaml
-
Or type [Ctrl+P] and type the file name as mobile-activedoc-draft.yaml
-
-
Copy the entire contents from this file
(Ctrl+A and Ctrl+C)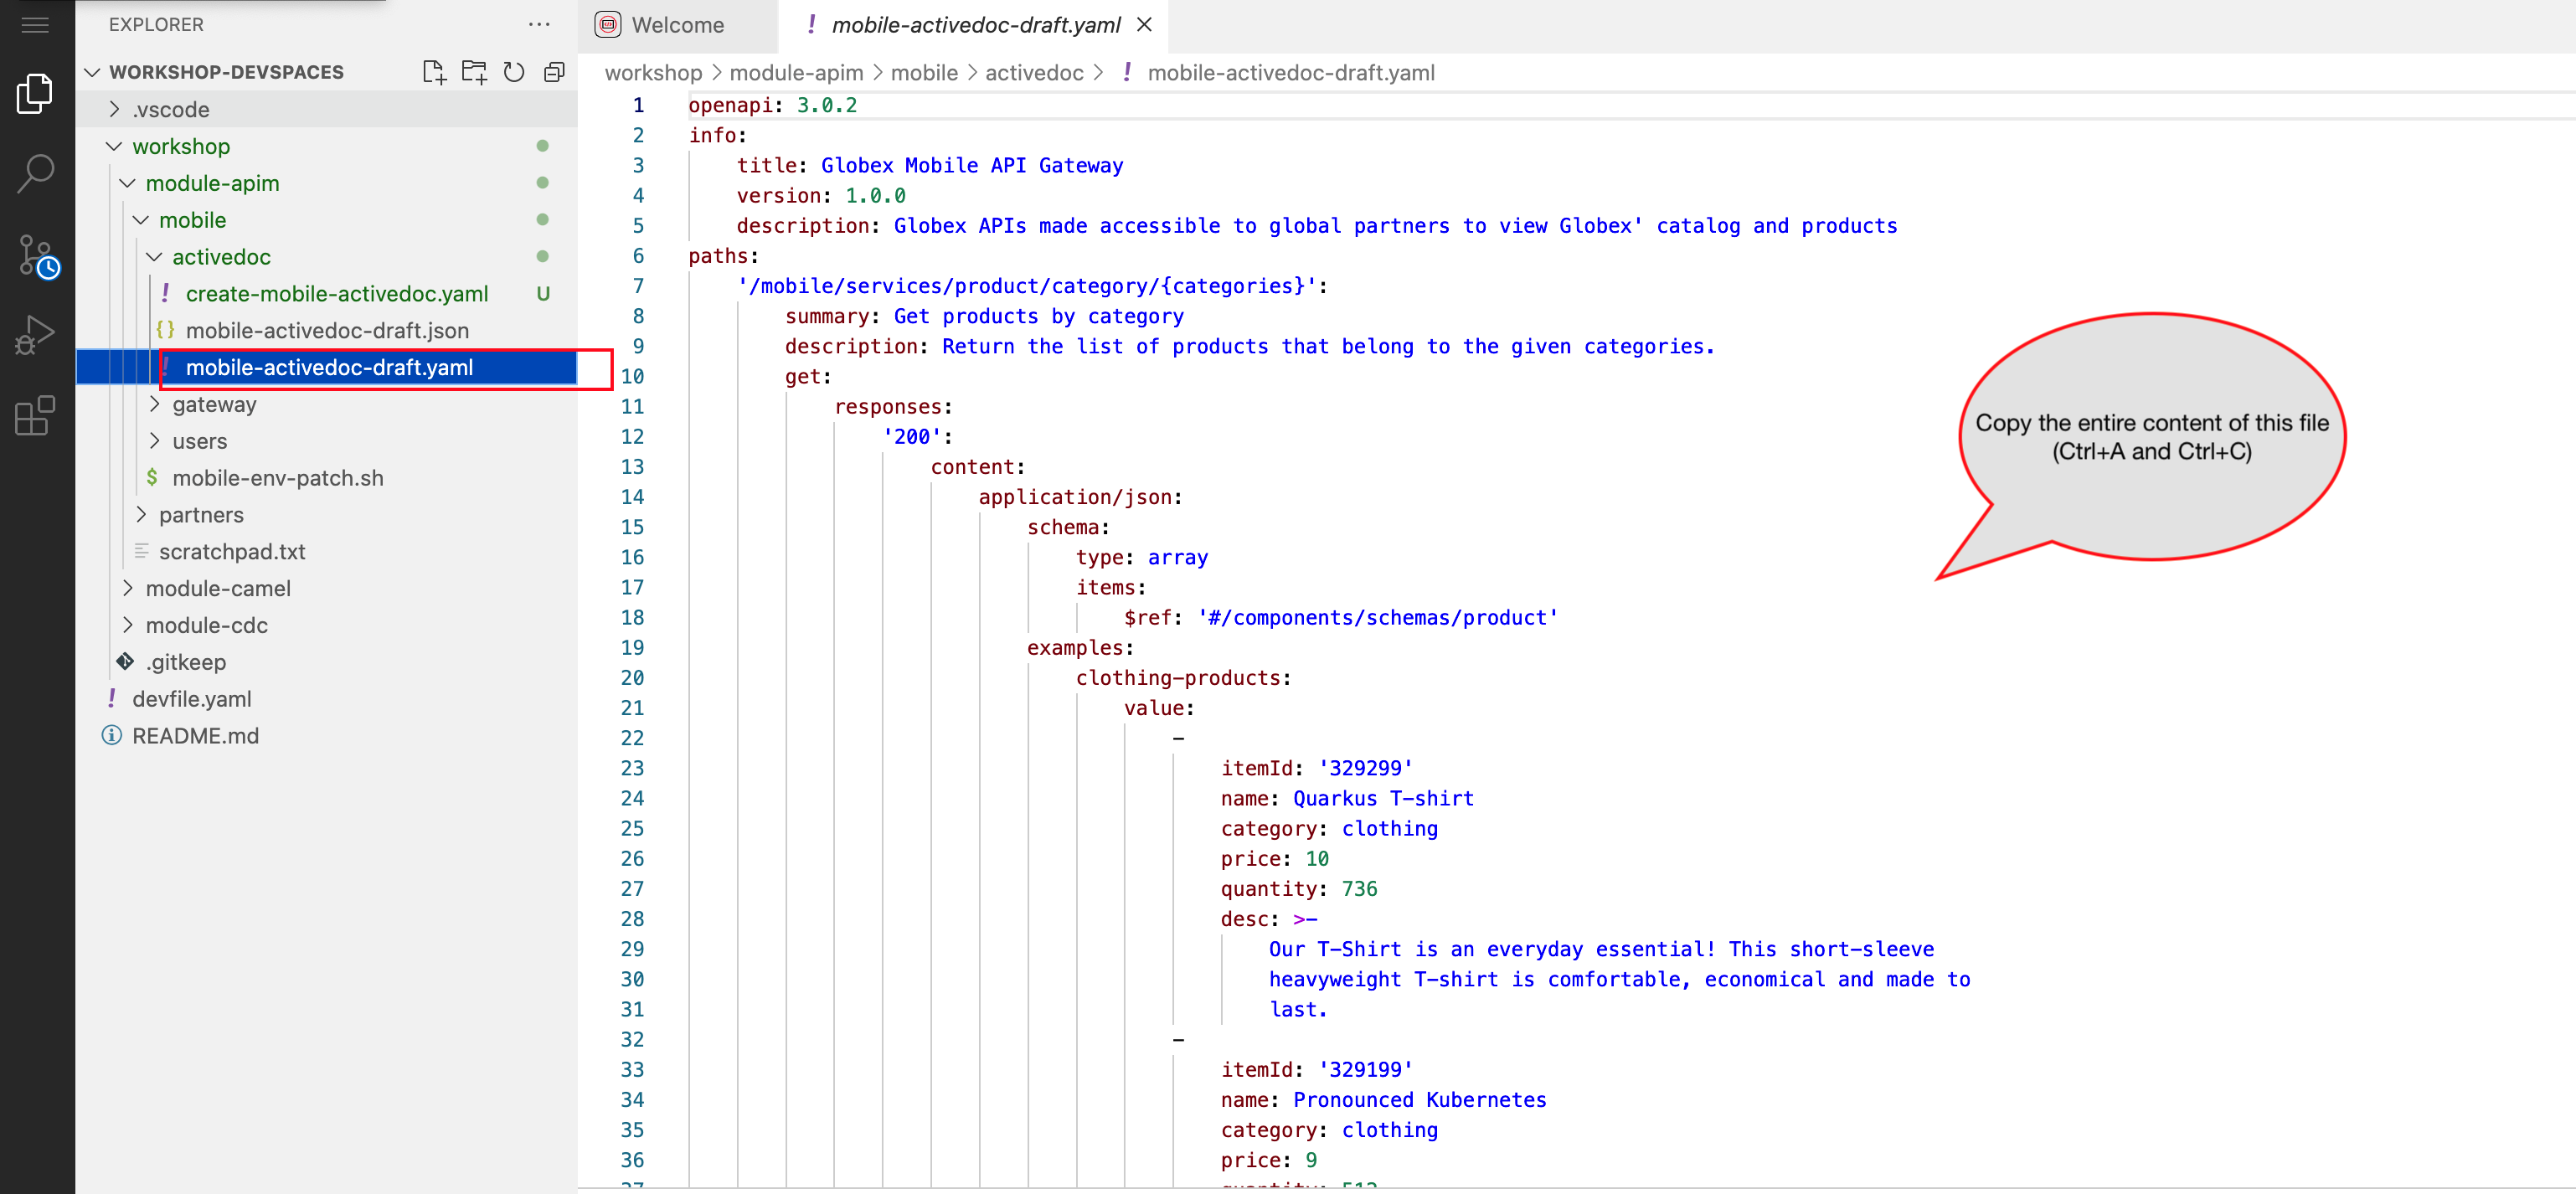 Figure 4. Copy Mobile OpenAPI draft from Dev Spaces
 -
Now paste the copied content (draft OpenAPI) from the above step into the API designer’s Source Tab replacing all of the existing content. Click on Save button as highlighted in the screenshot below.
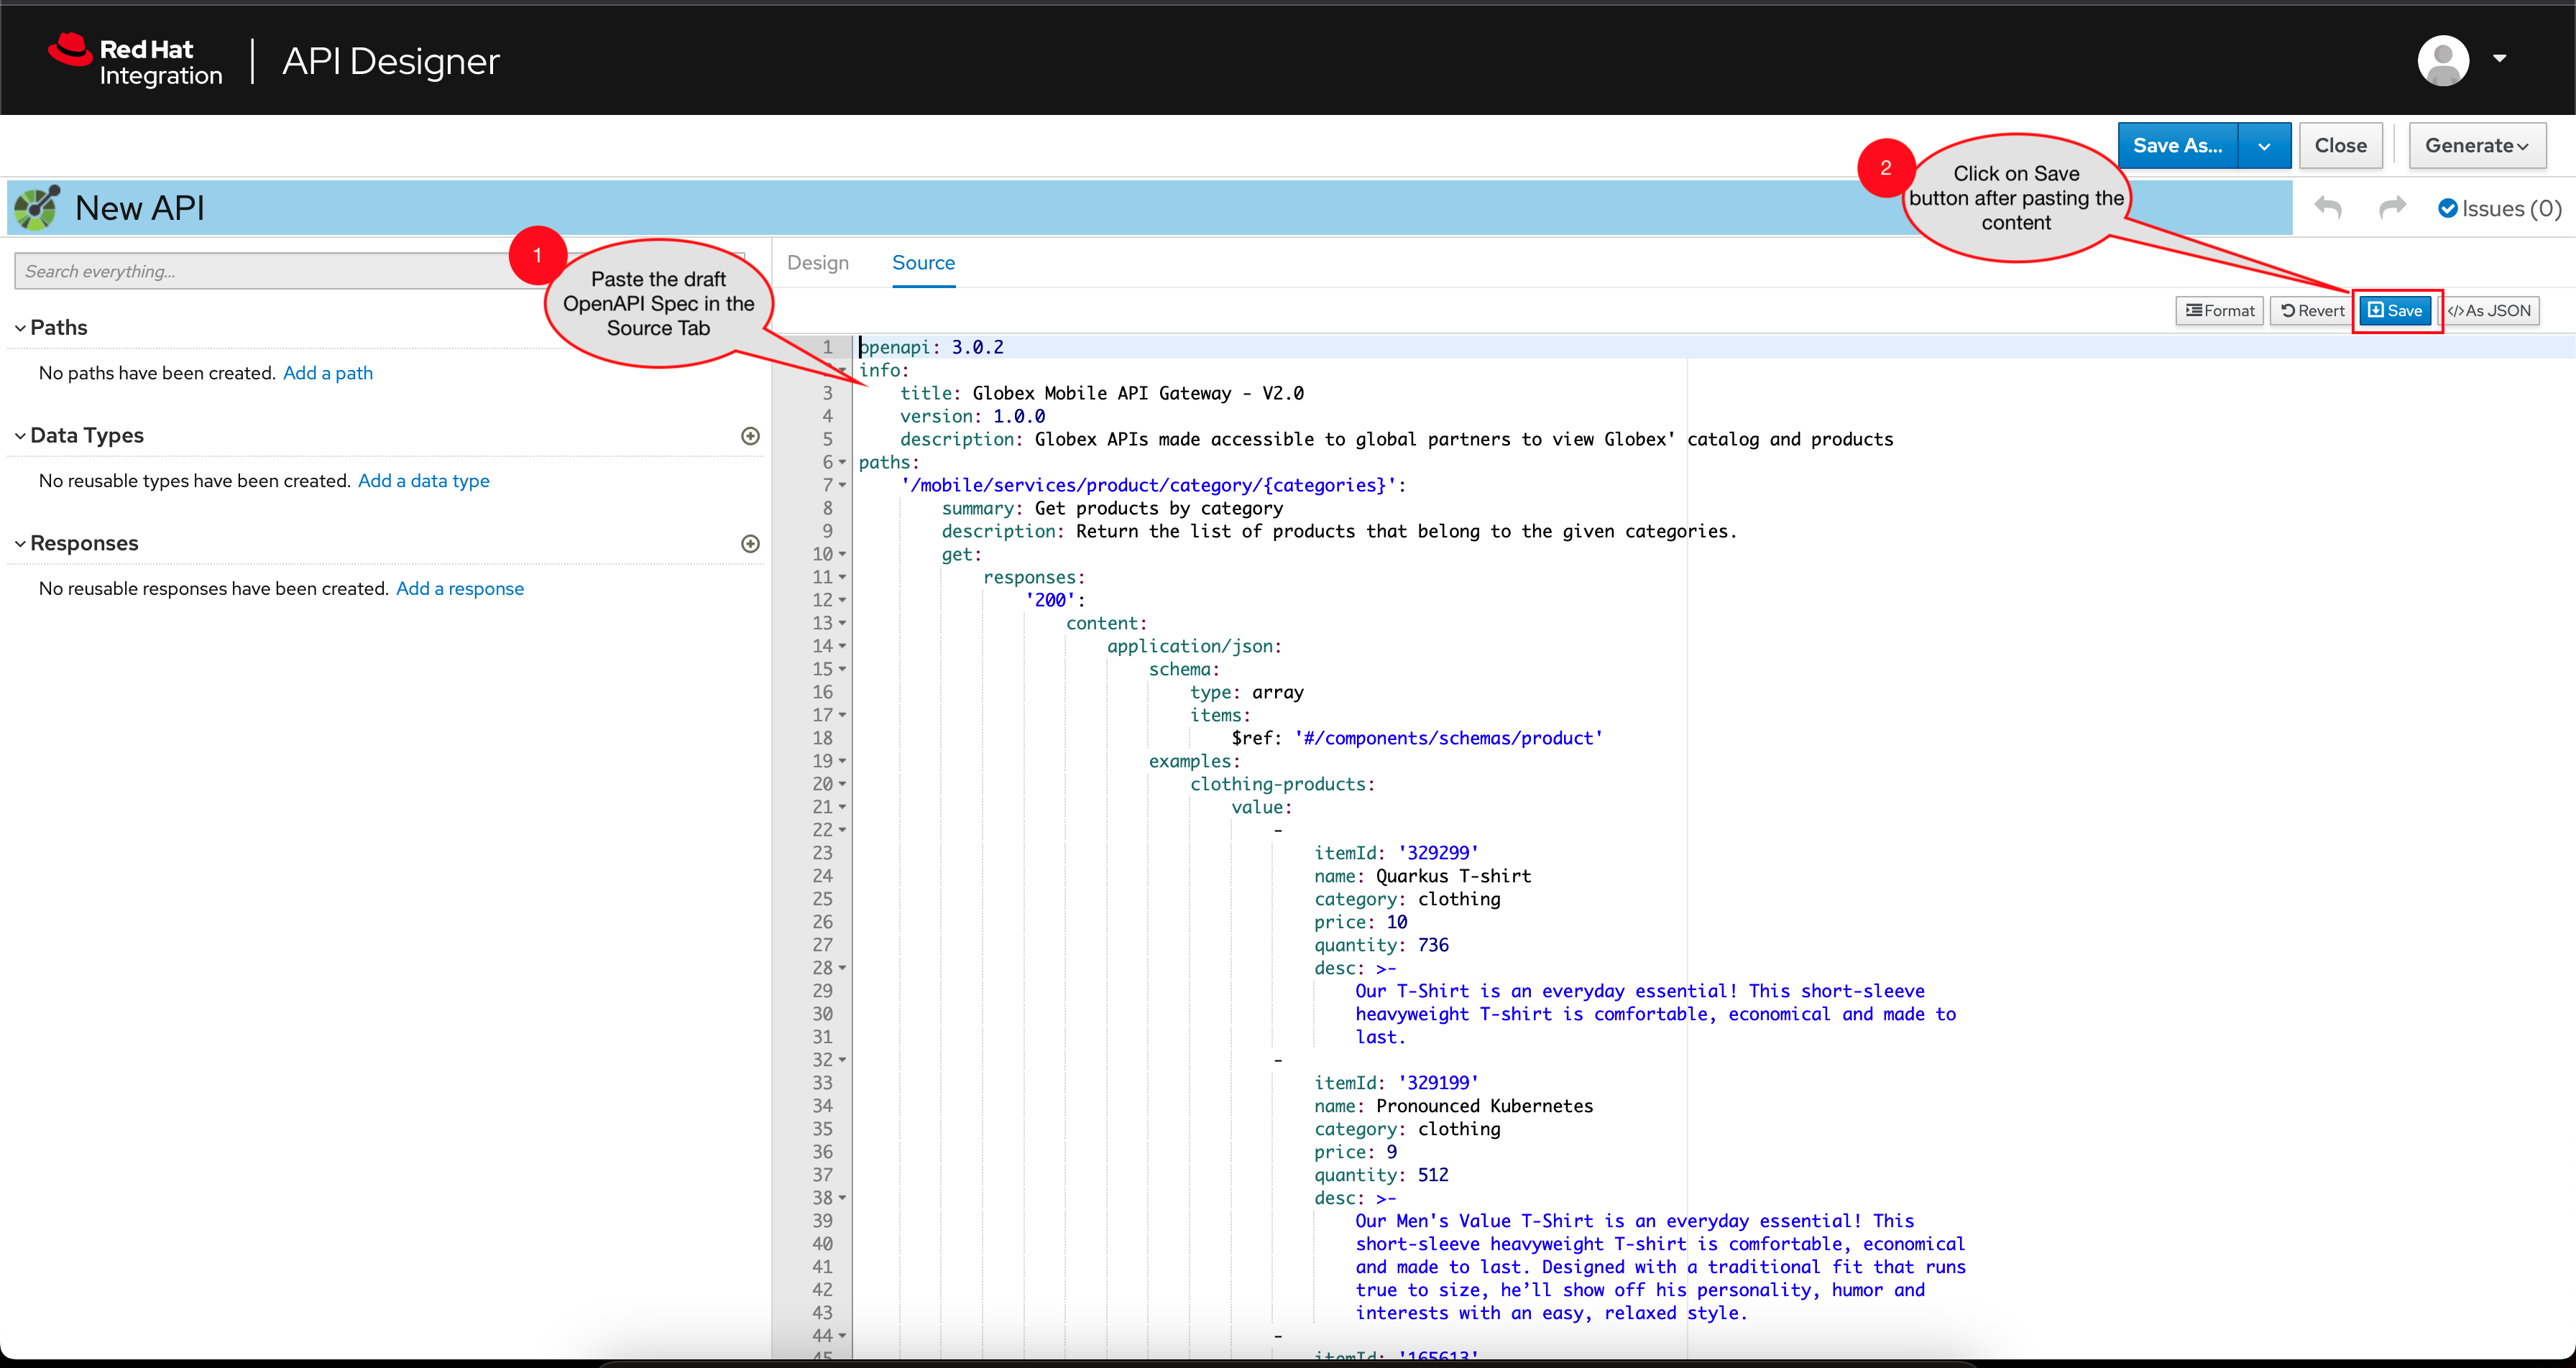 Figure 5. API Designer: Paste Mobile Draft OpenAPI
 -
Navigate back to the Design Tab
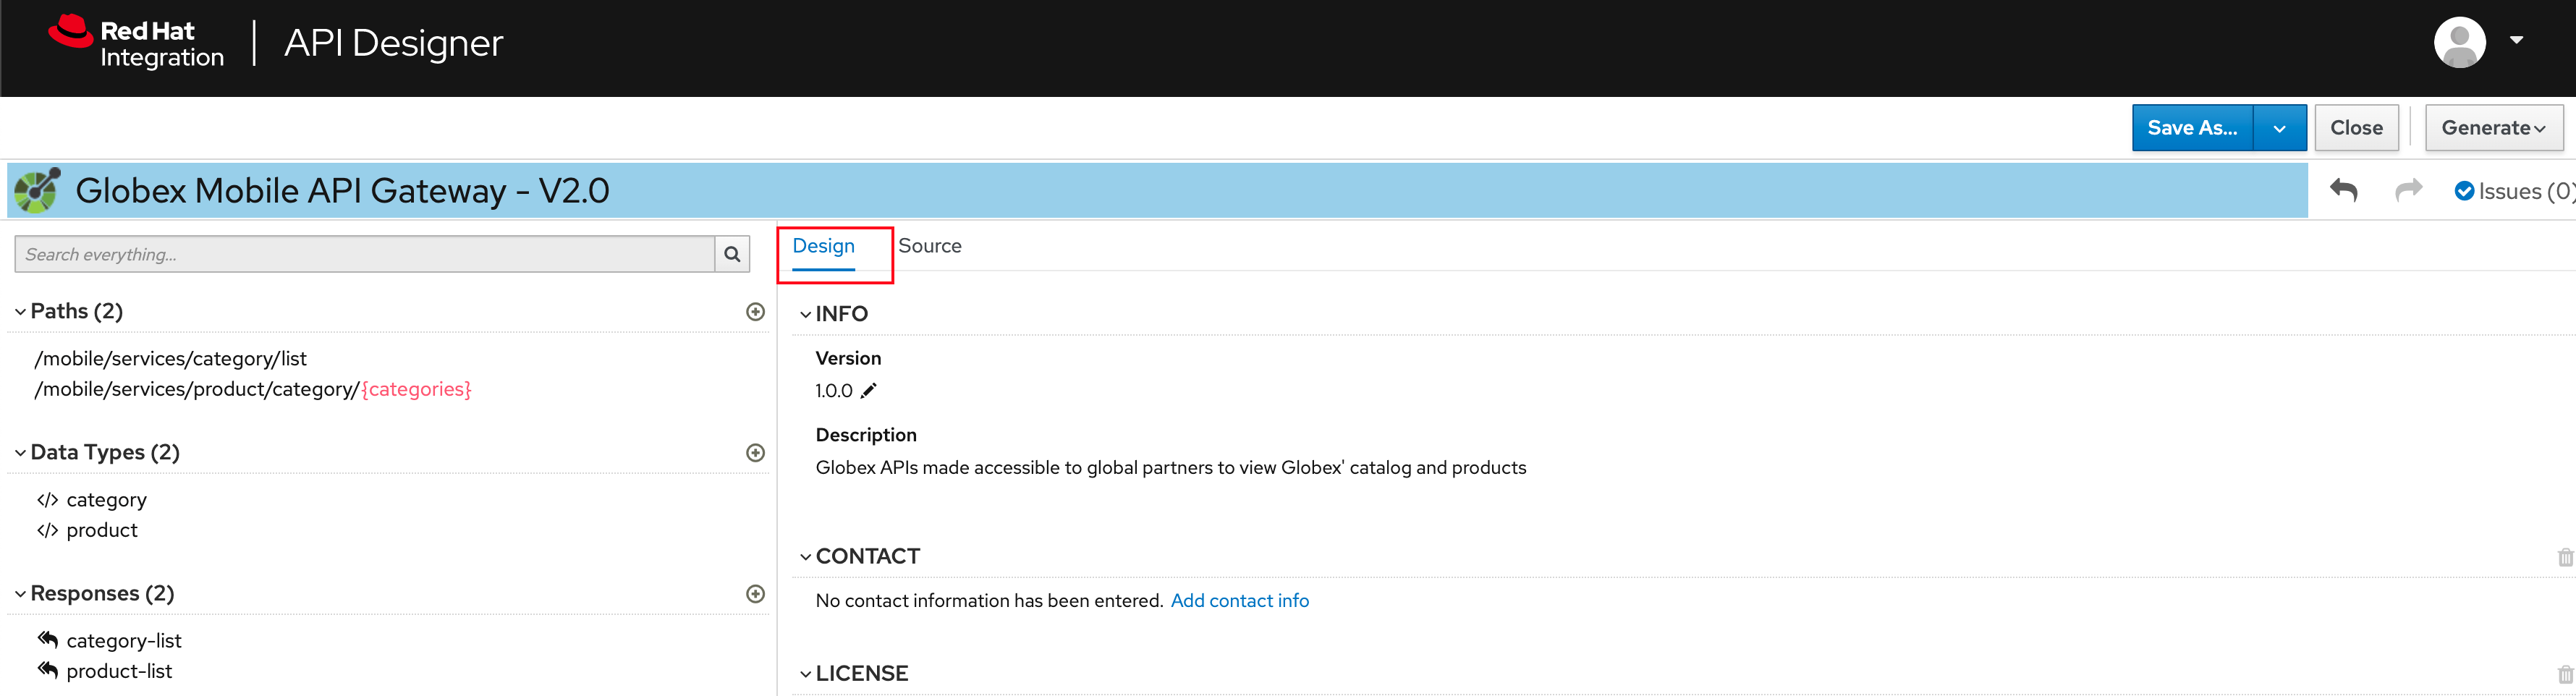 Figure 6. API Designer: Design Tab
 -
You will now need to update the security scheme. Under the SECURITY SCHEMES section, click on Add a security scheme link
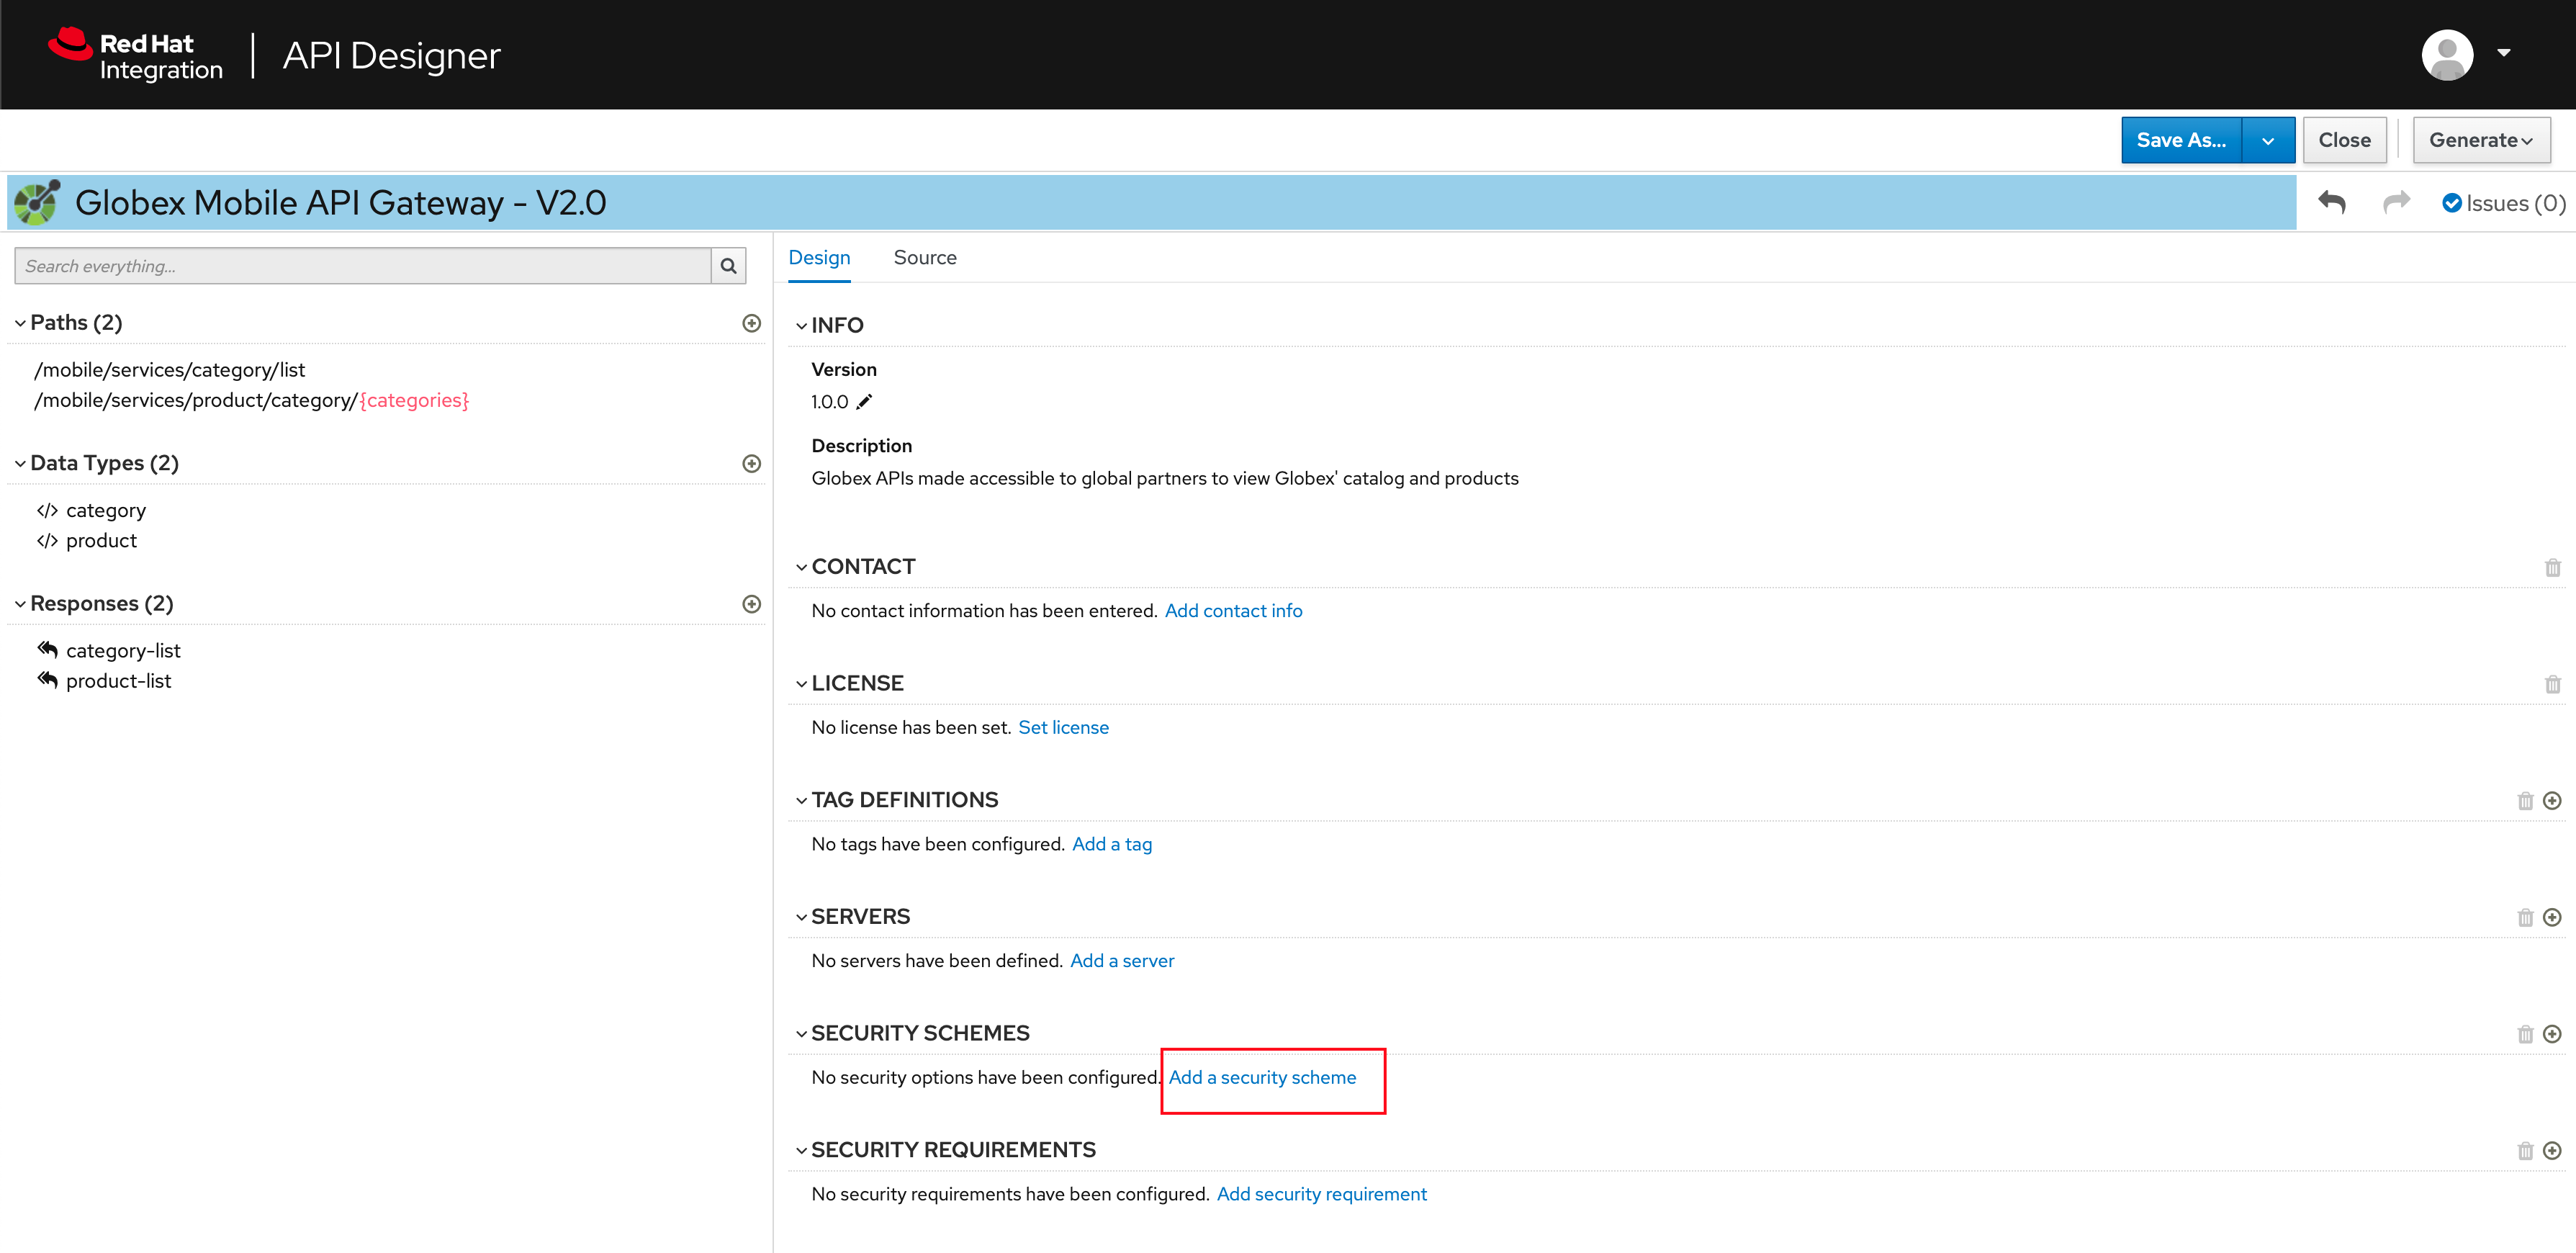 Figure 7. API Designer: Add a security scheme
 -
You are presented with the Define the Security Scheme page. Provide the following values in the form, and click on Save
-
Name (textbox)
openid-connect -
Description (textarea)
OpenID Connect security scheme -
Security Type (dropdown)
OpenID Connect -
OpenID Connect URL (textbox)
https://sso.{openshift_subdomain}/realms/globex-{user_name}/.well-known/openid-configuration Figure 8. API Designer: Define the Security Scheme wizard
-
-
You are directed back to the homepage. Verify that you can see the SECURITY SCHEMES has been updated with your configuration
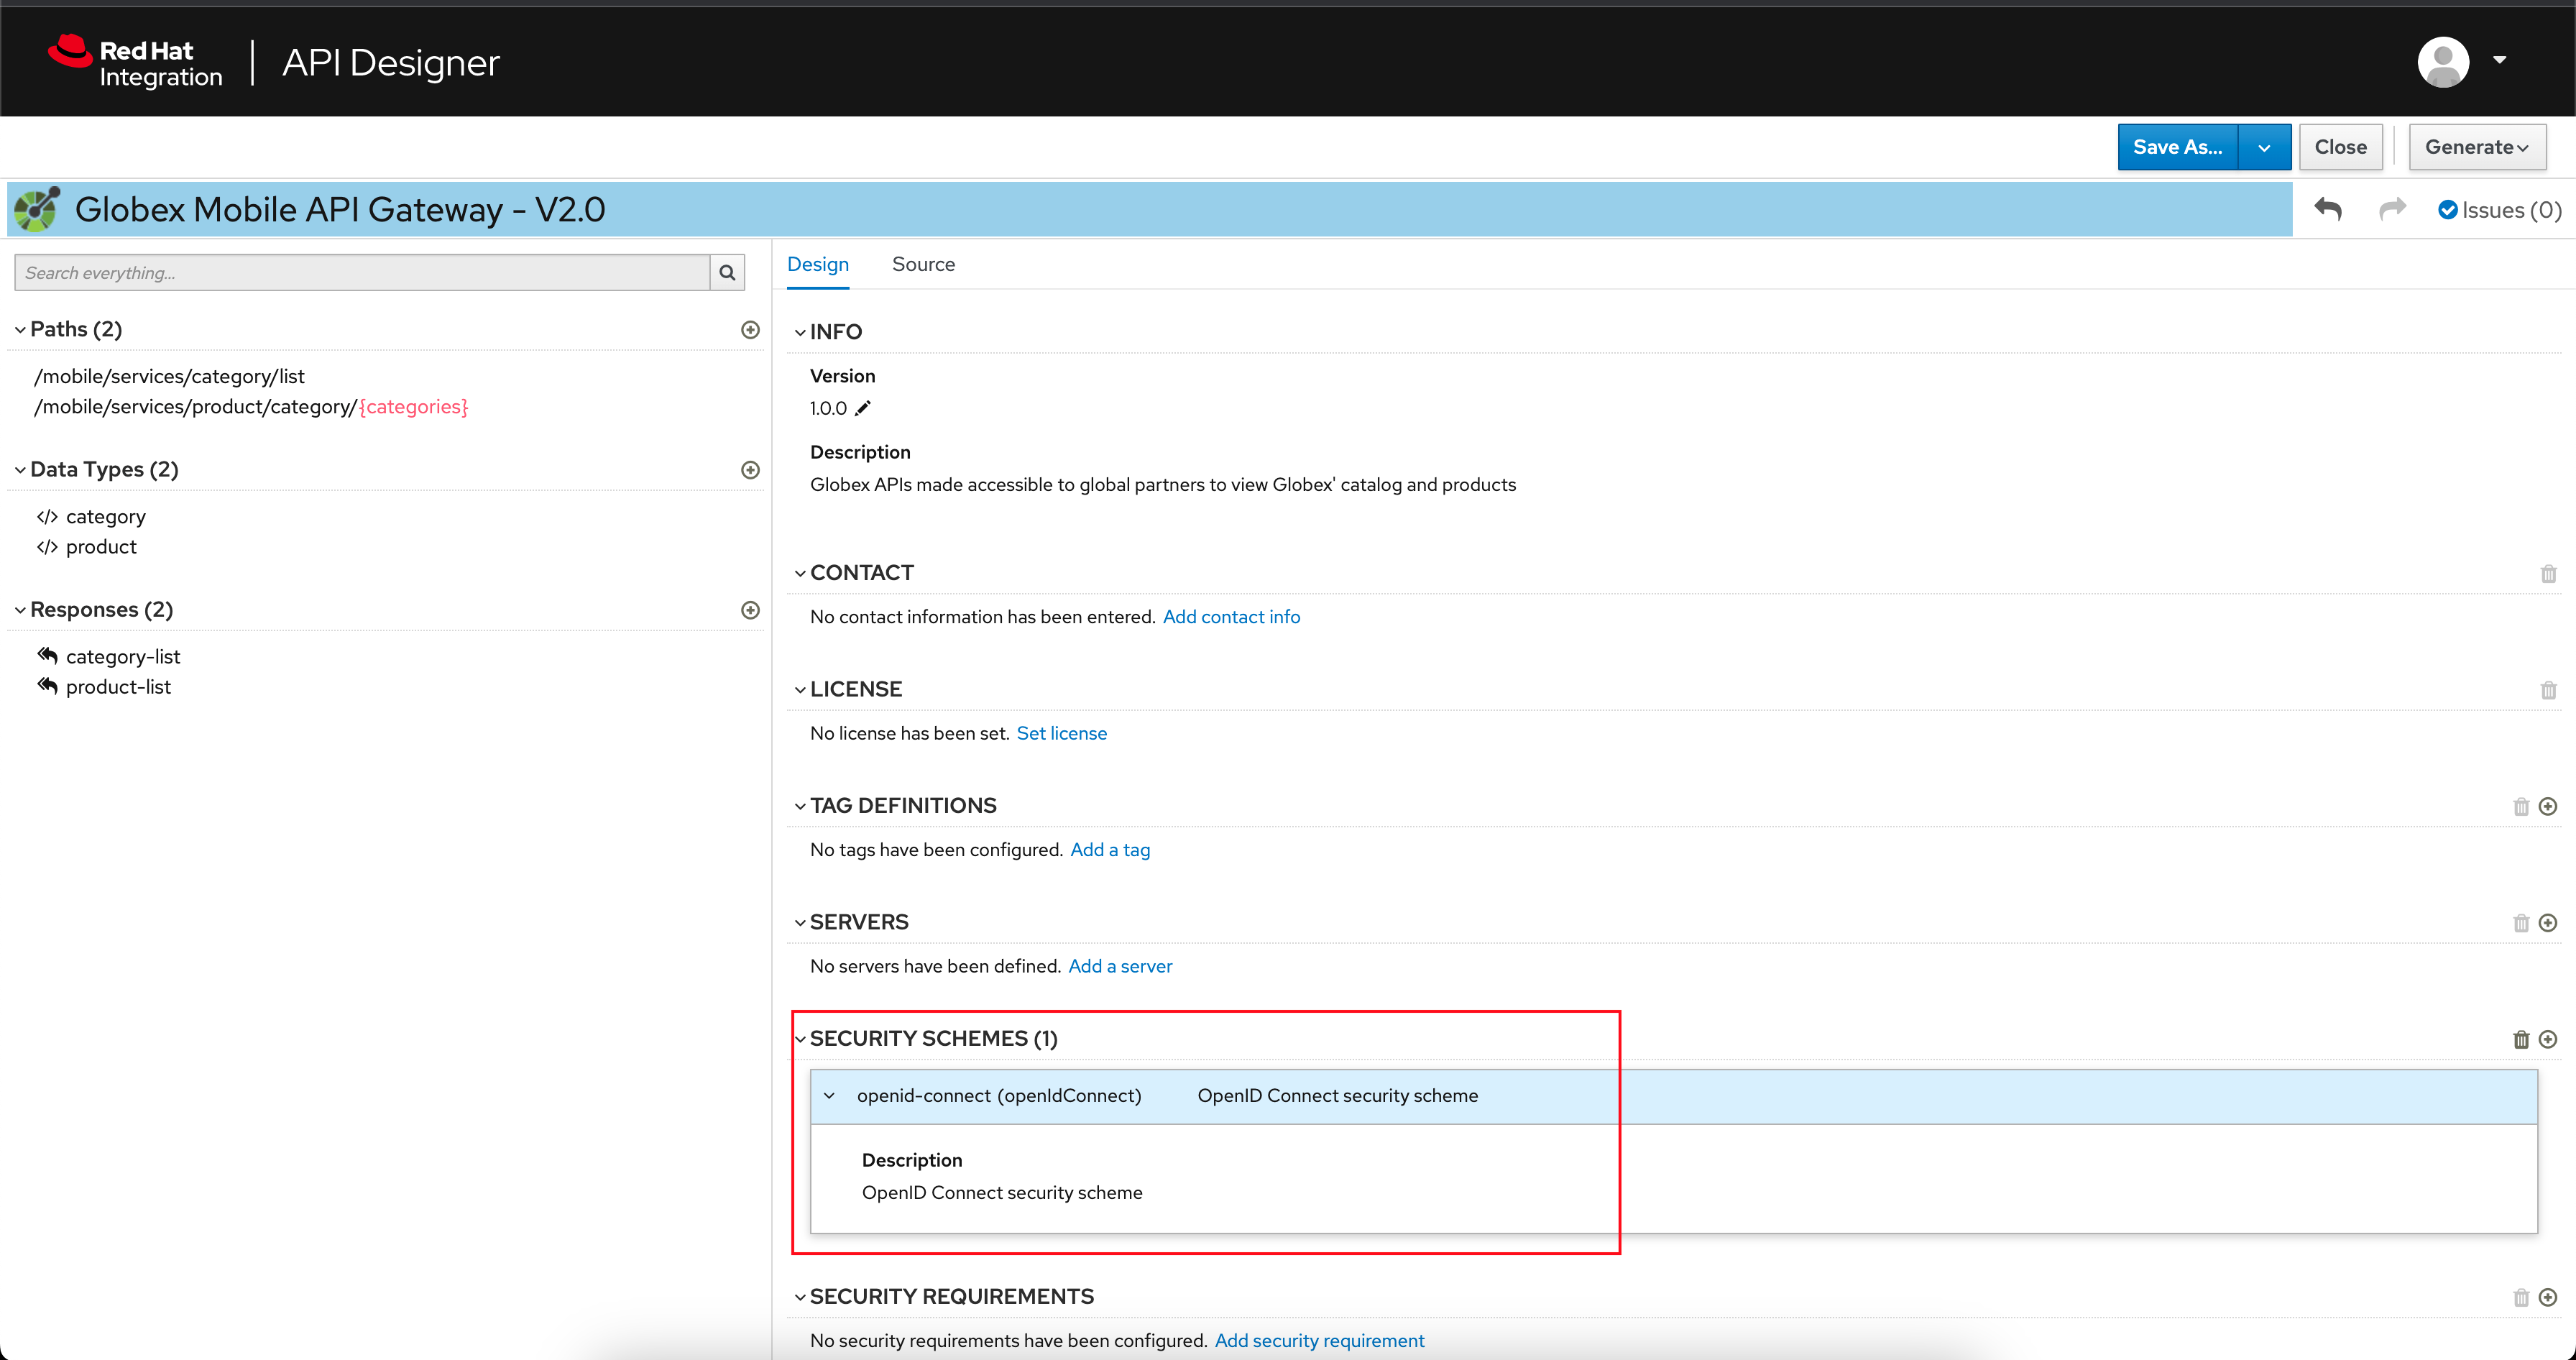 Figure 9. API Designer: Verify openid-connect Security Scheme added
 -
The OpenAPI specification is now ready to be downloaded. Click on the down arrow button adjacent to Save As.. and then choose Save as YAML button found on top-right of the page. The file gets saved automatically in the Downloads folder of your computer.
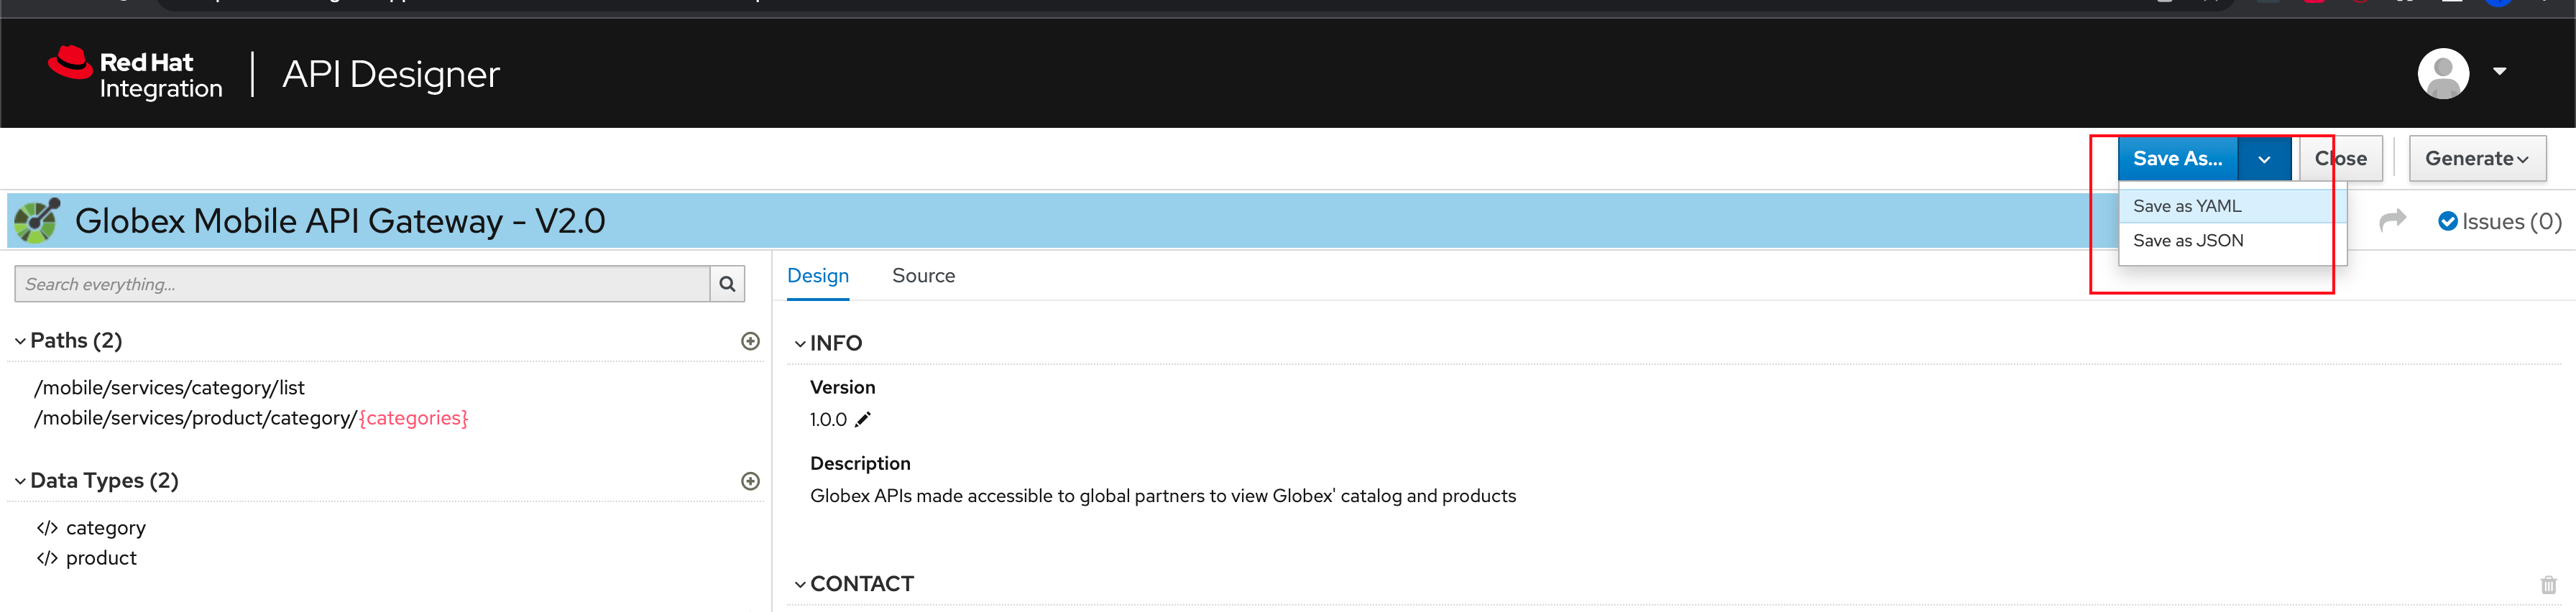 Figure 10. API Designer: Save API as YAML in your computer
 -
You can now close this browser tab.
-
The Mobile OpenAPI spec is ready to be governed with a Service Registry.
3. Manage the Mobile OpenAPI with Service Registry
| Use the exact same values as instructed below to avoid errors in the other sections of this labs. |
-
Launch Red Hat build of Service Registry by accessing {service_registry_ui_url}[this link^, window="service_registry_url"]
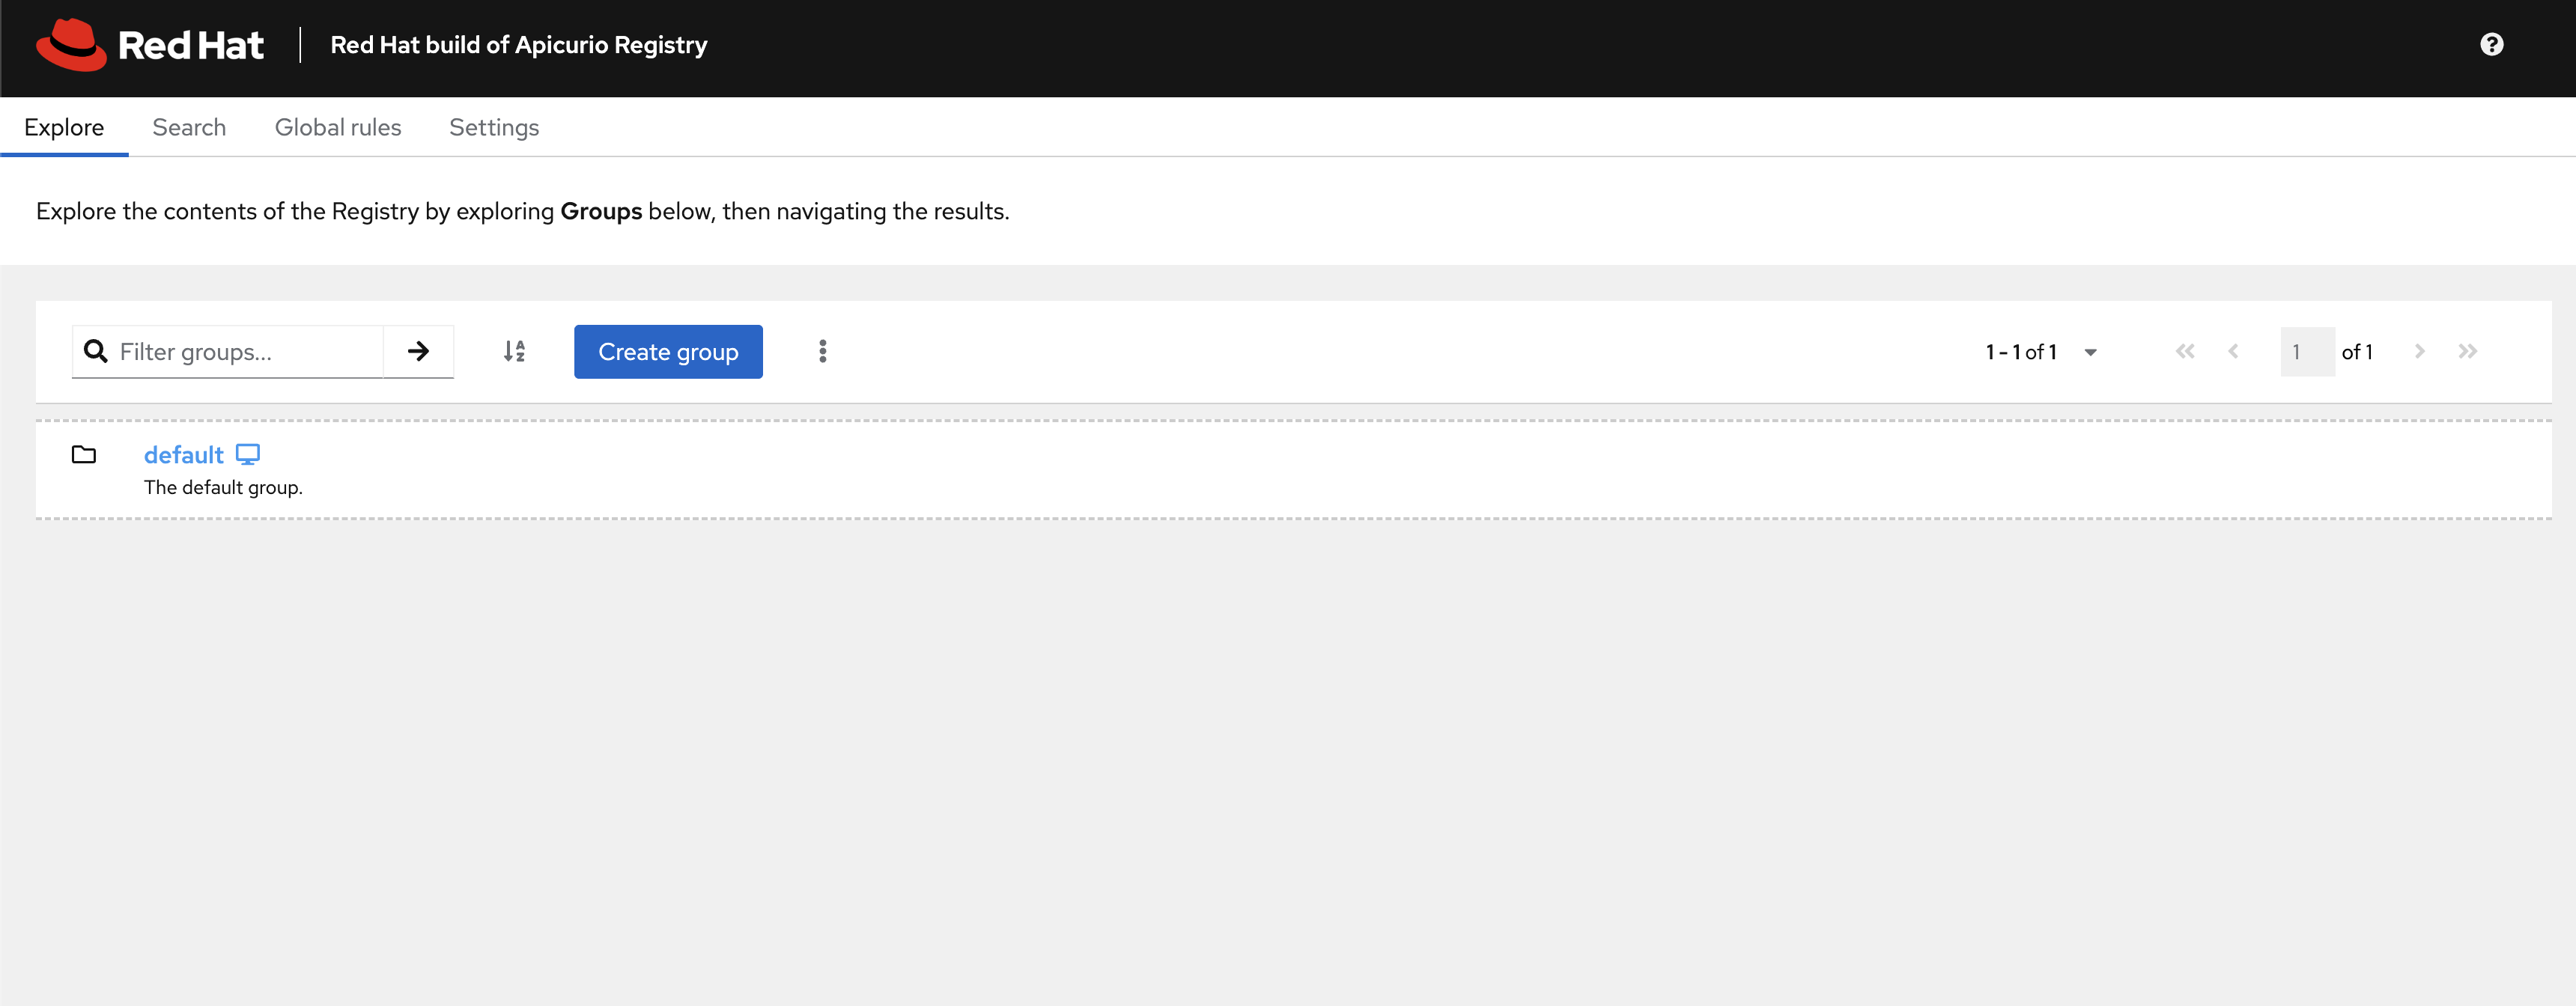 Figure 11. Service Registry: Home Page
 -
Click on the Create group button as shown in the screenshot.
 Figure 12. Service Registry: Landing Page
 -
Enter
globexas the Group ID in the Create Group wizard, and click on the Create button.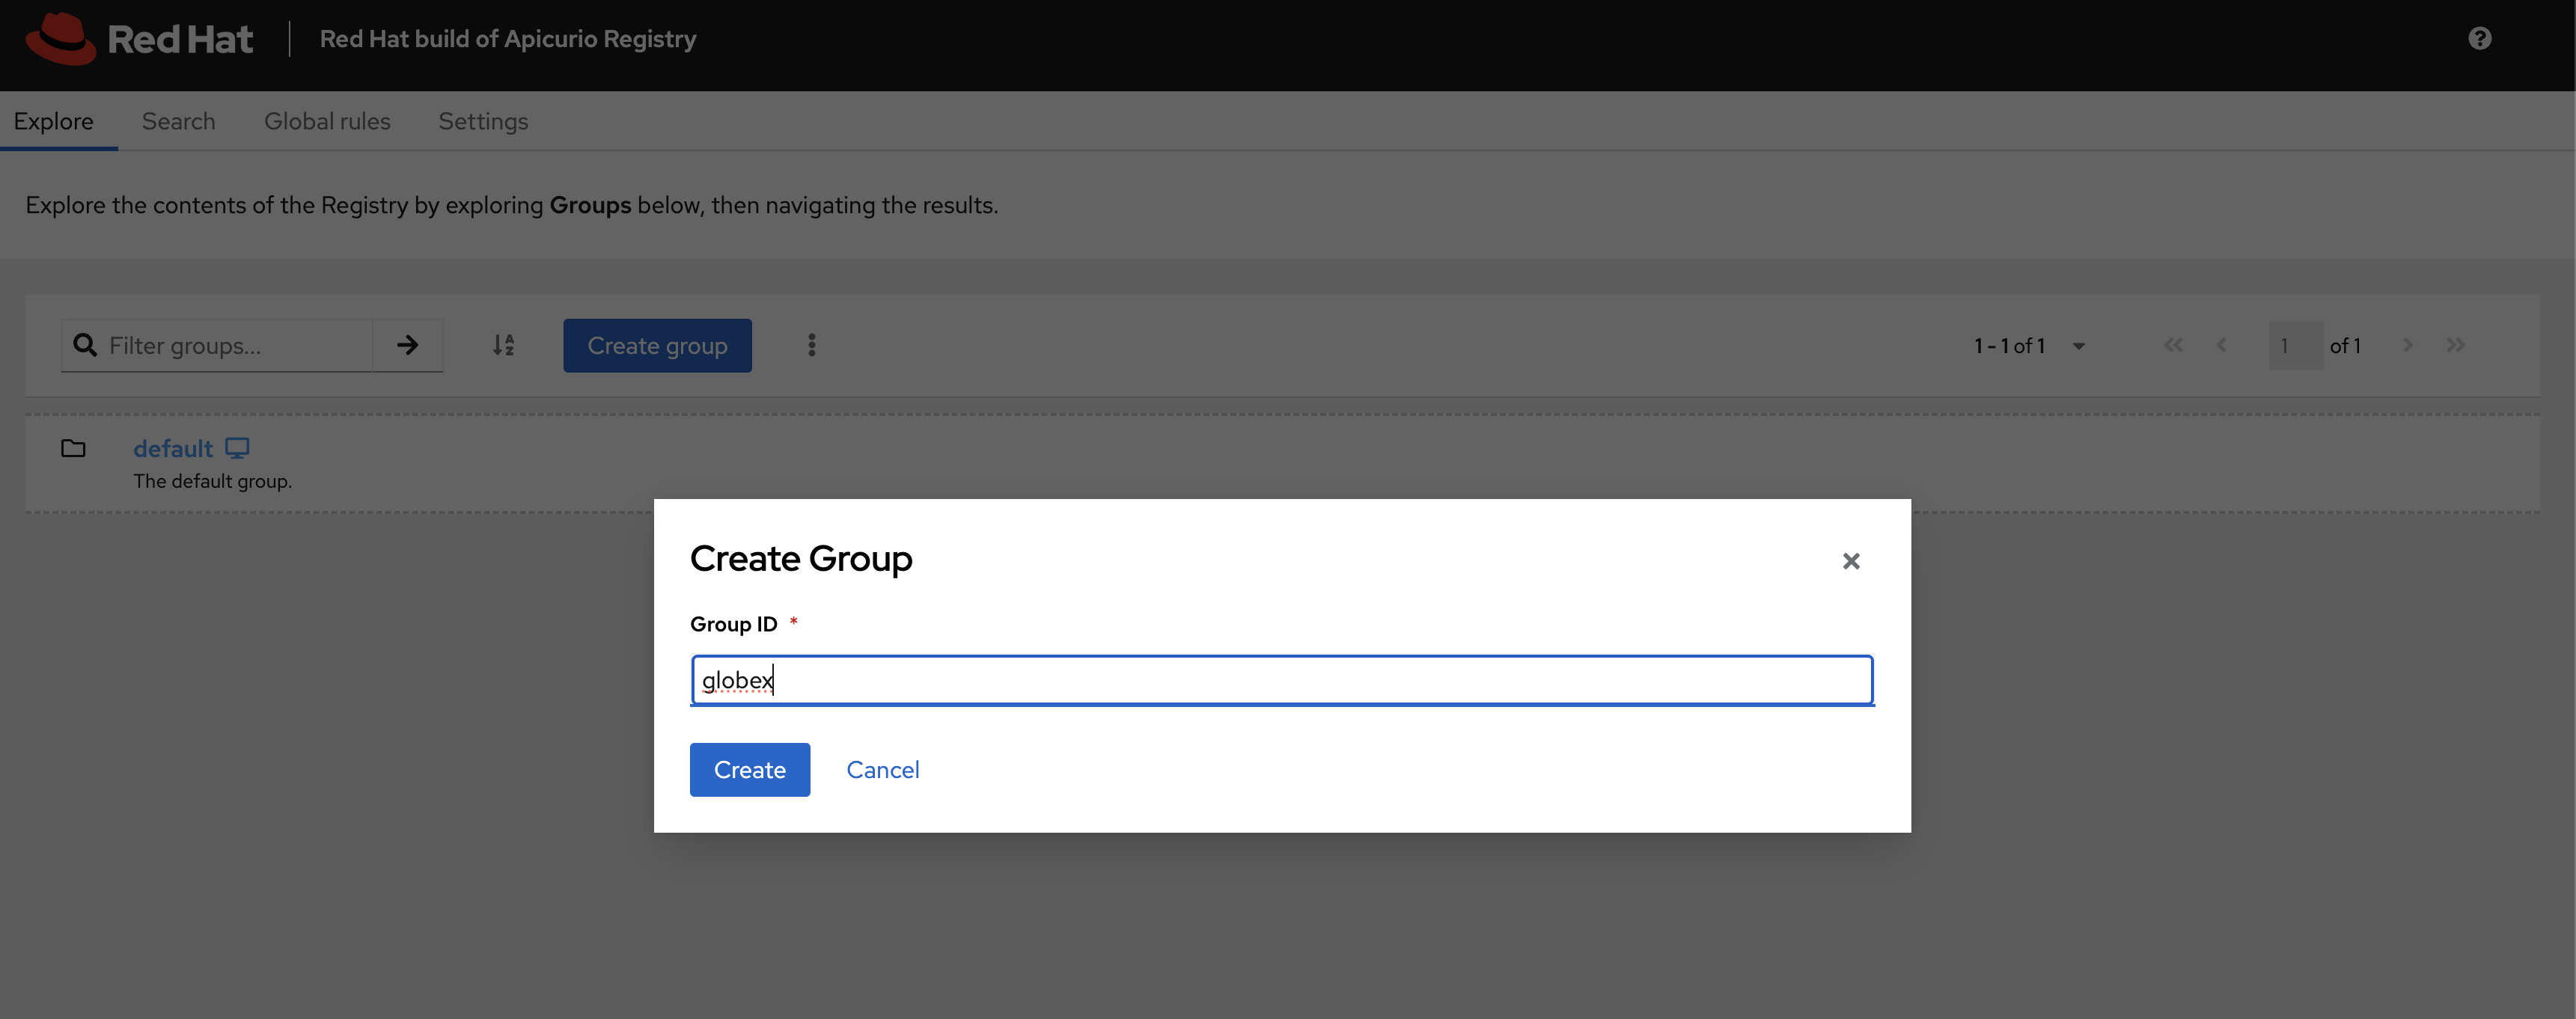 Figure 13. Service Registry: Landing Page
Group Id
globex -
Navigate to the
globexgroup, and click on the Create artifact button as shown in the screenshot.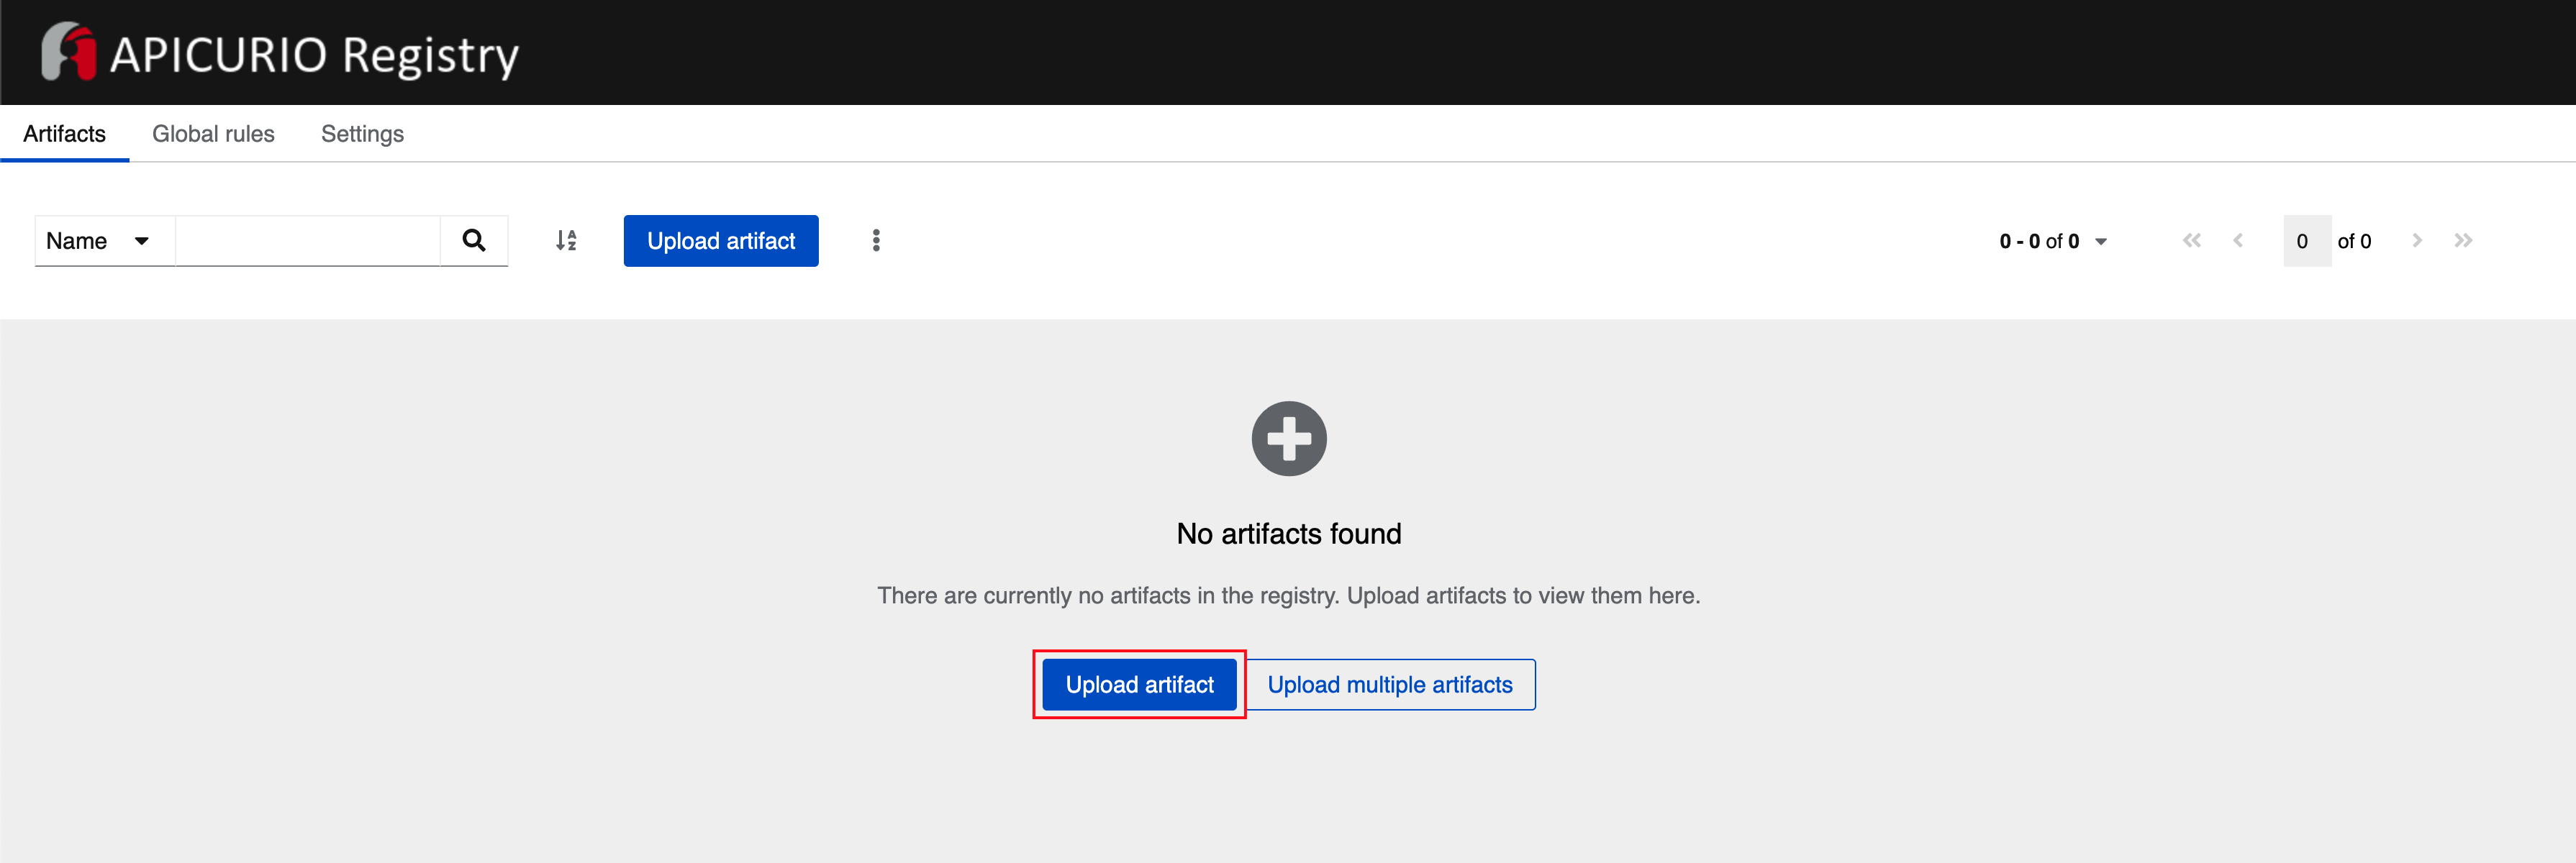 Figure 14. Service Registry: Landing Page
 -
You will be presented with a Create Artifact wizard.
-
In the Artifact Coordinates step, enter the following details, and click on the Next button.
Artifact Id
mobileapiType:
Choose the types as OpenAPI from the dropdown.
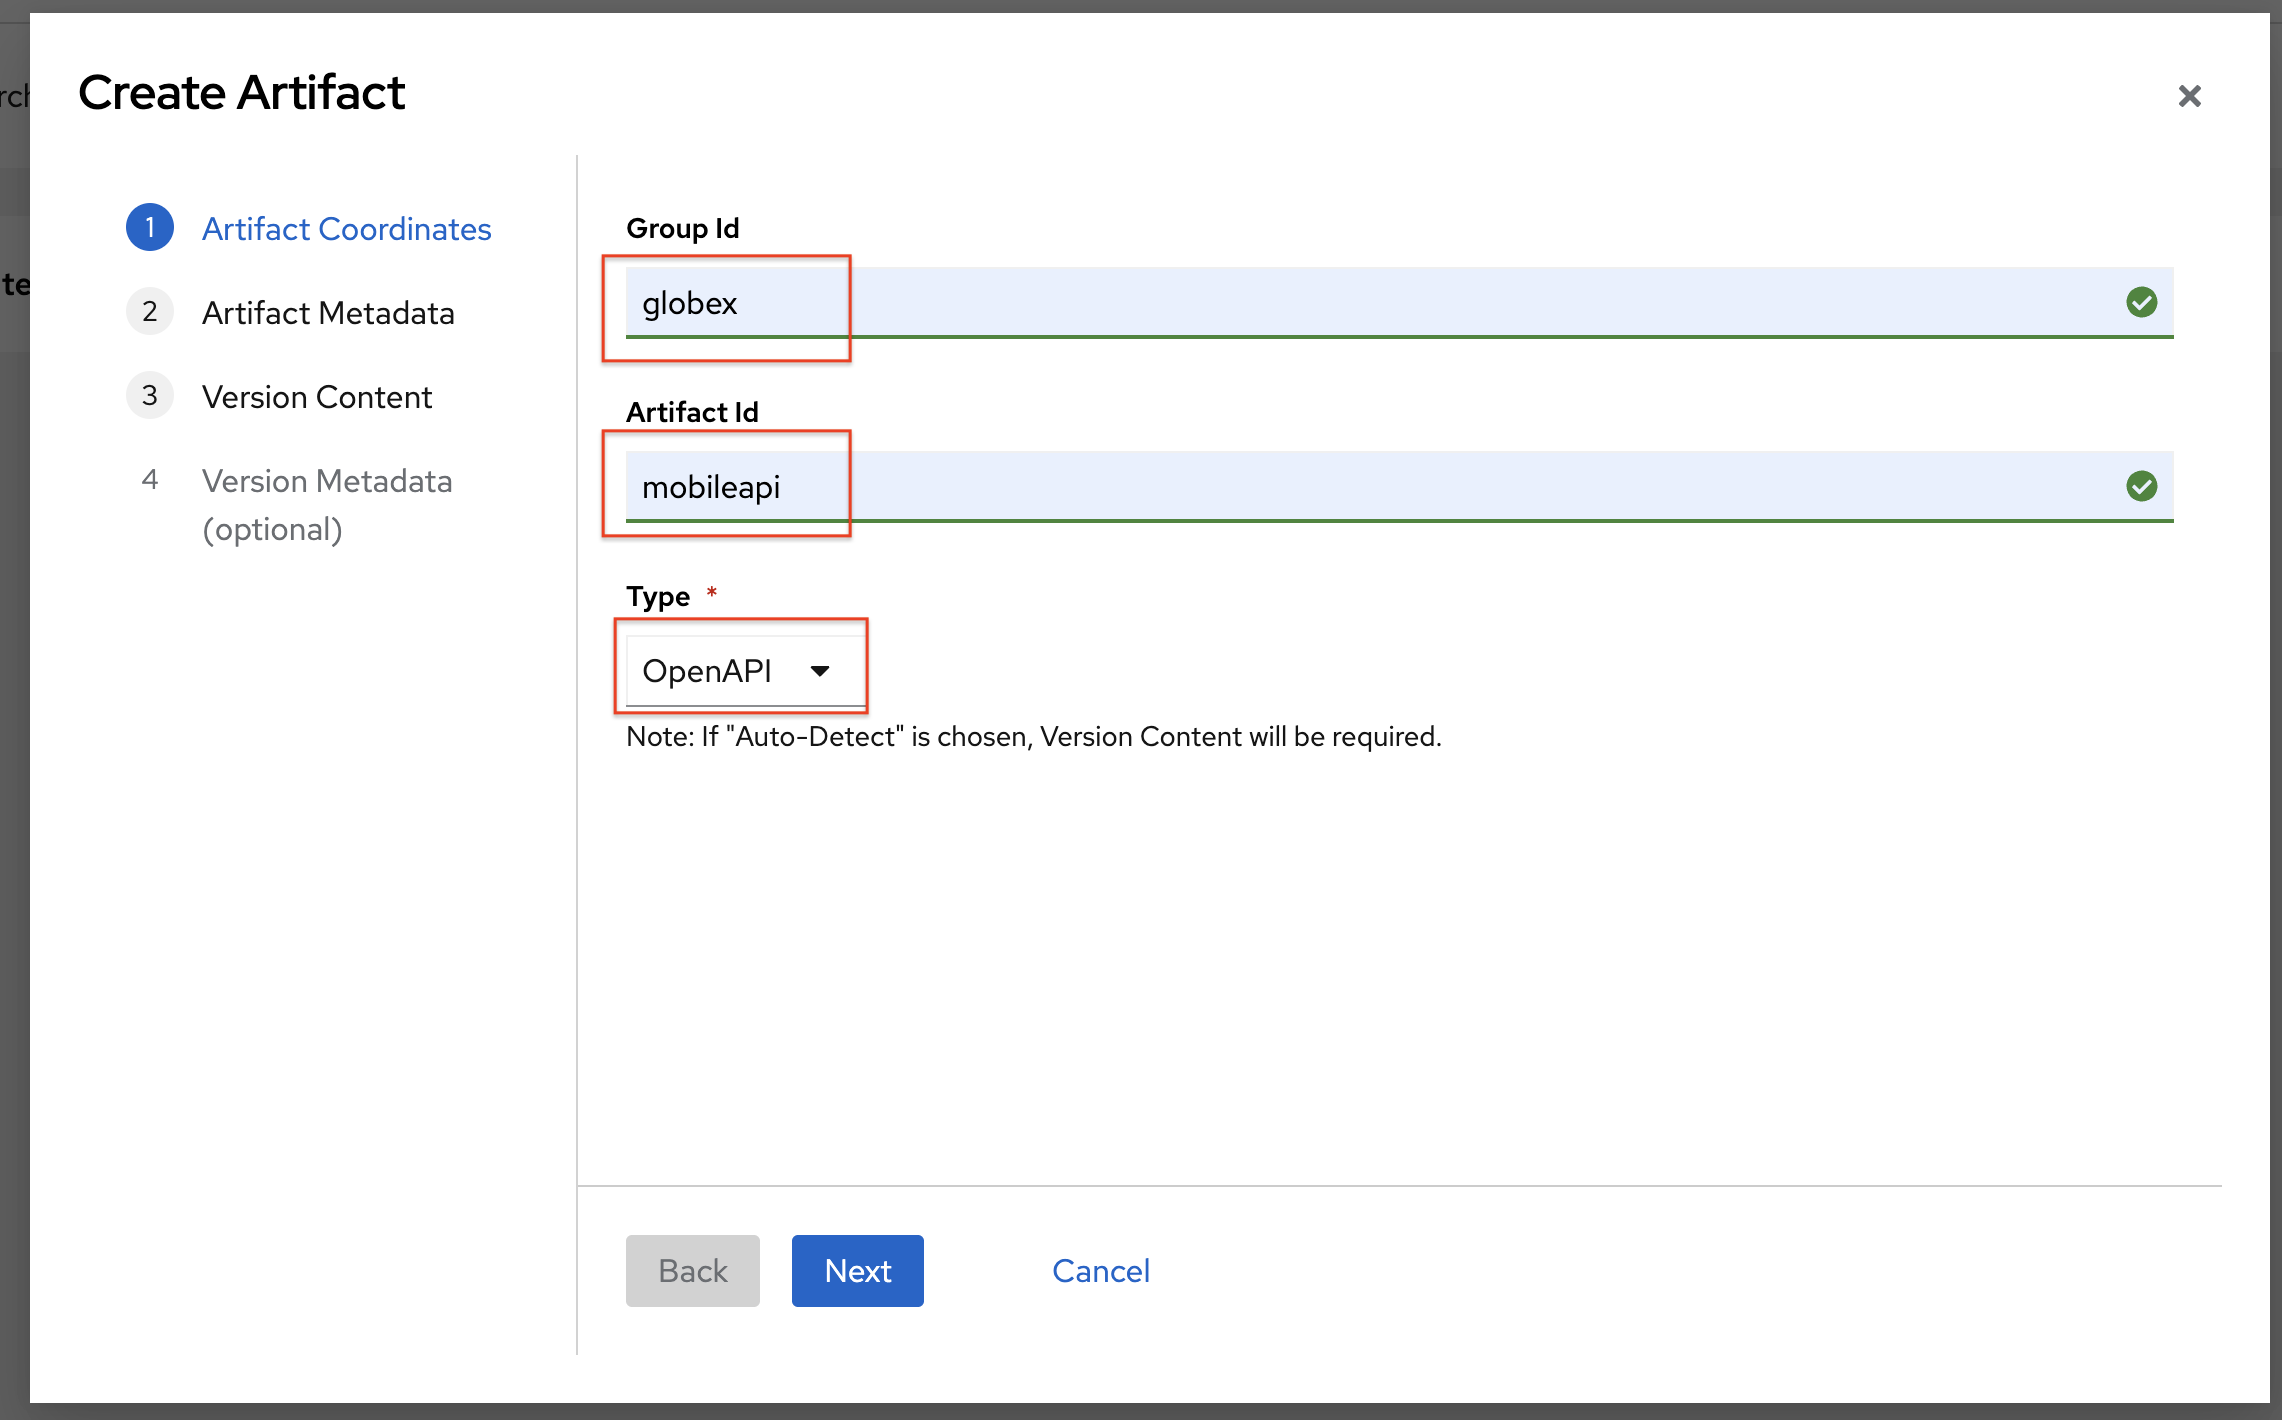 Figure 15. Service Registry: Artifact Coordinates
 -
In the Artifact Metadata step, enter the following details, and click on the Next button.
Name
Globex Mobile API GatewayDescription (textarea)
Globex APIs made accessible to view catalog and products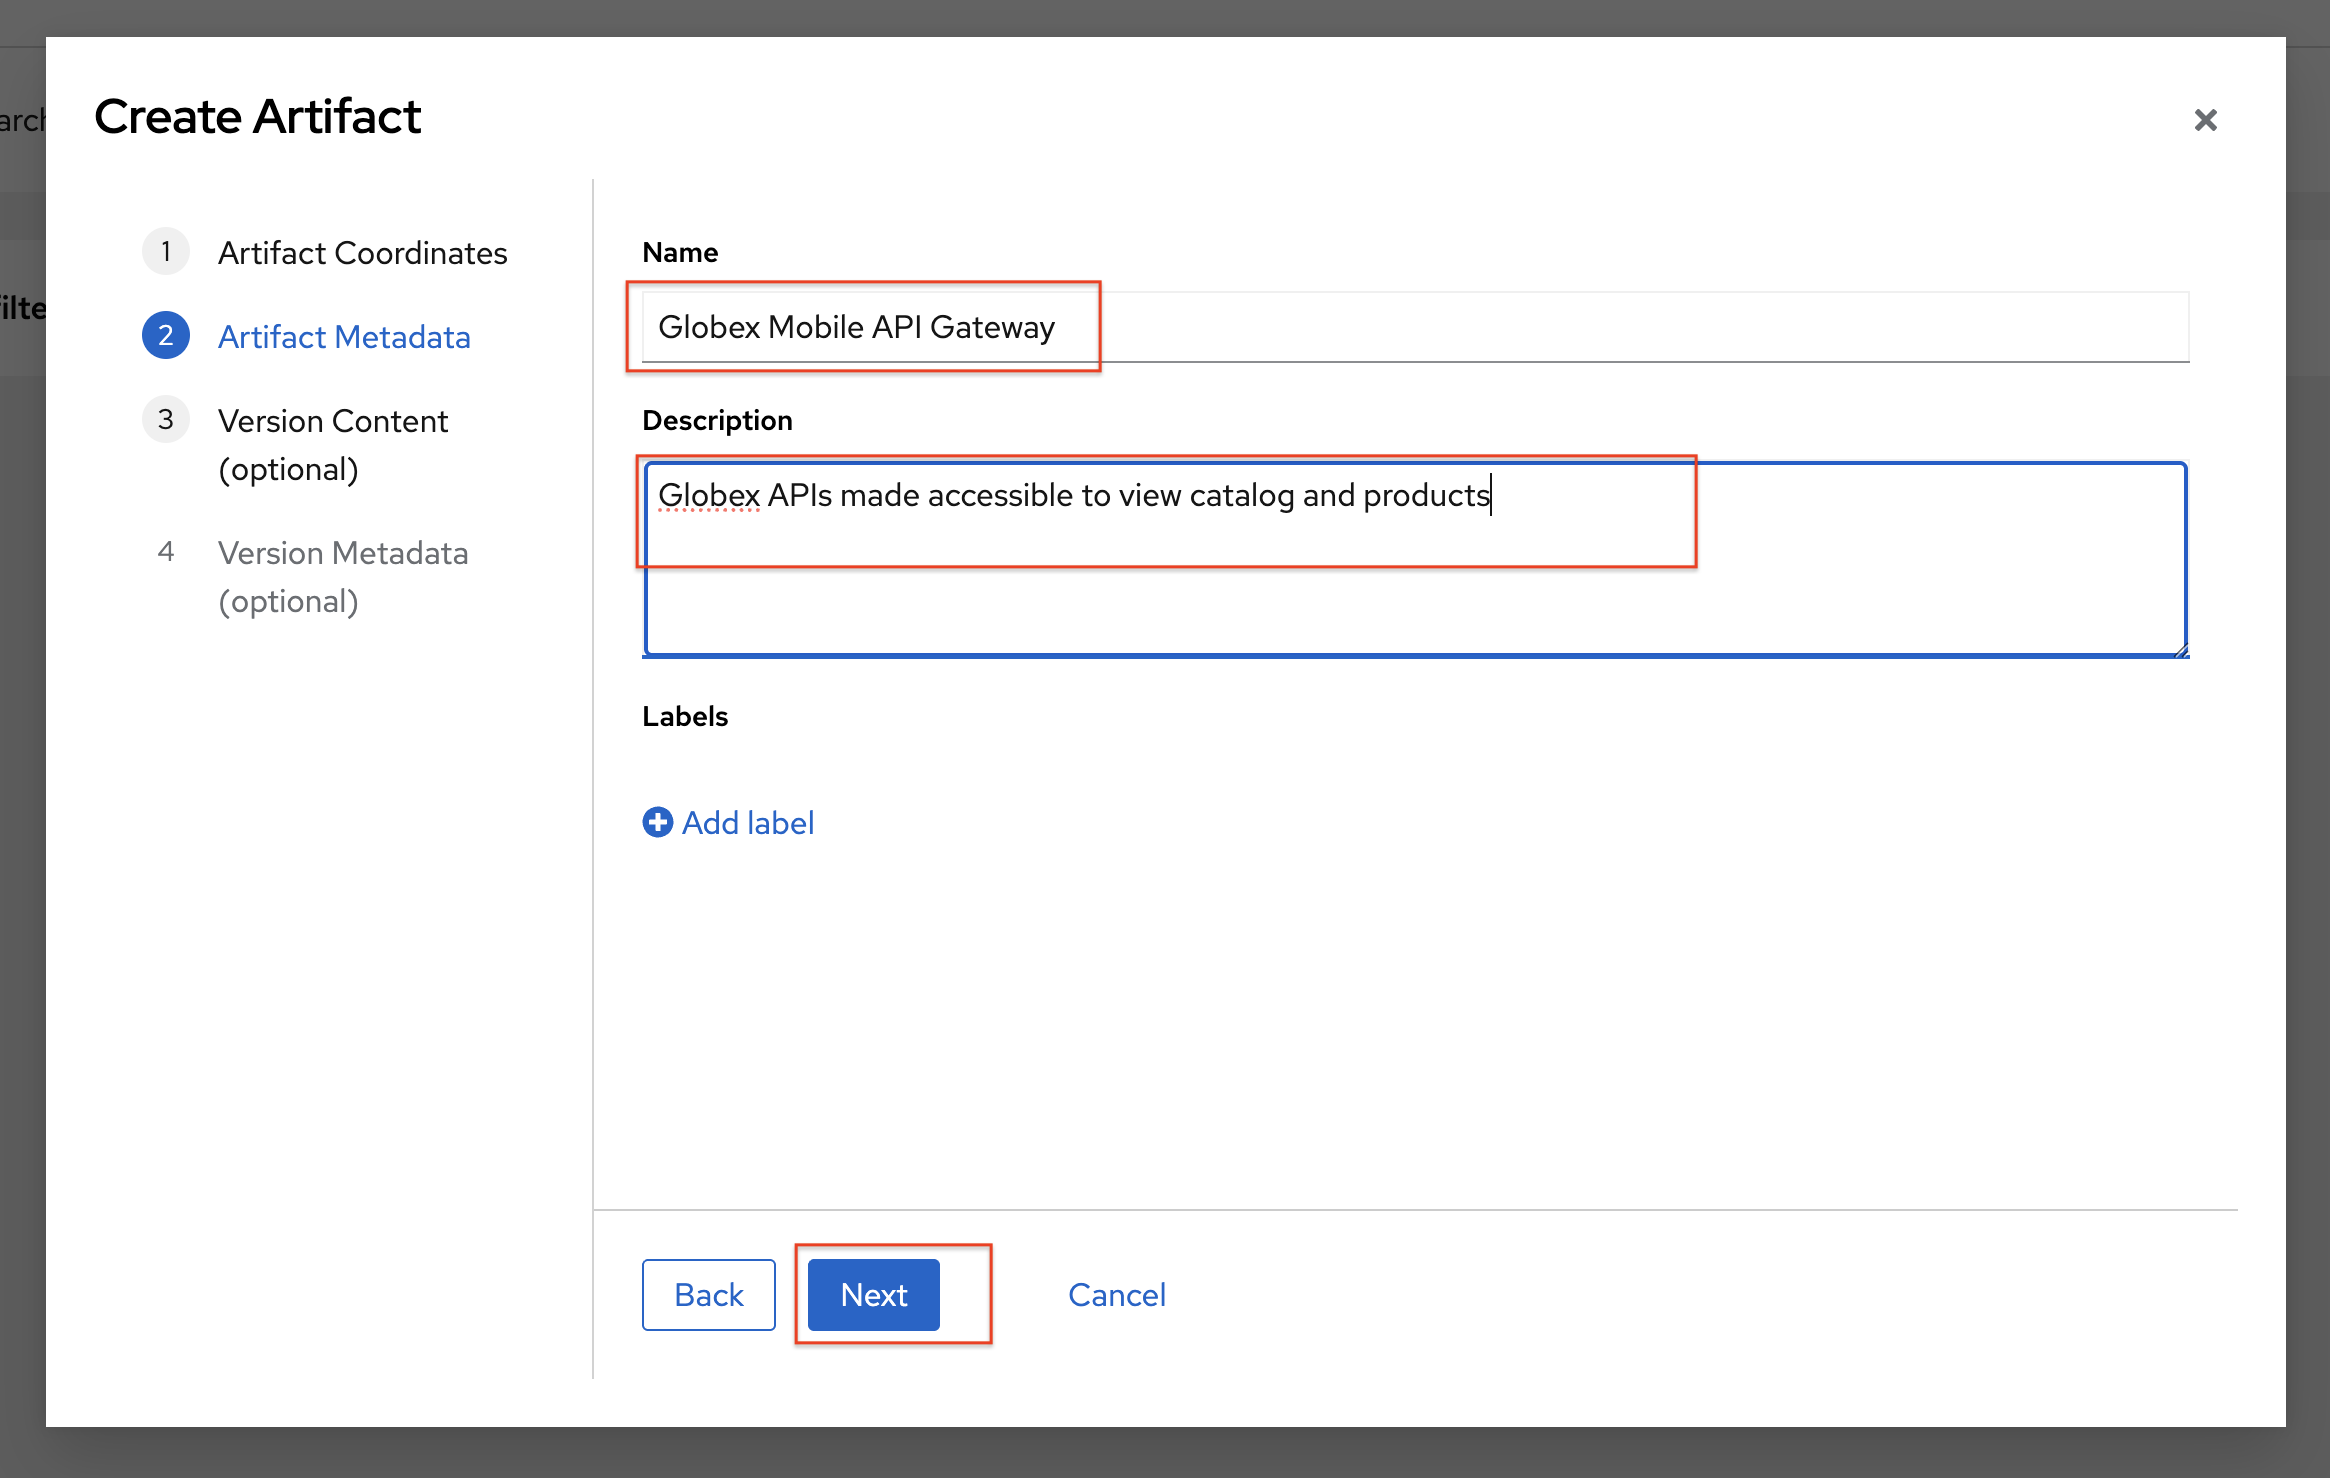 Figure 16. Service Registry: Artifact Coordinates
 -
In the Version Content (optional) step
-
Leave the Version Number empty (it defaults to 1.0.0)
-
In the Content section, in From File section choose the Browse.. button to upload the Mobile OpenAPI downloaded in the previous step, or
Drag & dropthe file into the textarea. You also can copy and paste the content of the OpenAPI spec file from the API Designer into the textarea. -
Click on the Next button.
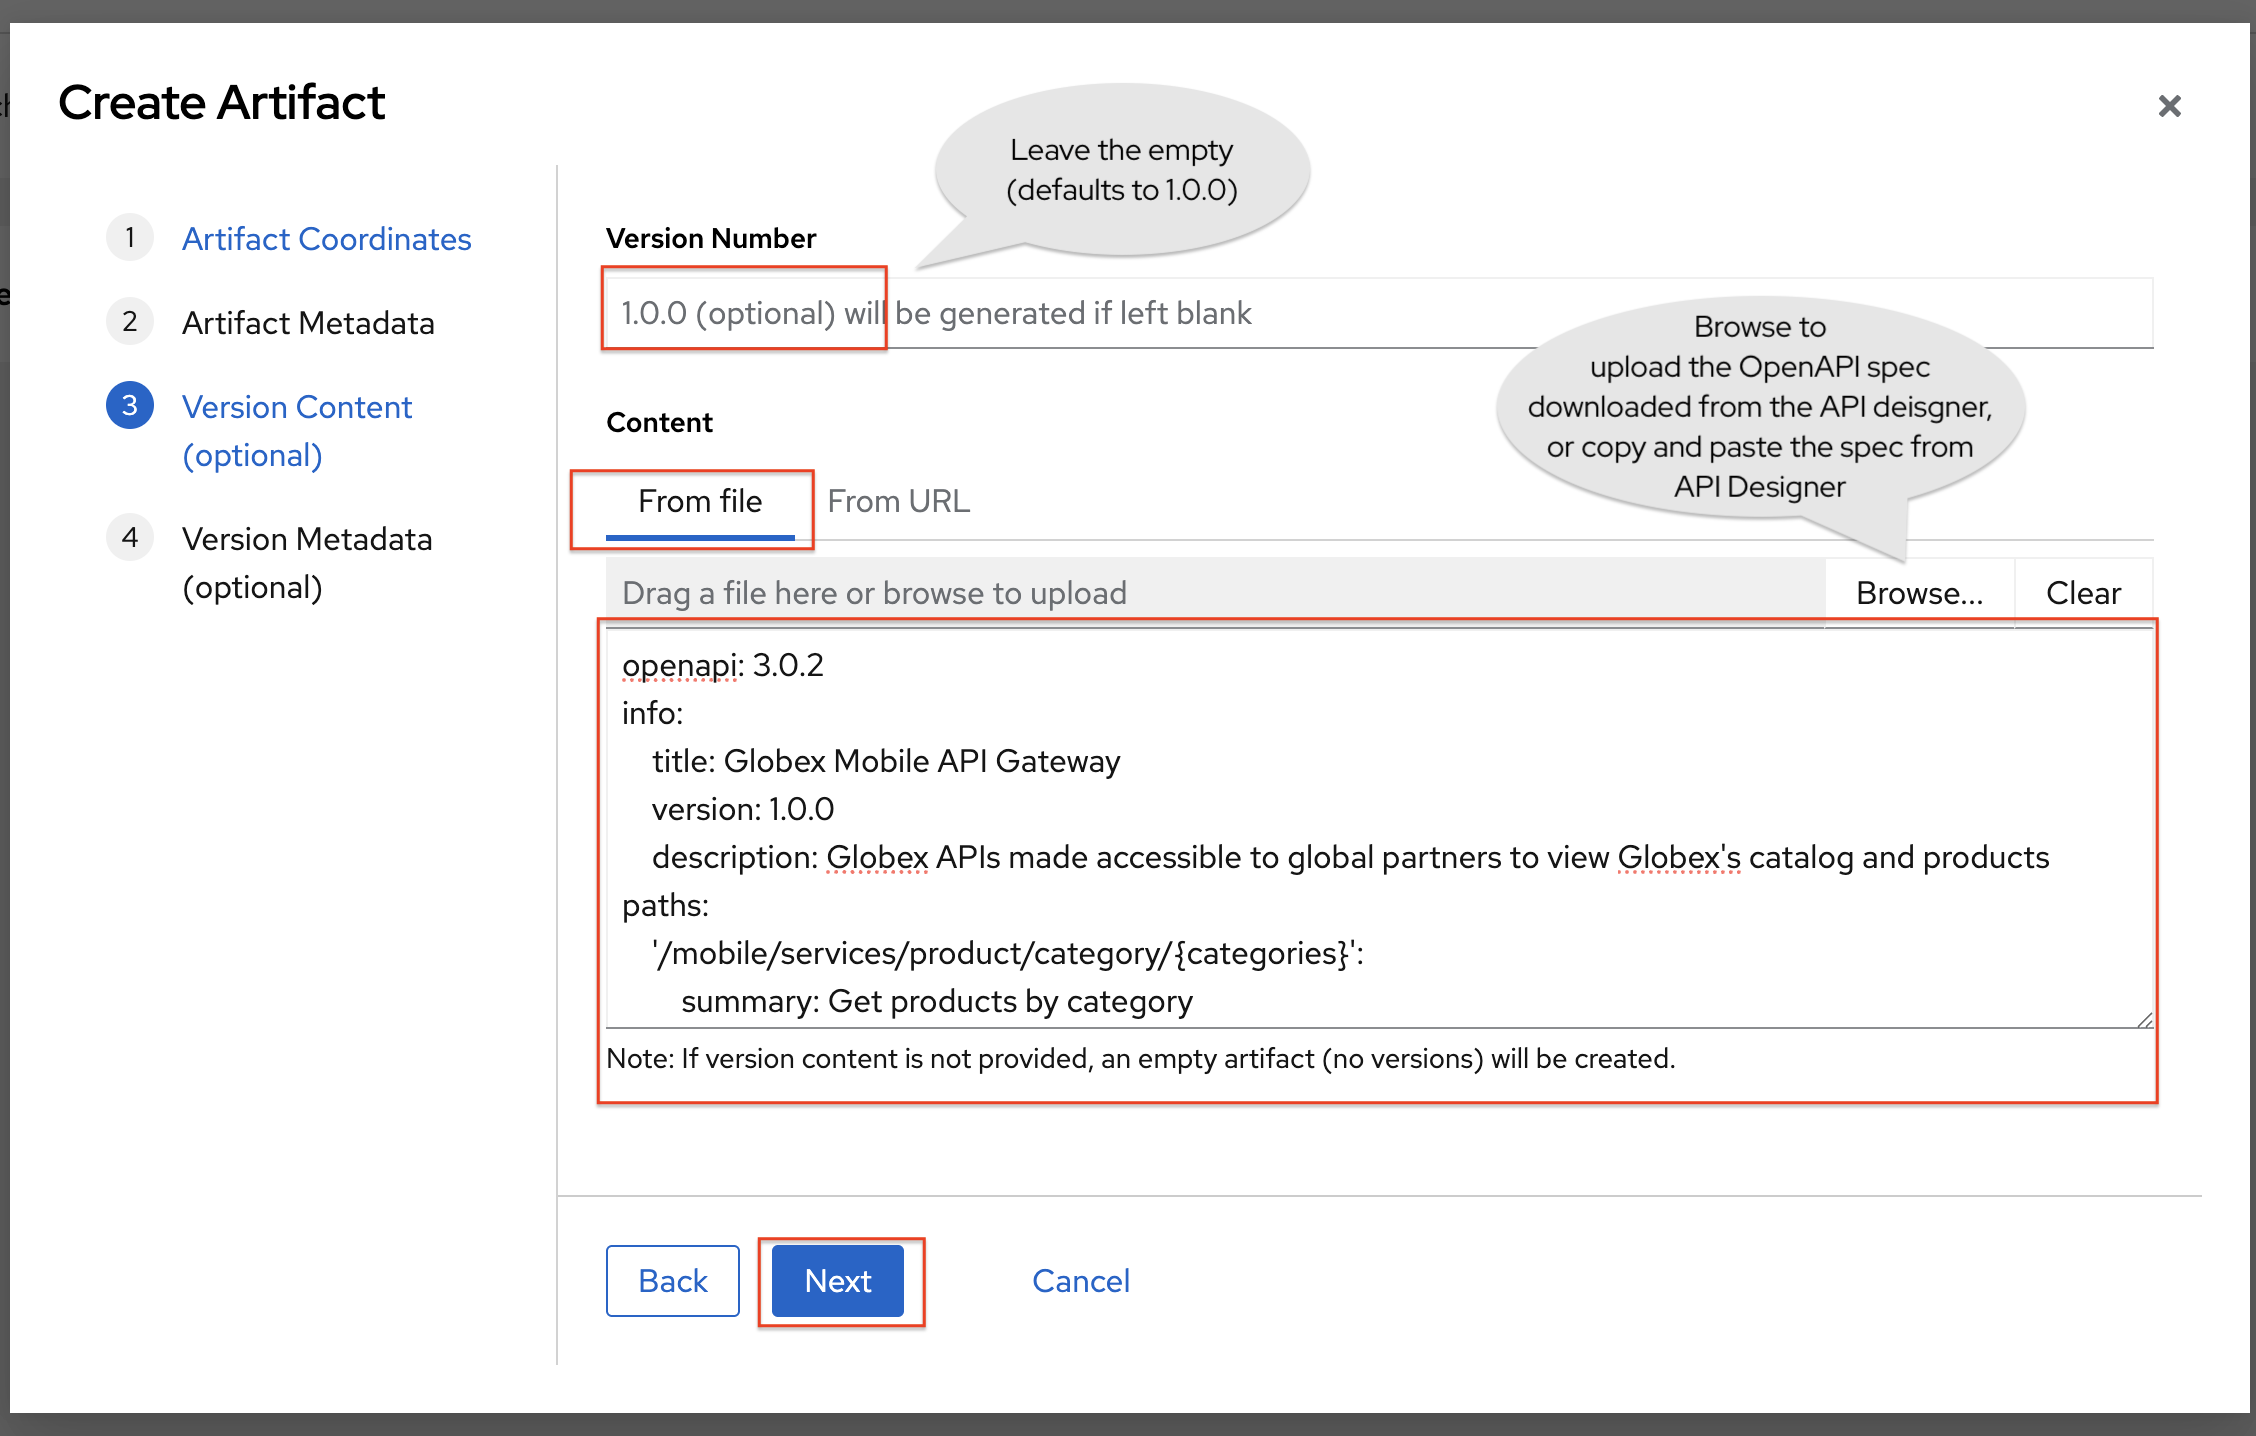 Figure 17. Service Registry: Version Content
-
-
In the final Version Metadata (optional) step, for now you can leave the fields empty, and click on the Create button.
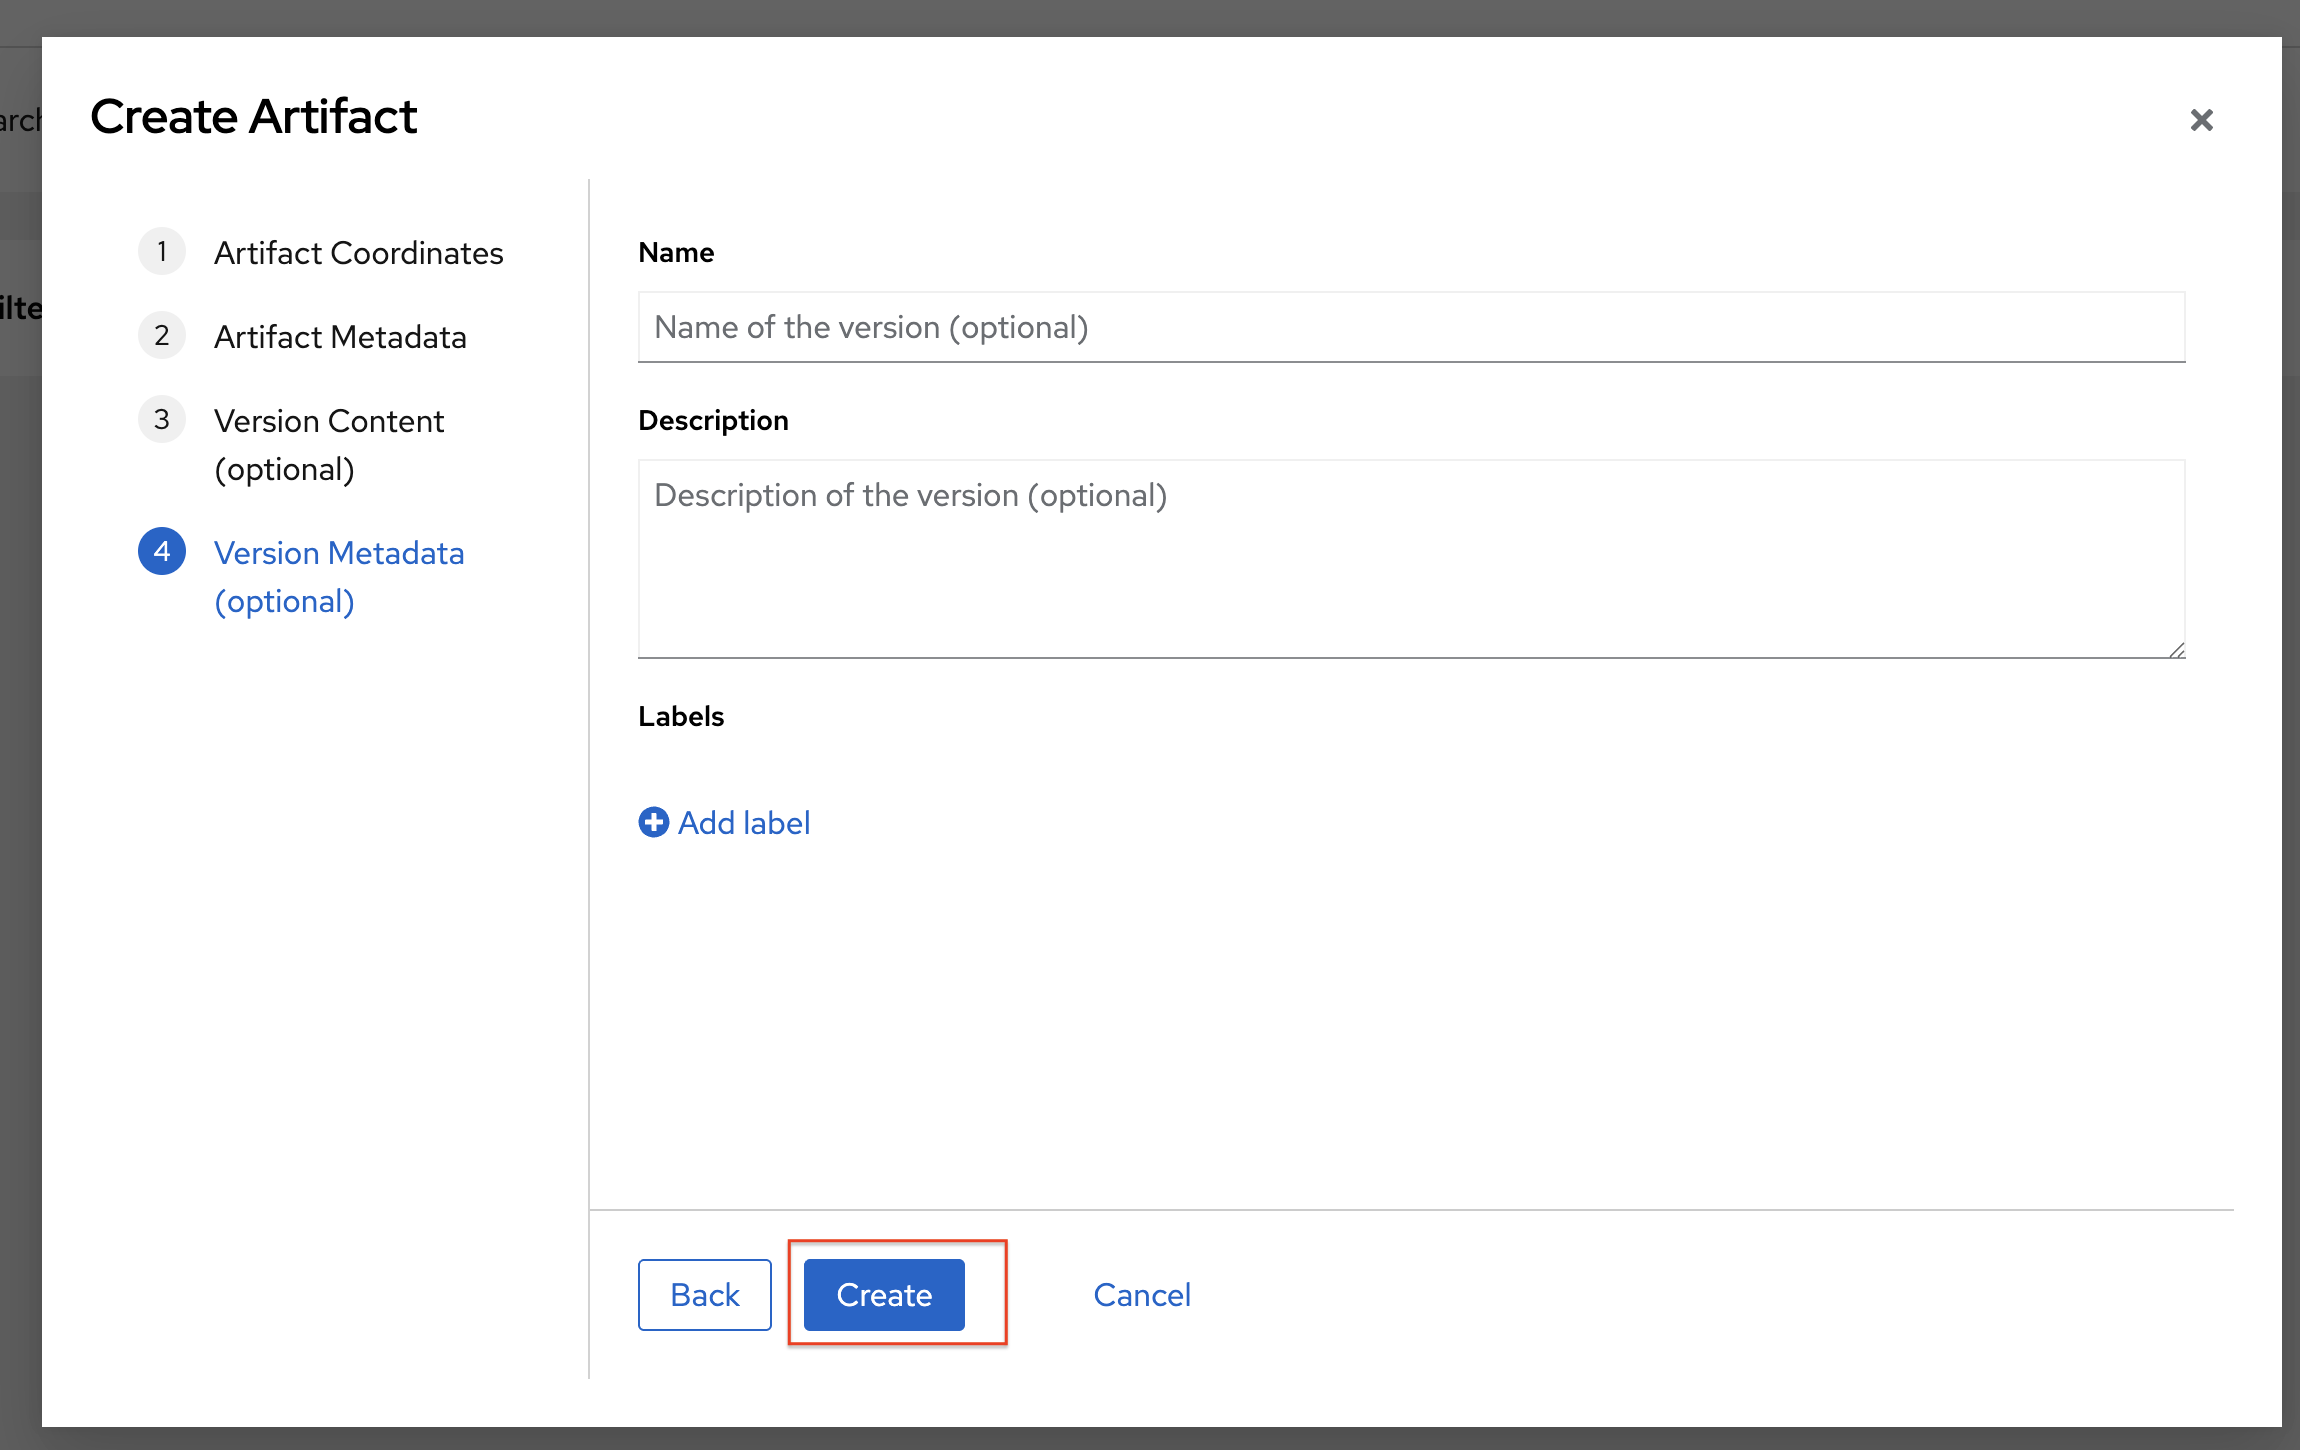 Figure 18. Service Registry: Version Metadata
 -
You are directed to the overview page of the new mobileapi that you just imported.
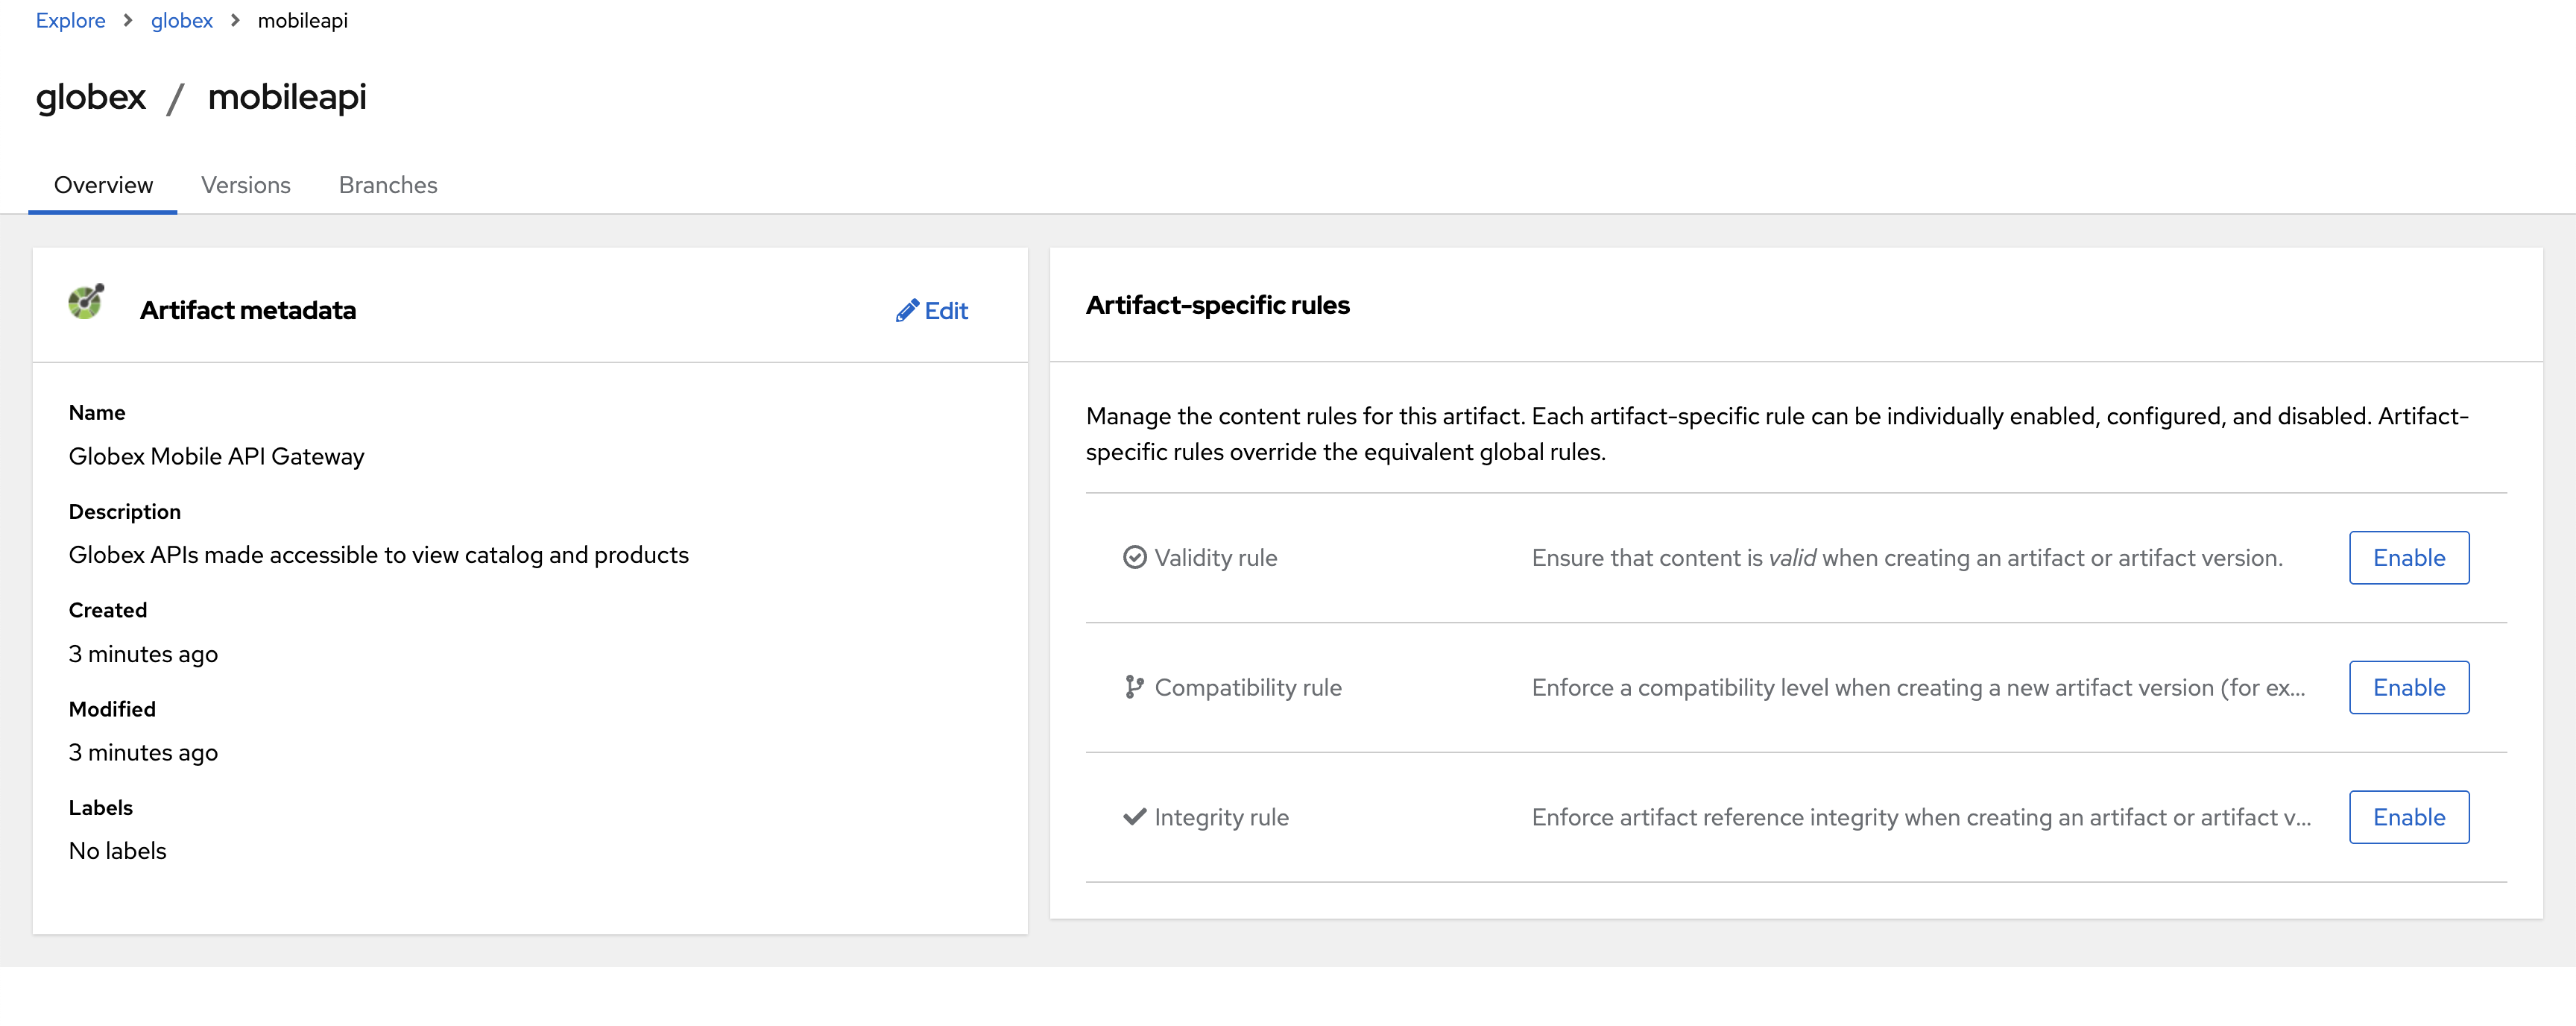 Figure 19. Service Registry: Globex Mobile API Gateway artifact has been uploaded
 -
You can share this OpenAPI schema with others via this OpenAPI Schema’s endpoint : {service_registry_app_url}/apis/registry/v2/groups/globex/artifacts/mobileapi
This schema can be used for generating Quarkus code for both Clients and Server-side using maven plugins.