Red Hat build of Keycloak
1. Section Goals
-
Configure Red Hat build of Keycloak to provide single sign-on (SSO) capabilities for users signing into Mobile App
-
Configure Red build of Keycloak to secure Mobile Gateway API endpoints using OpenID Connect
2. Introduction
Red Hat build of Keycloak is used in this module to offer both Single Sign-On (SSO) to Mobile users, and also to secure the APIs.
|
We will be using OpenID Connect (OIDC) which is an open authentication protocol that works on top of the OAuth 2.0 framework. OIDC offers a discovery mechanism called OpenID Connect Discovery, where an OpenID server Red Hat build of Keycloak (referred to as Keycloak) publishes its metadata at a well-known URL. This URL is typically a collection of various endpoints the server offers, some of which are used in this workshop too. |
-
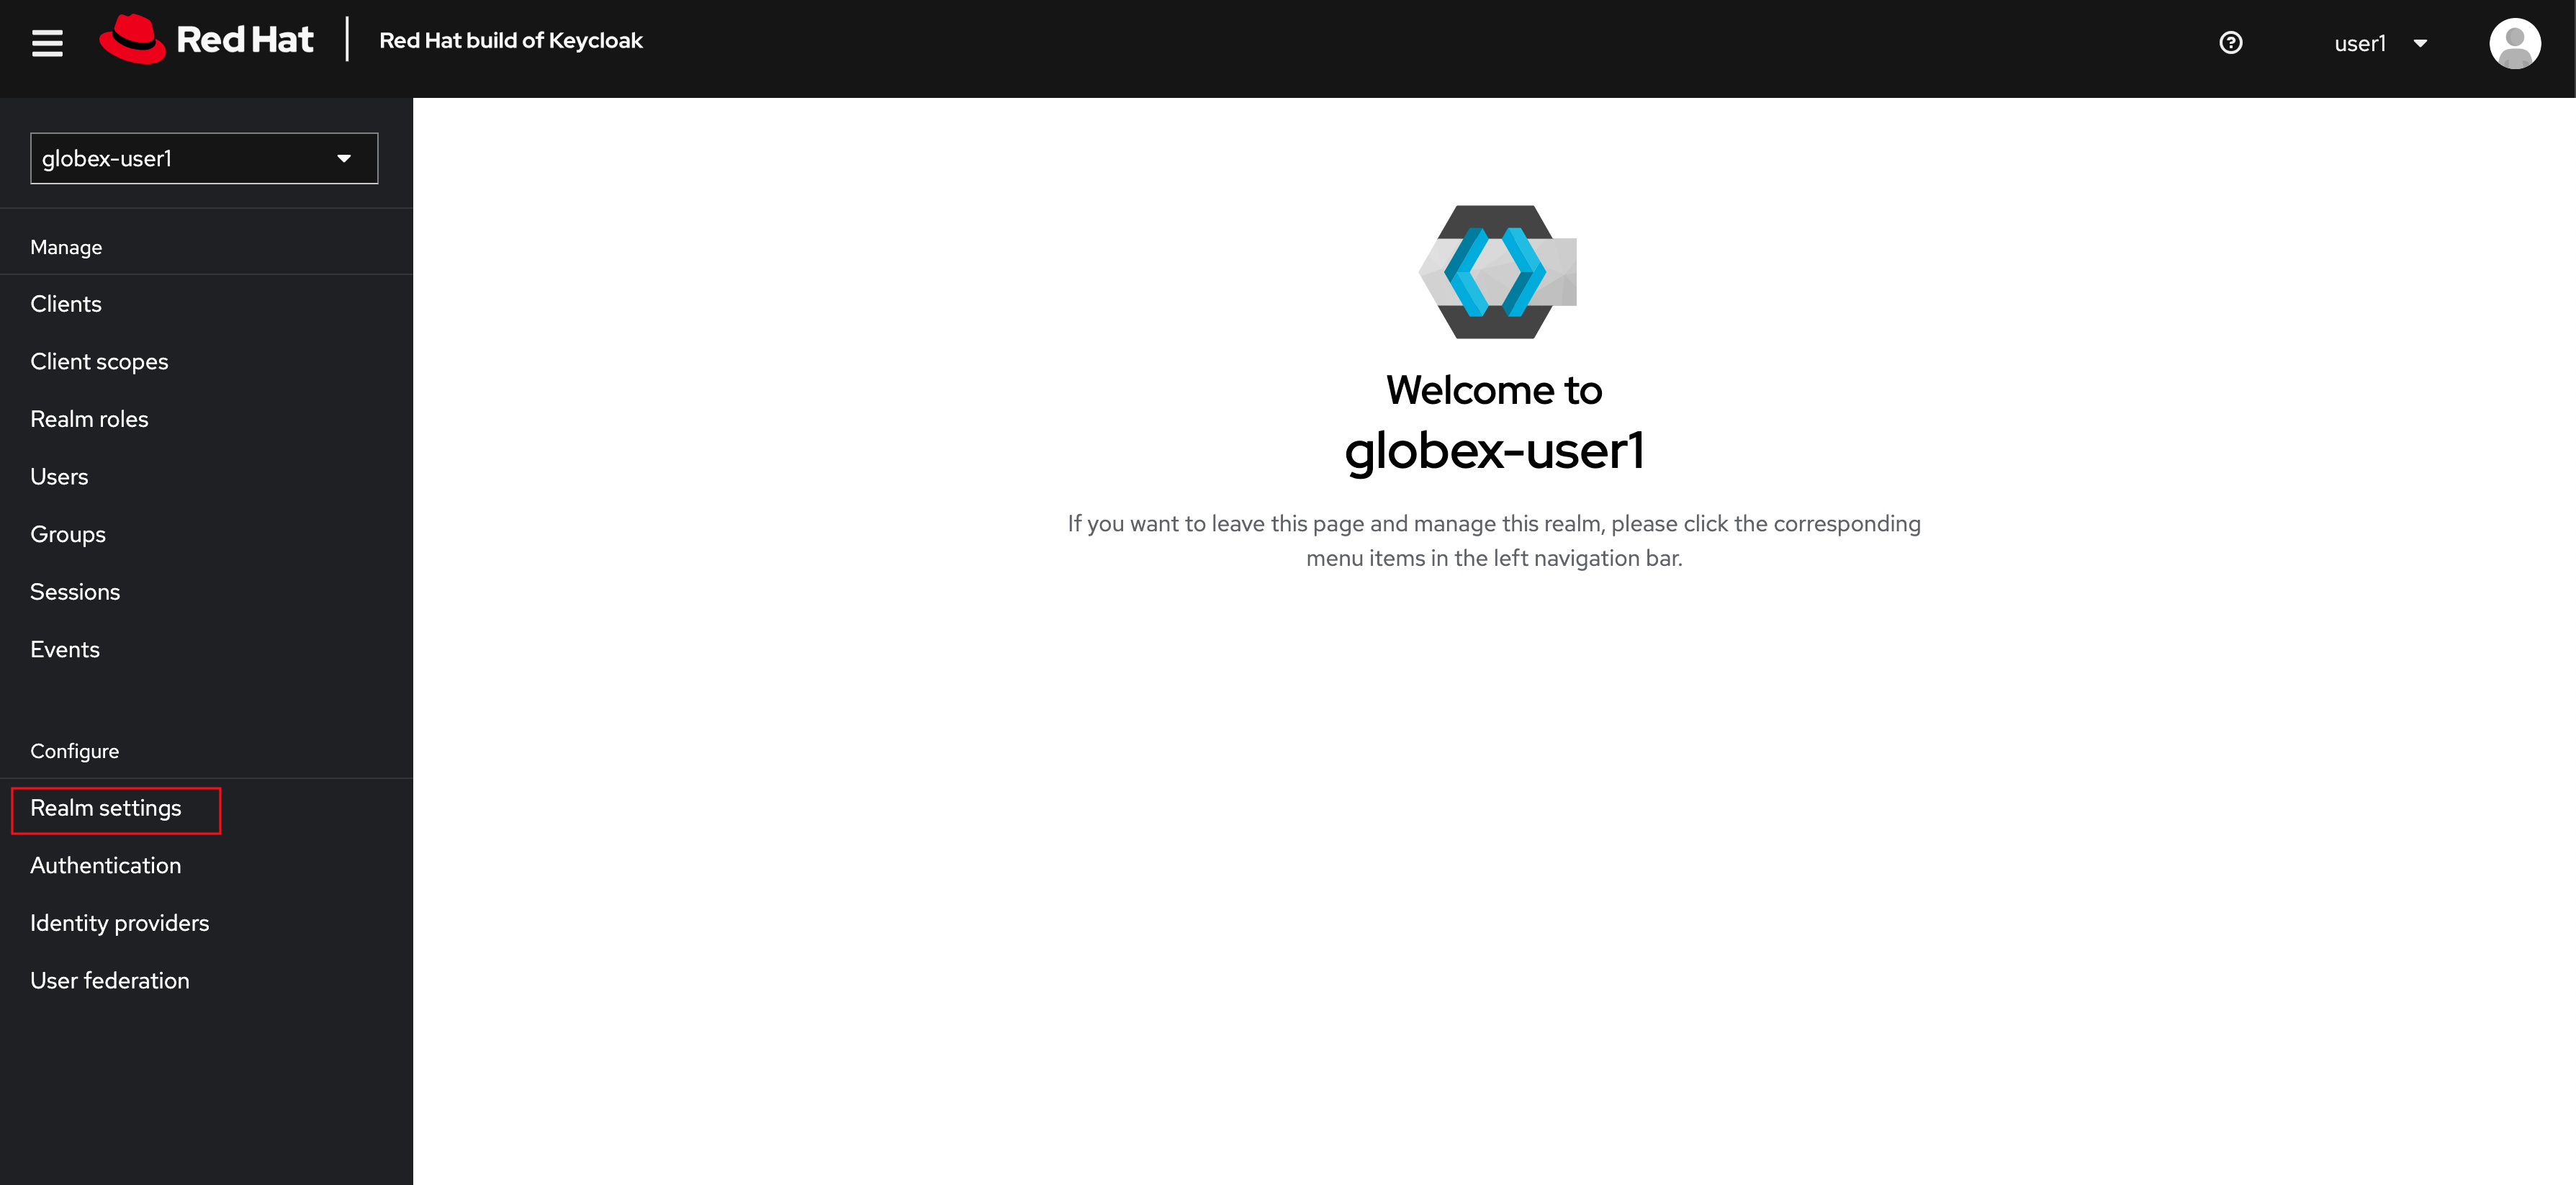
Launch Keycloak by clicking {sso_tenant_console}[Keycloak Console^,window="sso"] and login using username and password ({user_name}/{user_password}).
-
Click on Realm settings link highlighted in the above screenshot.
-
Click on the OpenID Endpoint Configuration link to view the OpenID Provider Configuration of Keycloak.
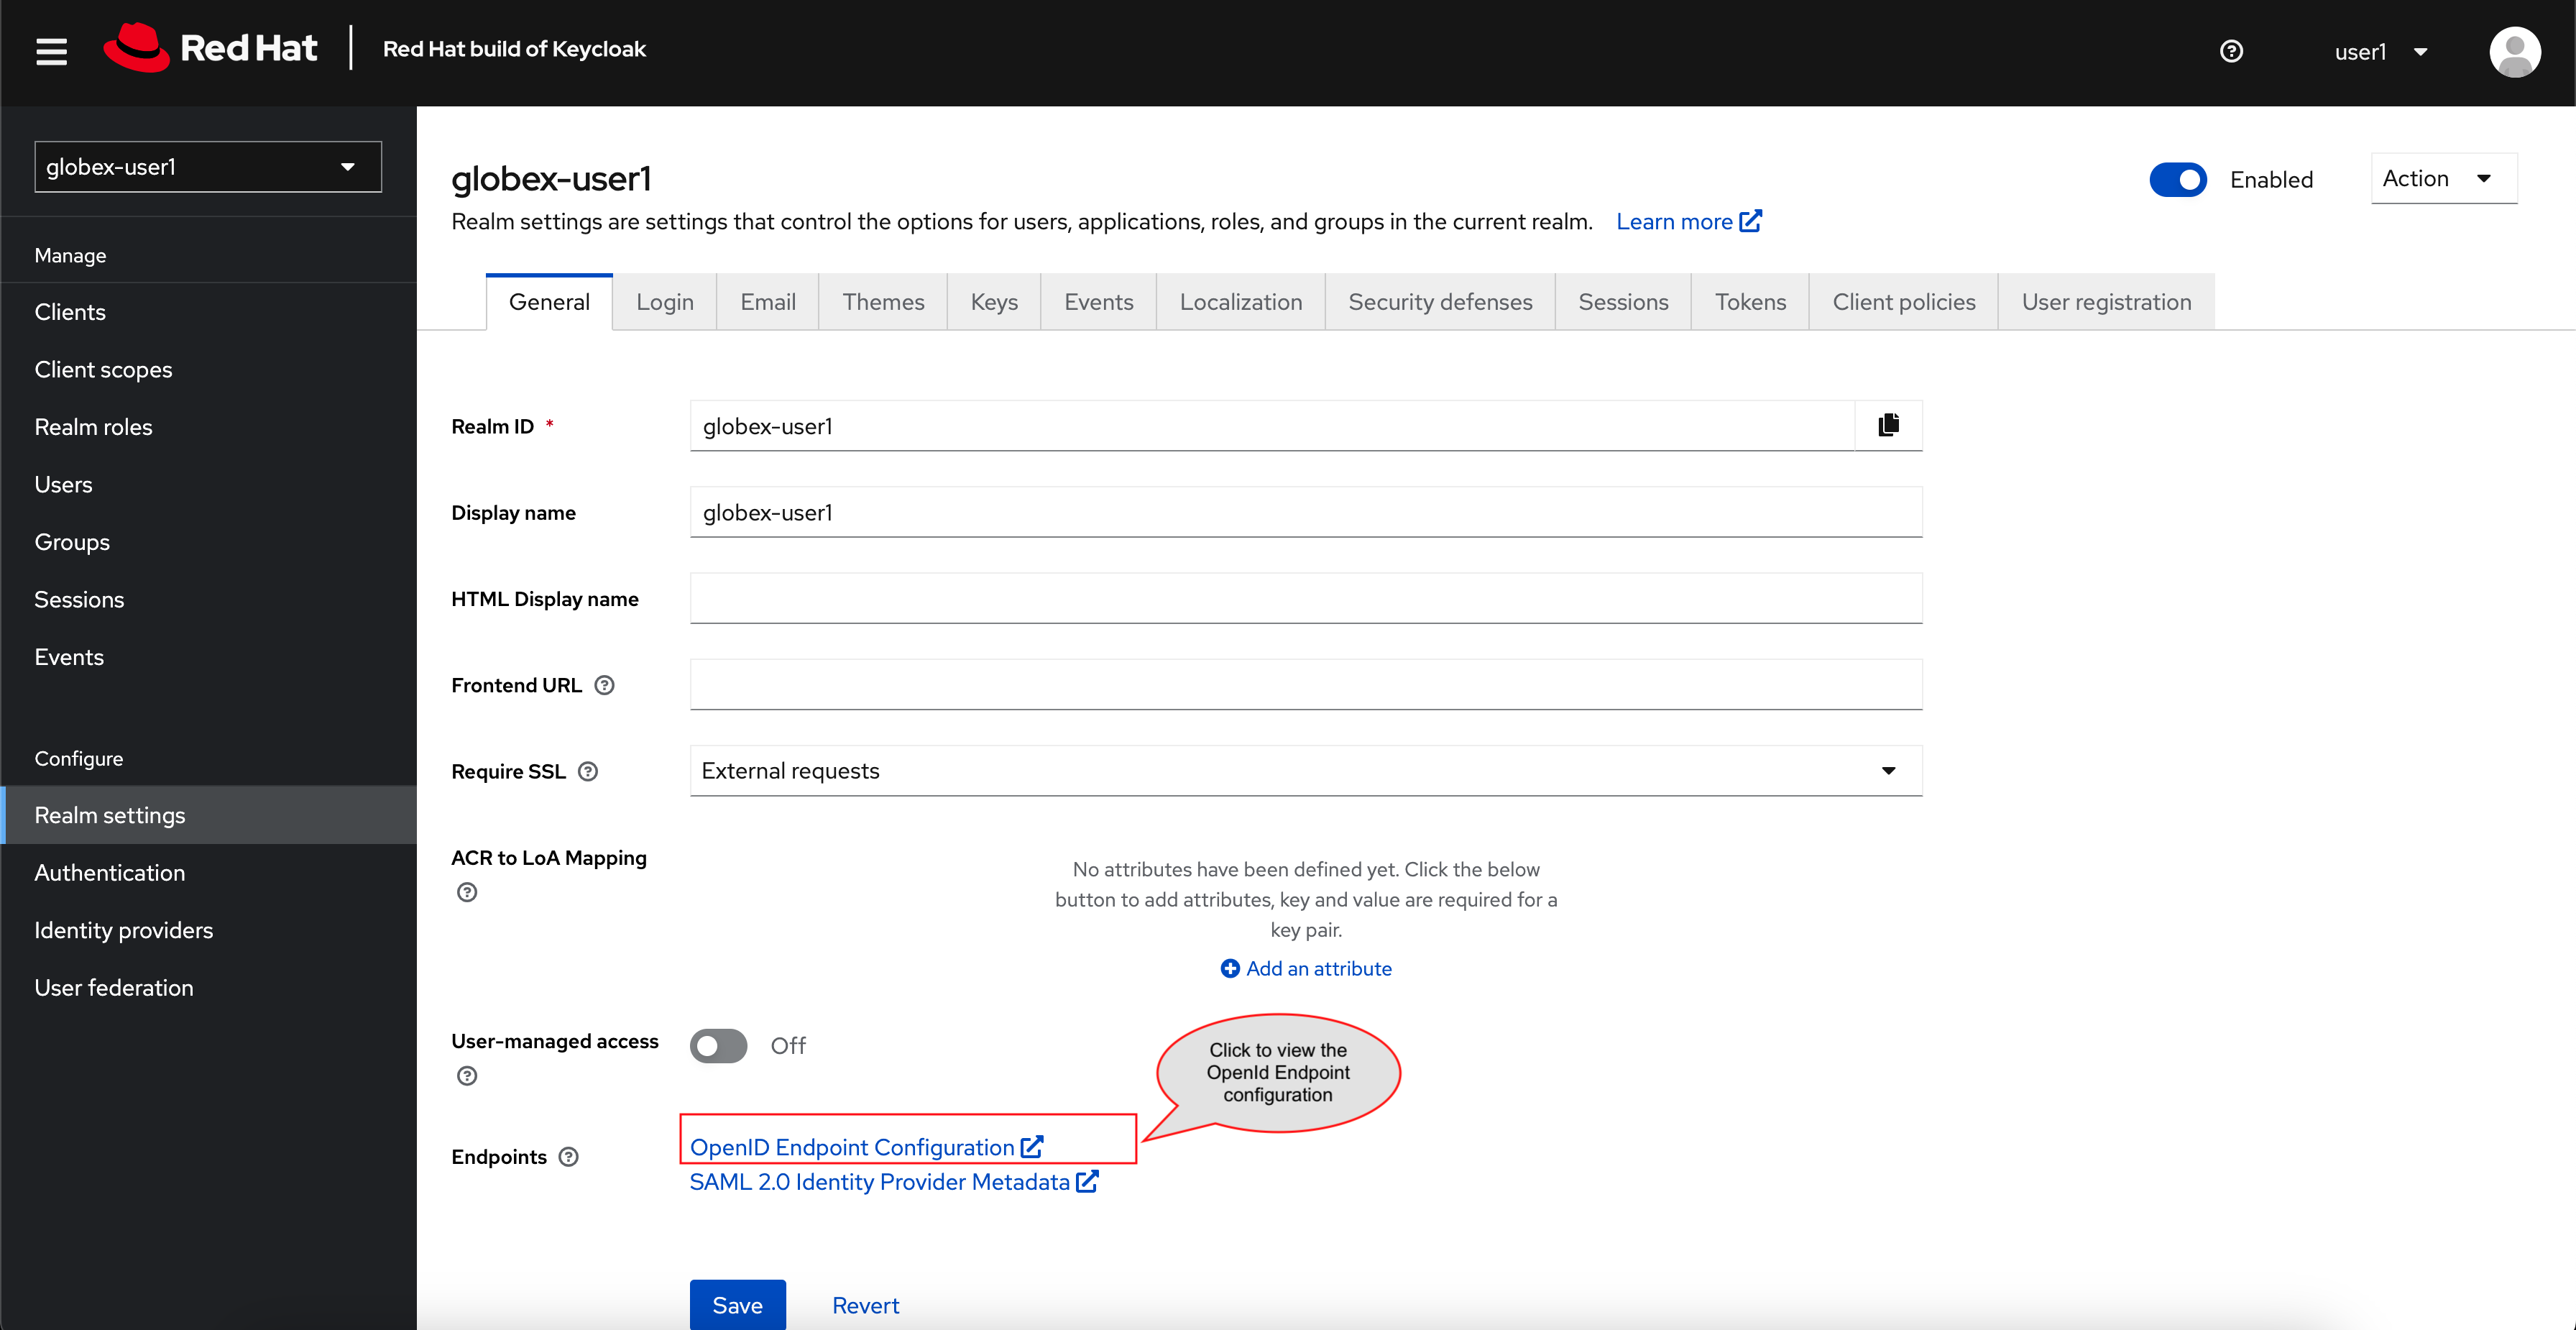 Figure 1. Red Hat build of Keycloak - Logged In
In case you see an error stating You don’t have access to the requested resource or Network response was not OK or any other access error, you may notice that you are logged in as a user other than {user_name}. You will need to signOut, close the browser tab, and login again.
-
Click on user name found on top right, choose signOut option, and close the browser
-
Reopen the {sso_tenant_console}/#/globex-{user_name}/clients[Red Hat Keycloak Clients List^, window="sso"].
-
Login as ({user_name}/{user_password}).
 Figure 2. Keycloak Login error
 -
-
Here is how the OpenID Provider Configuration looks like
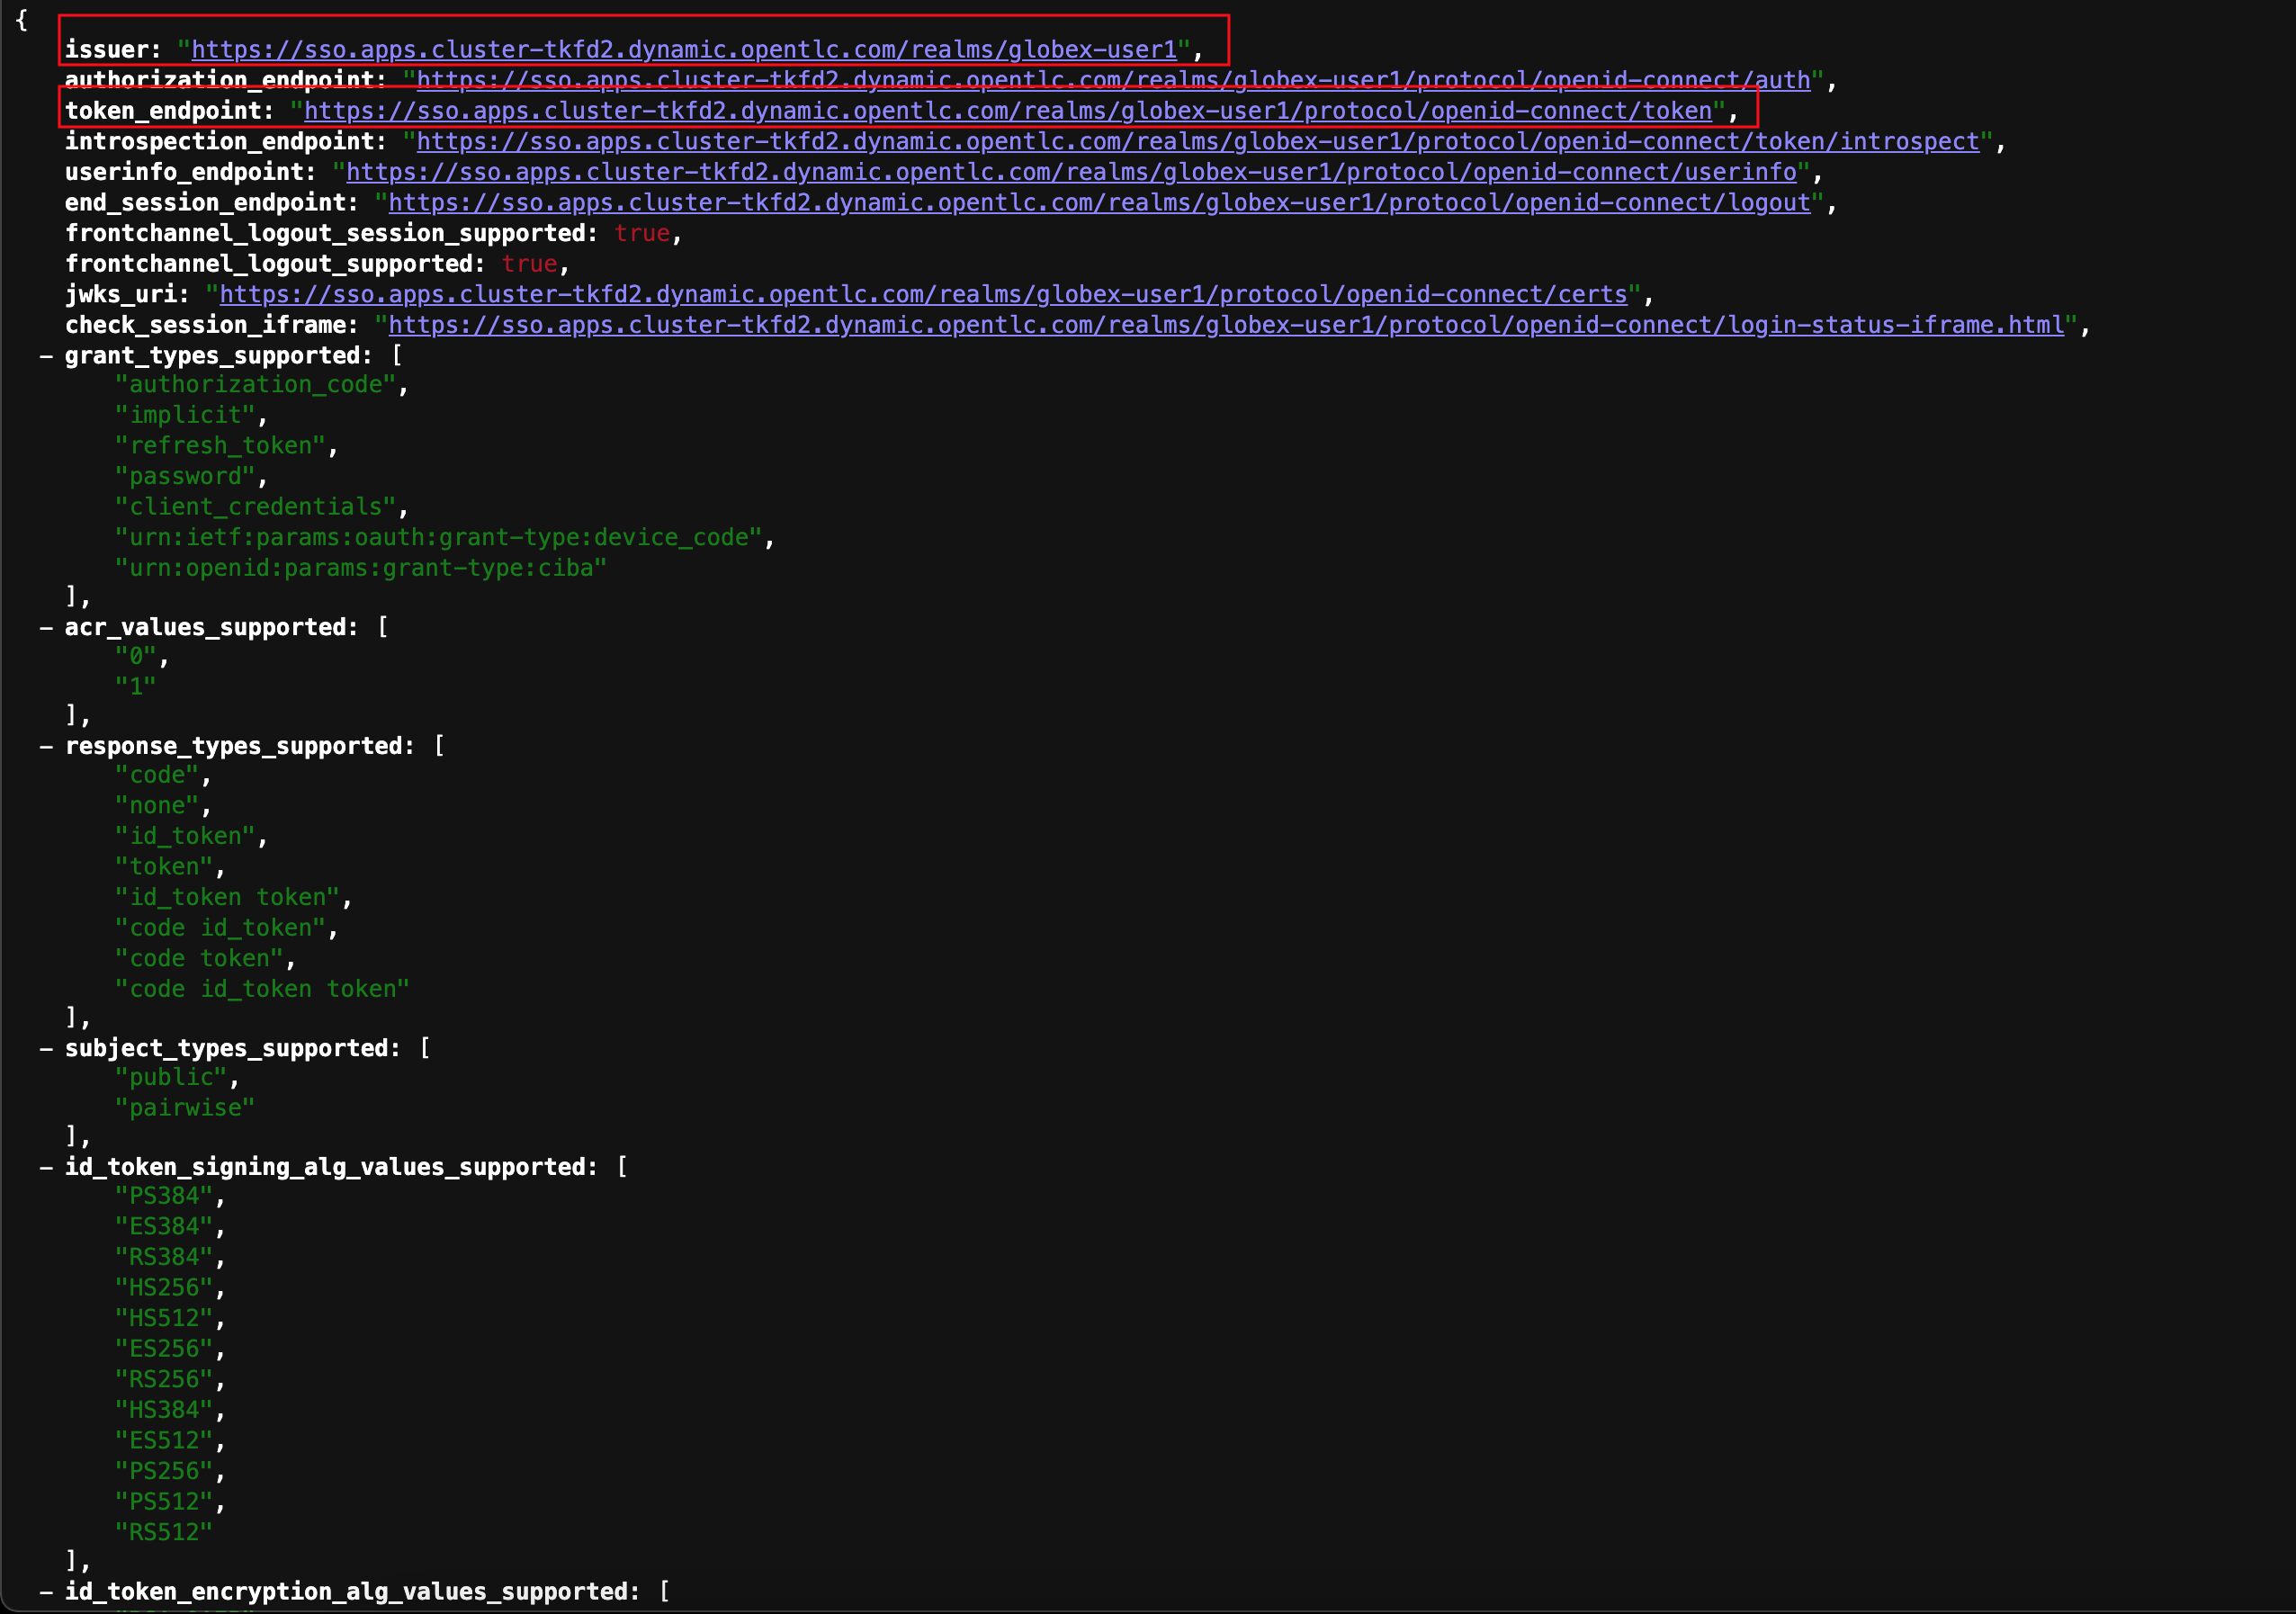 Figure 3. Red Hat build of Keycloak - OpenID Endpoint Configuration
 -
We are interested specifically in the following endpoints which will be used in the course of this module
Endpoint URL OpenID Endpoint Configuration (well-known config):
This URL provides a mechanism to discover the End-User’s OpenID Provider and obtain information needed to interact with it, including OpenID/OAuth endpoint locations. The following endpoints is fetched from this URLhttps://sso.{openshift_subdomain}/realms/globex-{user_name}/.well-known/openid-configuration
issuer:
This value is needed when we need to authorize a user through single sign-ontoken_endpoint :
clients can obtain access tokens from the server using this token endpoint and use these same tokens to access protected resources (APIs in our case)https://sso.{openshift_subdomain}/realms/globex-{user_name}/protocol/openid-connect/token
3. Create a special client for Client Credentials Management
3scale integrates with Keycloak to authenticate API requests using the OpenID Connect (OIDC) specification. When external or mobile developers sign up, they are issued client credentials for secure API access. These credentials are synchronized between 3scale and the Keycloak server through a 3scale component called Zync
To setup OIDC, create a special client id meant for Client Credentials Management.
-
Click to launch {sso_tenant_console}[Keycloak^, window="sso"] and login as {user_name}/{user_password}.
-
Click on Clients from the left-hand navigation. And, then click on the Create client button on the right side as shown below
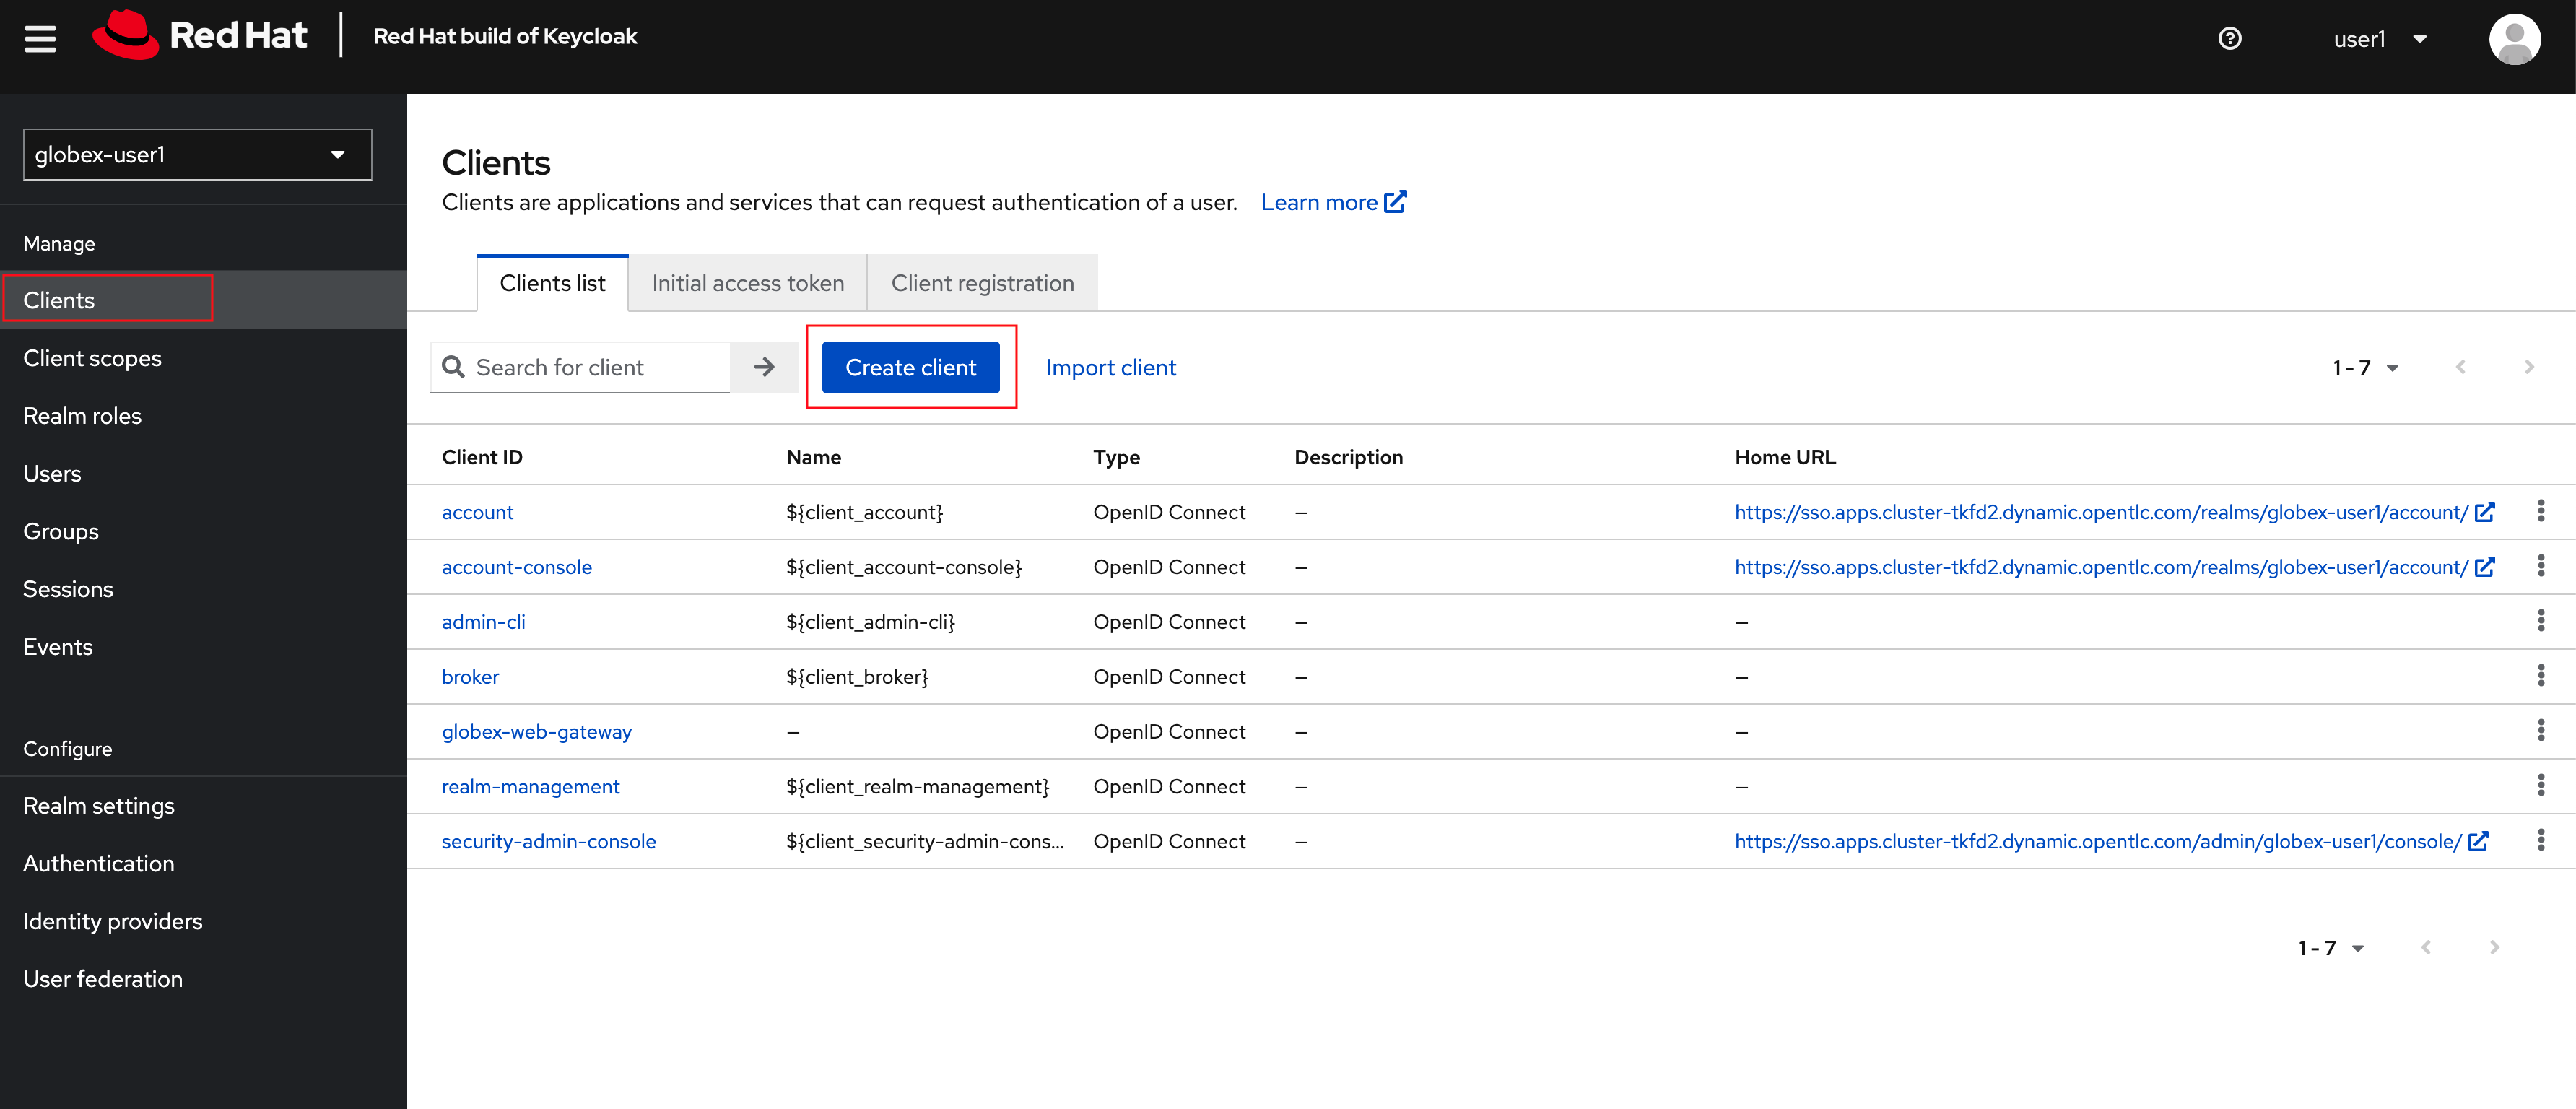 Figure 4. Keycloak: Clients listing
 -
In the Step 1 of the Create Client wizard, enter the following details and click on the Next button.
Name Value Client type (dropdown)
OpenID ConnectClient Id
client-manager Figure 5. Keycloak: Create Client wizard - Step 1: General Settings
 -
In the Step 2 of the Create Client wizard, choose the following details and click on the Next button.
This configuration allows only Services based access using Service Accounts, and will be used by 3scale API Management system in the next steps, when mobile users sign up for access. Service accounts provide a flexible way to control API access without sharing a regular user’s credentials. 
-
In the Step 3 of the Create Client wizard, leave the fields as they are and click on the Save button. We will update some of these options later.

-
You will be shown the Settings tab of
client-managerclient.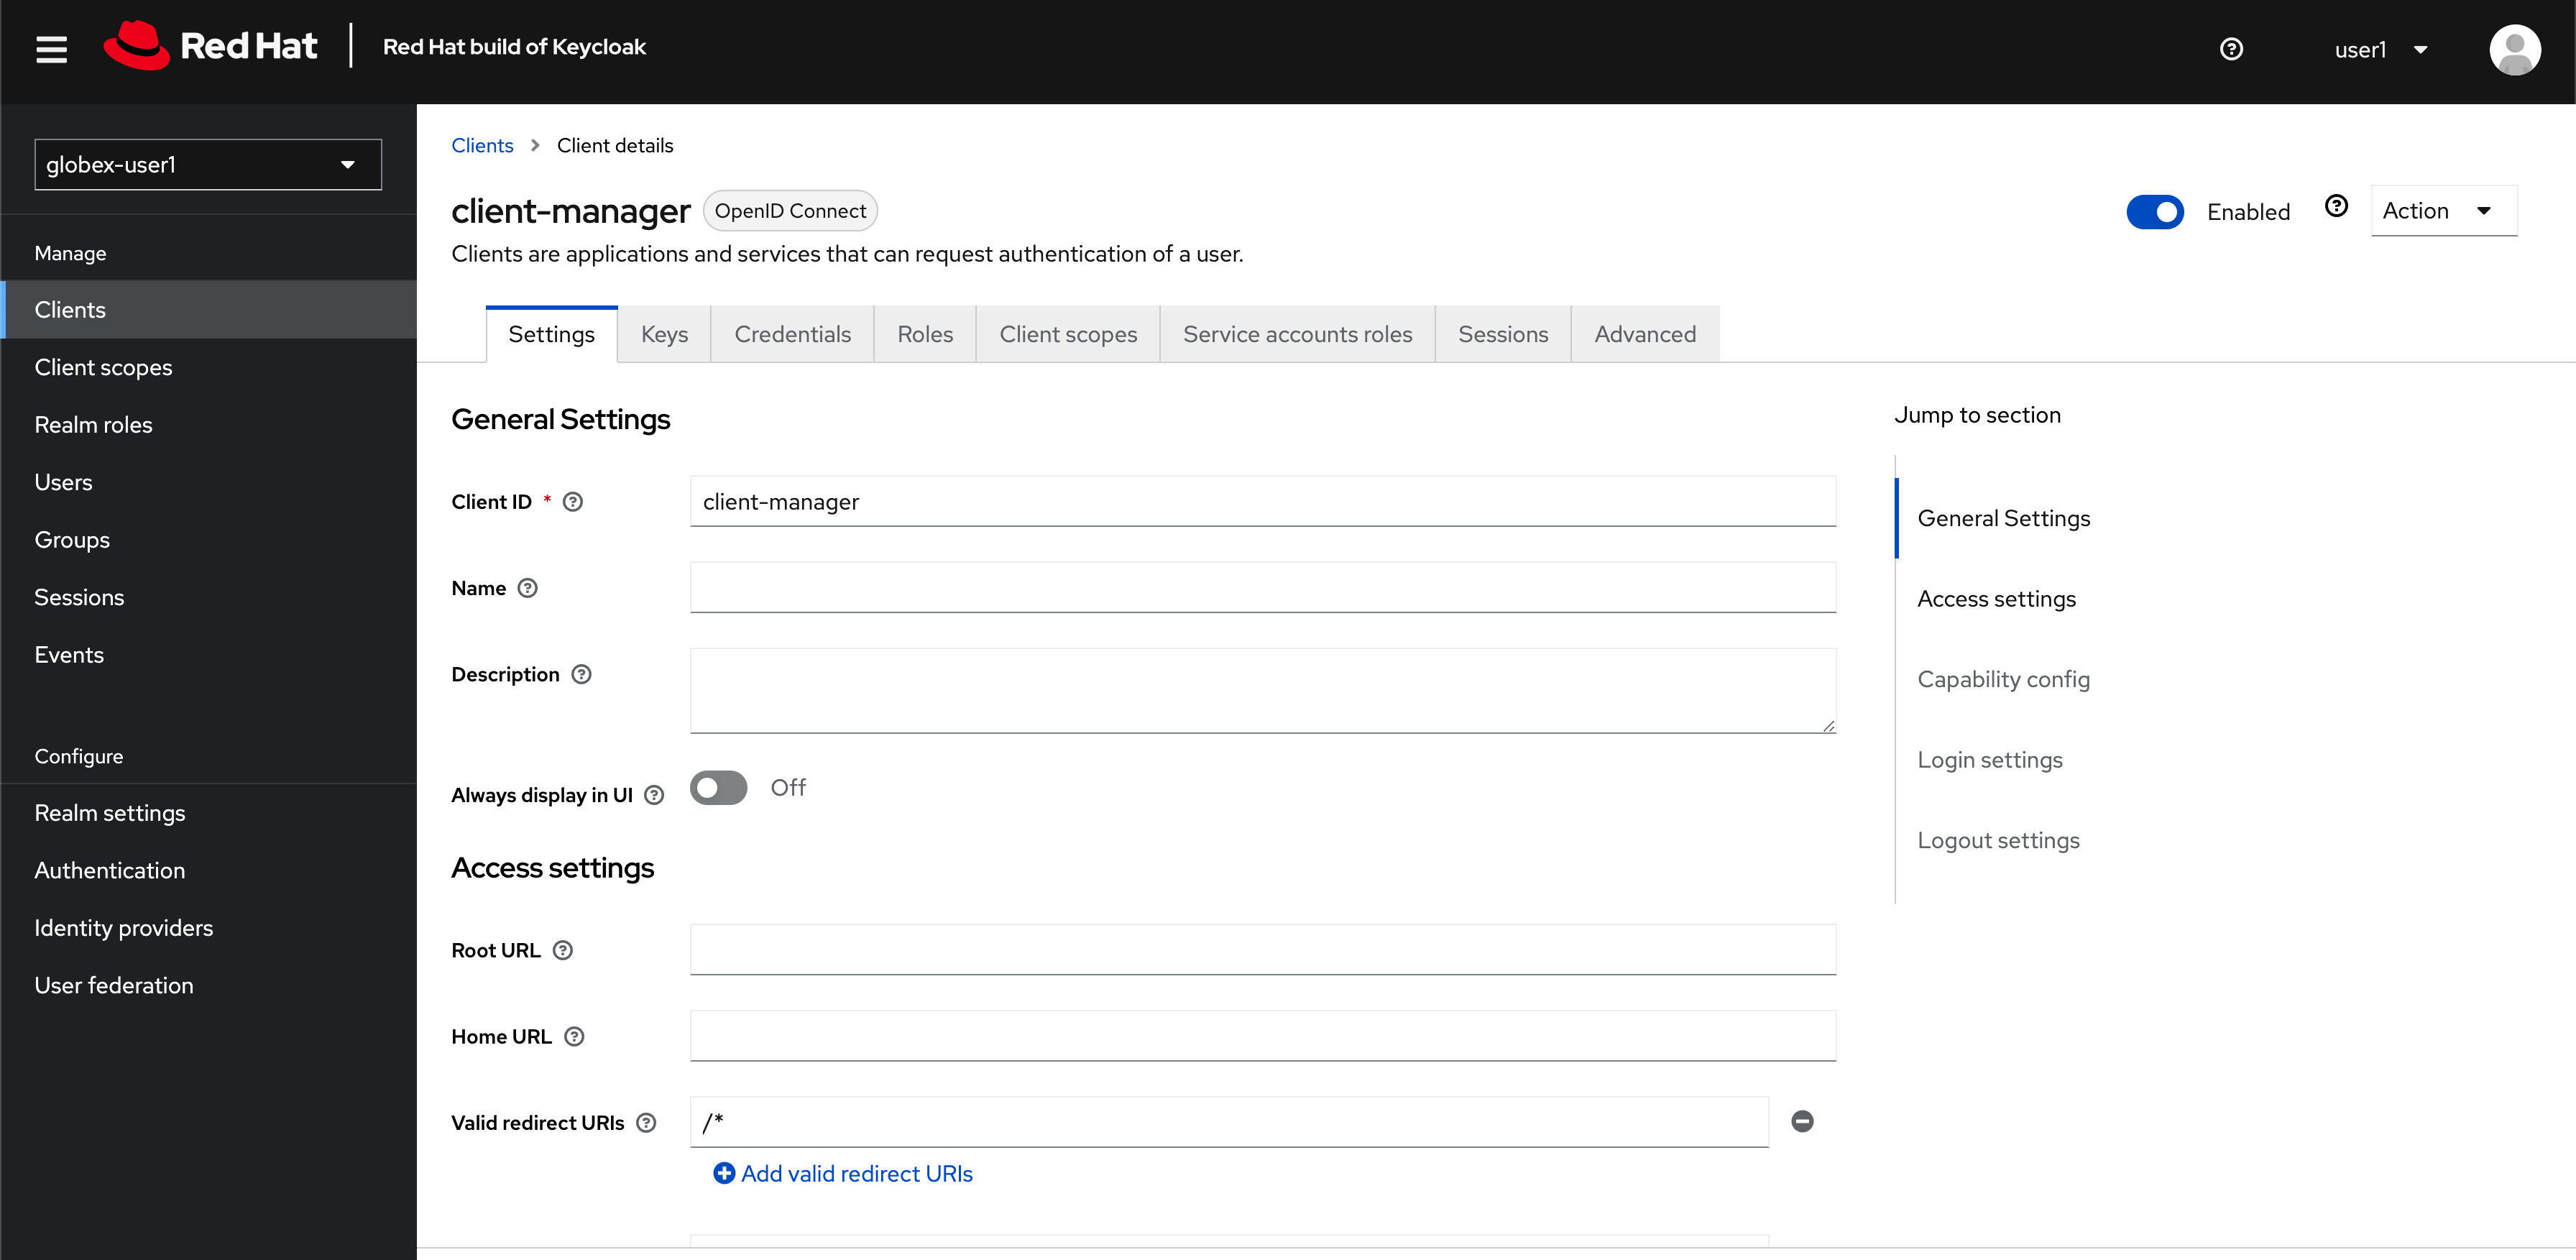 Figure 6. Keycloak: View client-manager Settings
4. Configure the client-manager client
The next step is to configure this client-manager so that 3scale can synchronize with Keycloak, and Keycloak can manage other clients (create, amend and delete) on behalf of 3scale API Management
-
Click on the Service Account Roles tab from the top tab navigation of the
client-managerclient, and click Assign Role button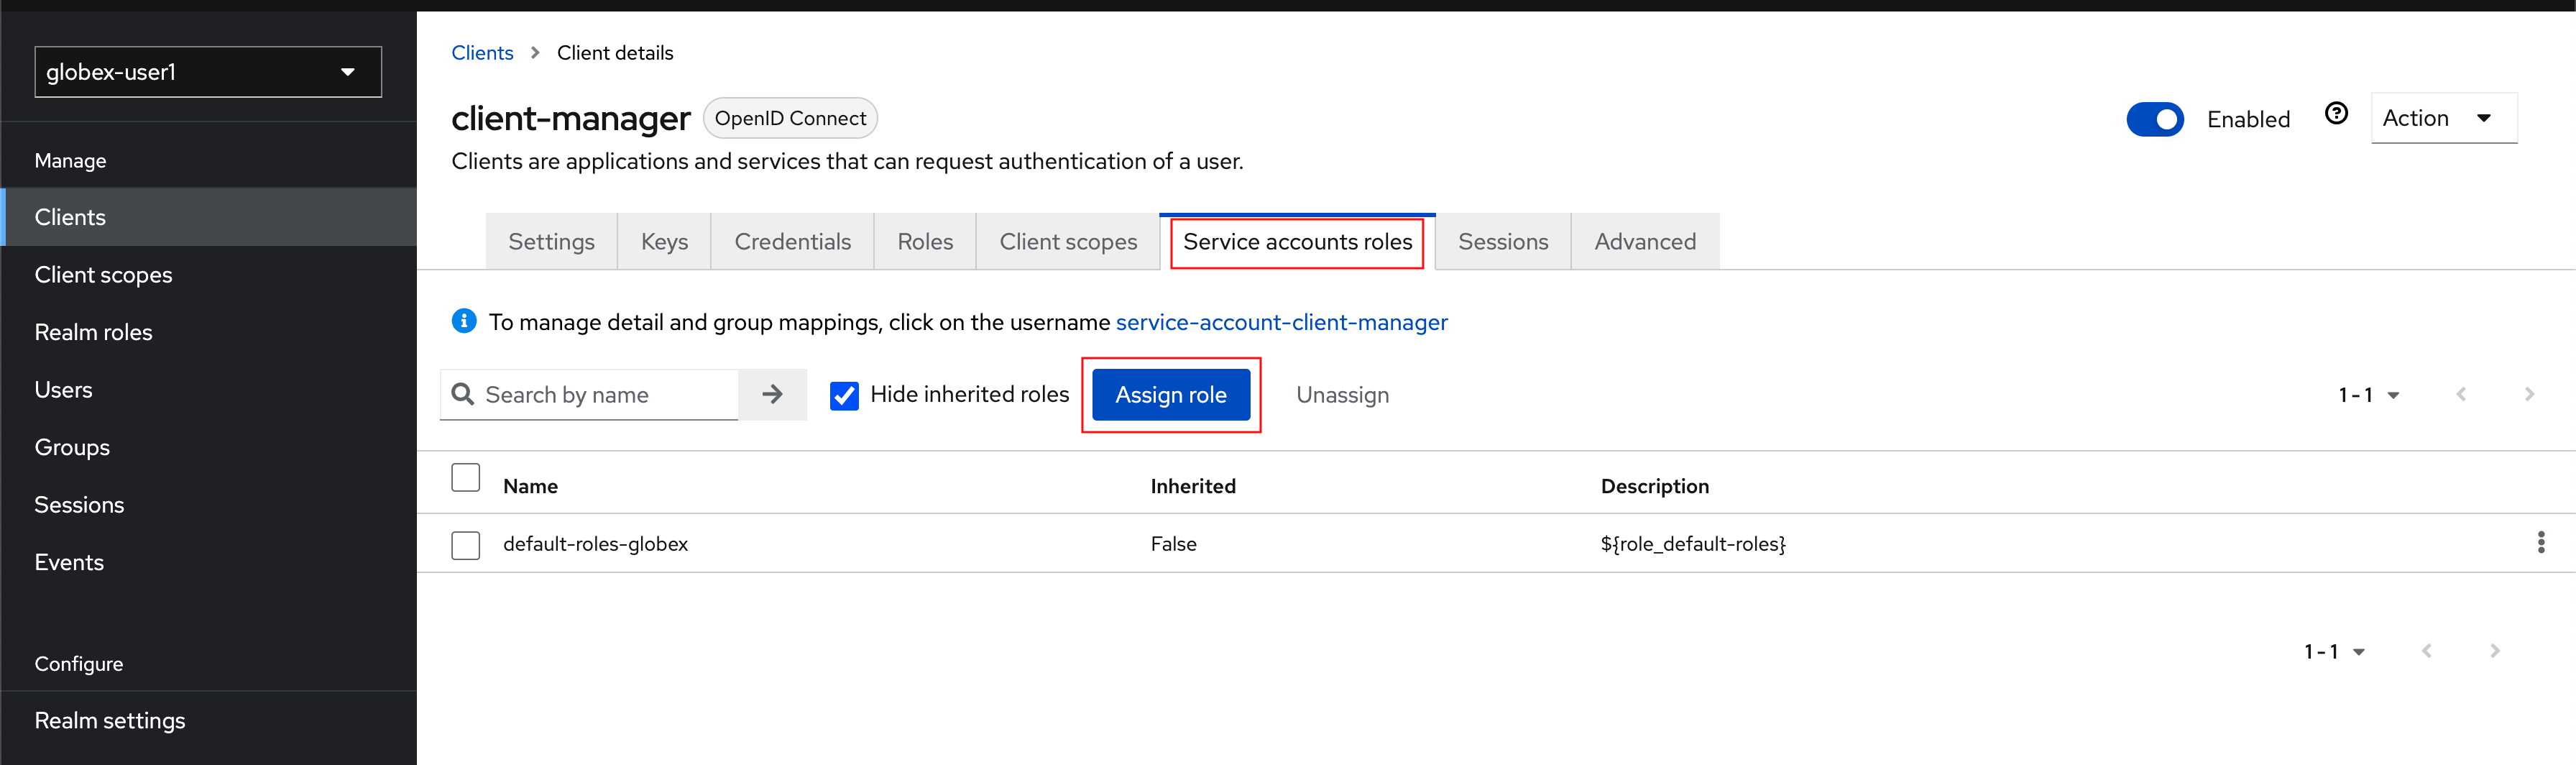 Figure 7. Setup Service Account Roles for client-manager in Service Account Roles tab
 -
From the Assign roles to client-manager popup, select the Filter by clients dropdown, type in
manage-clientsin the Search by role name textbox and press the → button to search for this manage-clients role.
-
Choose the manage-clients option, and click on Assign button
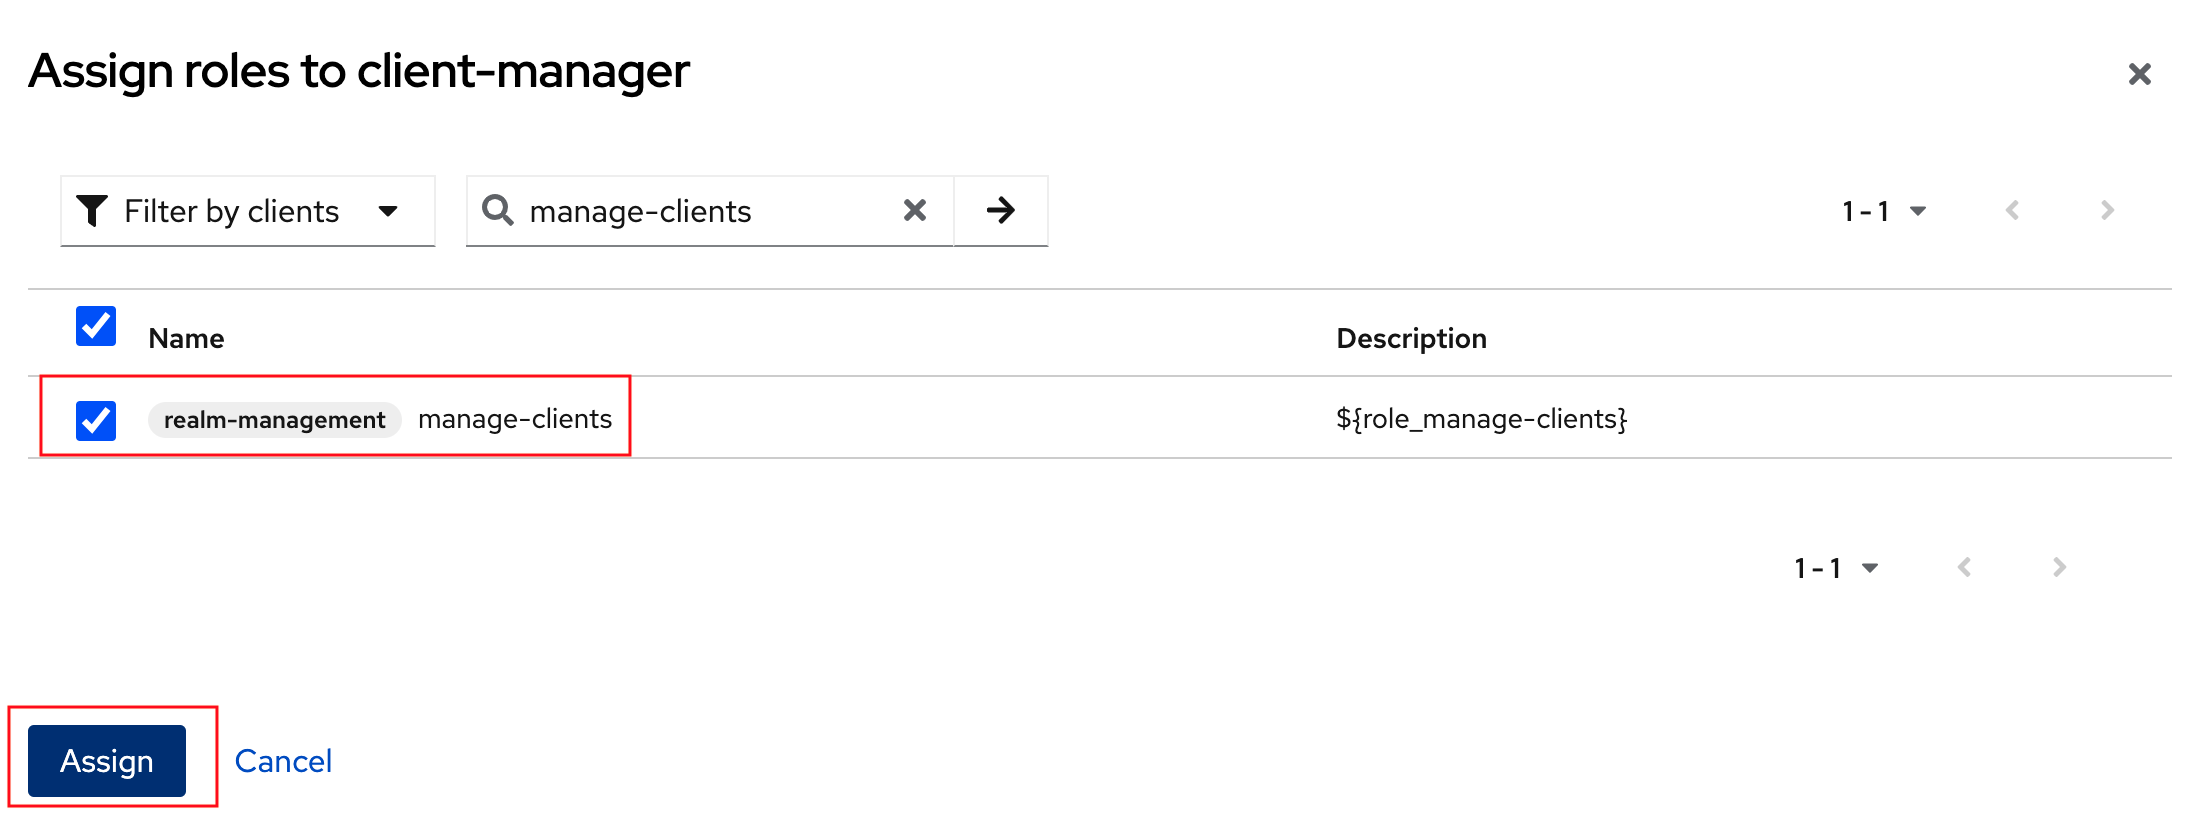 Figure 8. Assign manage-clients role
 -
The newly assigned role will now be displayed
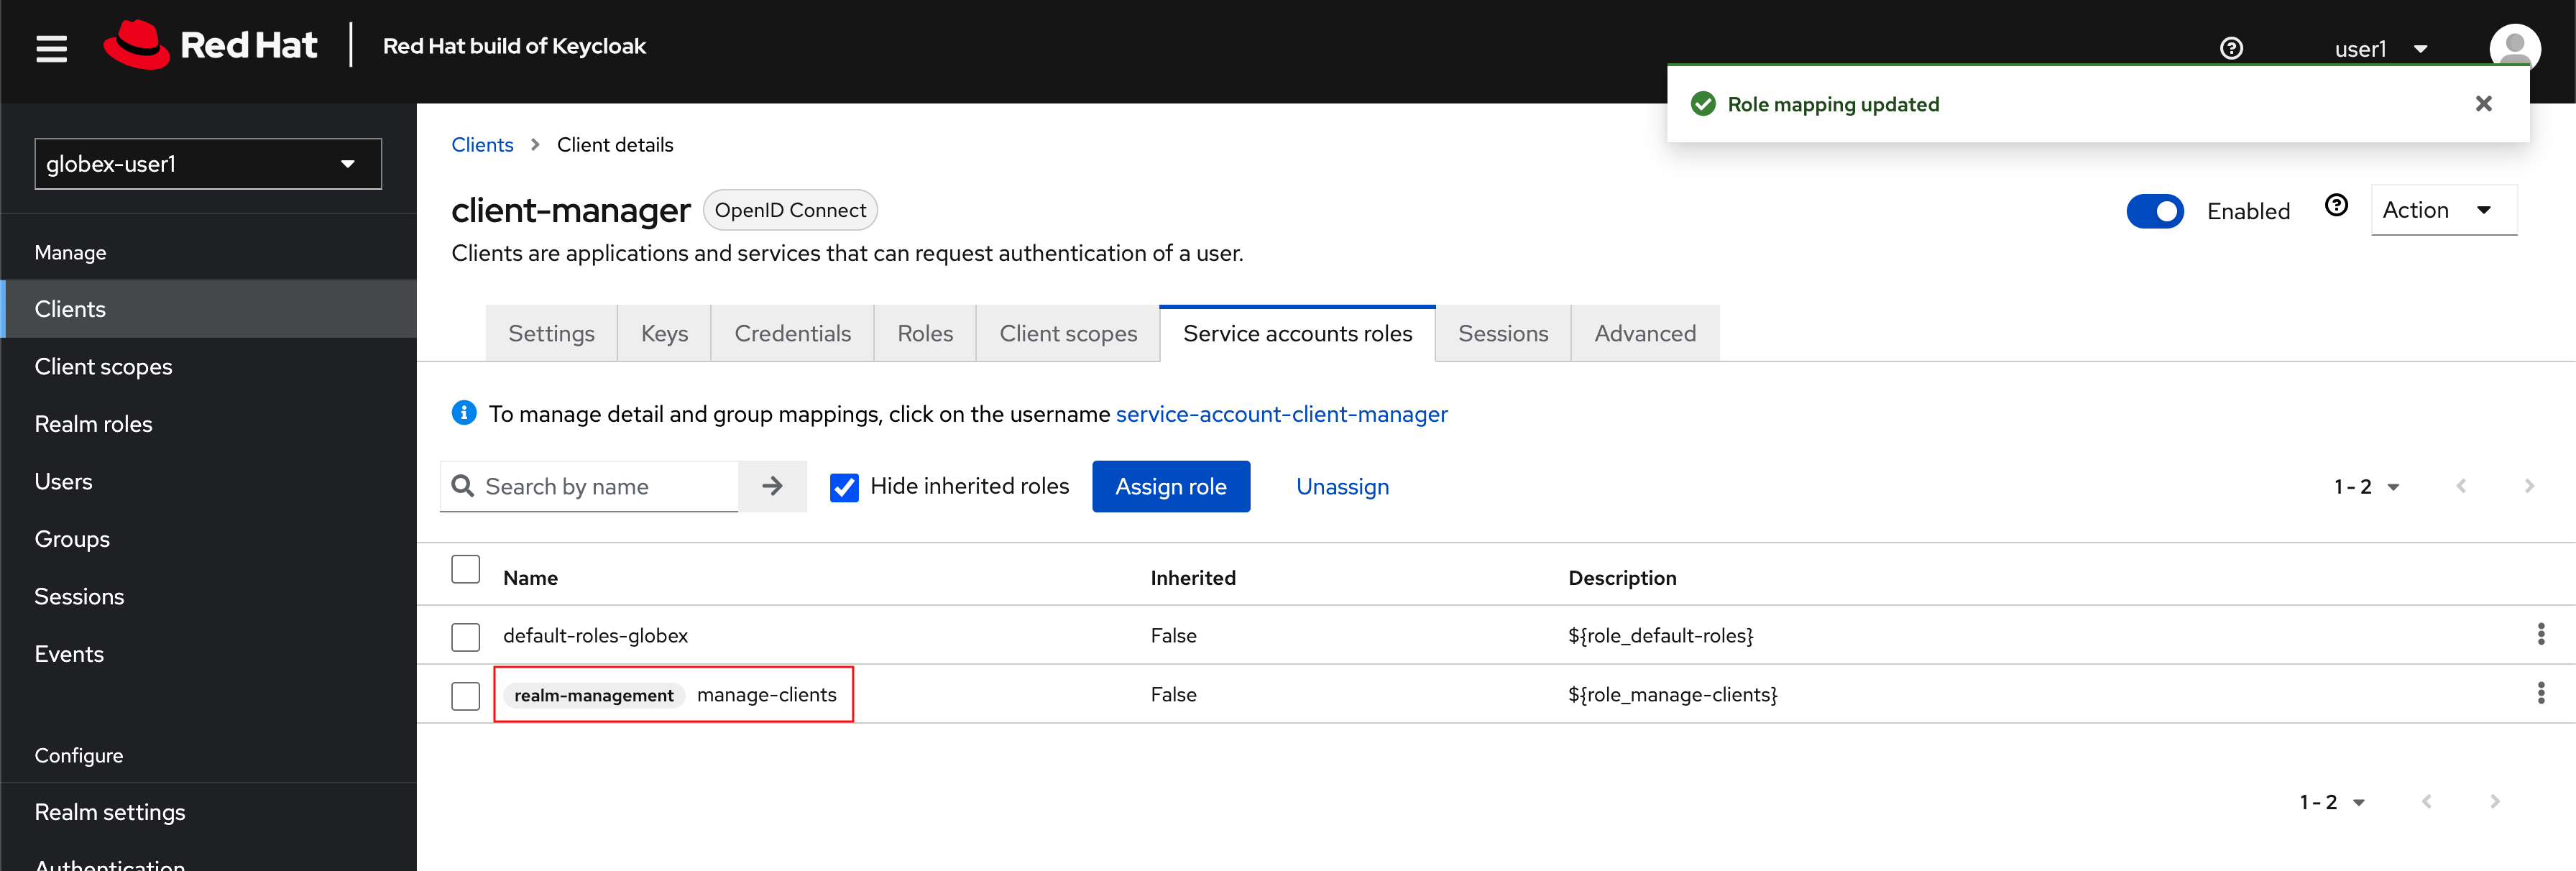 Figure 9. New manage-clients role is assigned
 -
You can view the credentials of this client-id from the Credentials tab. You will need this when setting up the 3scale products in the next section.
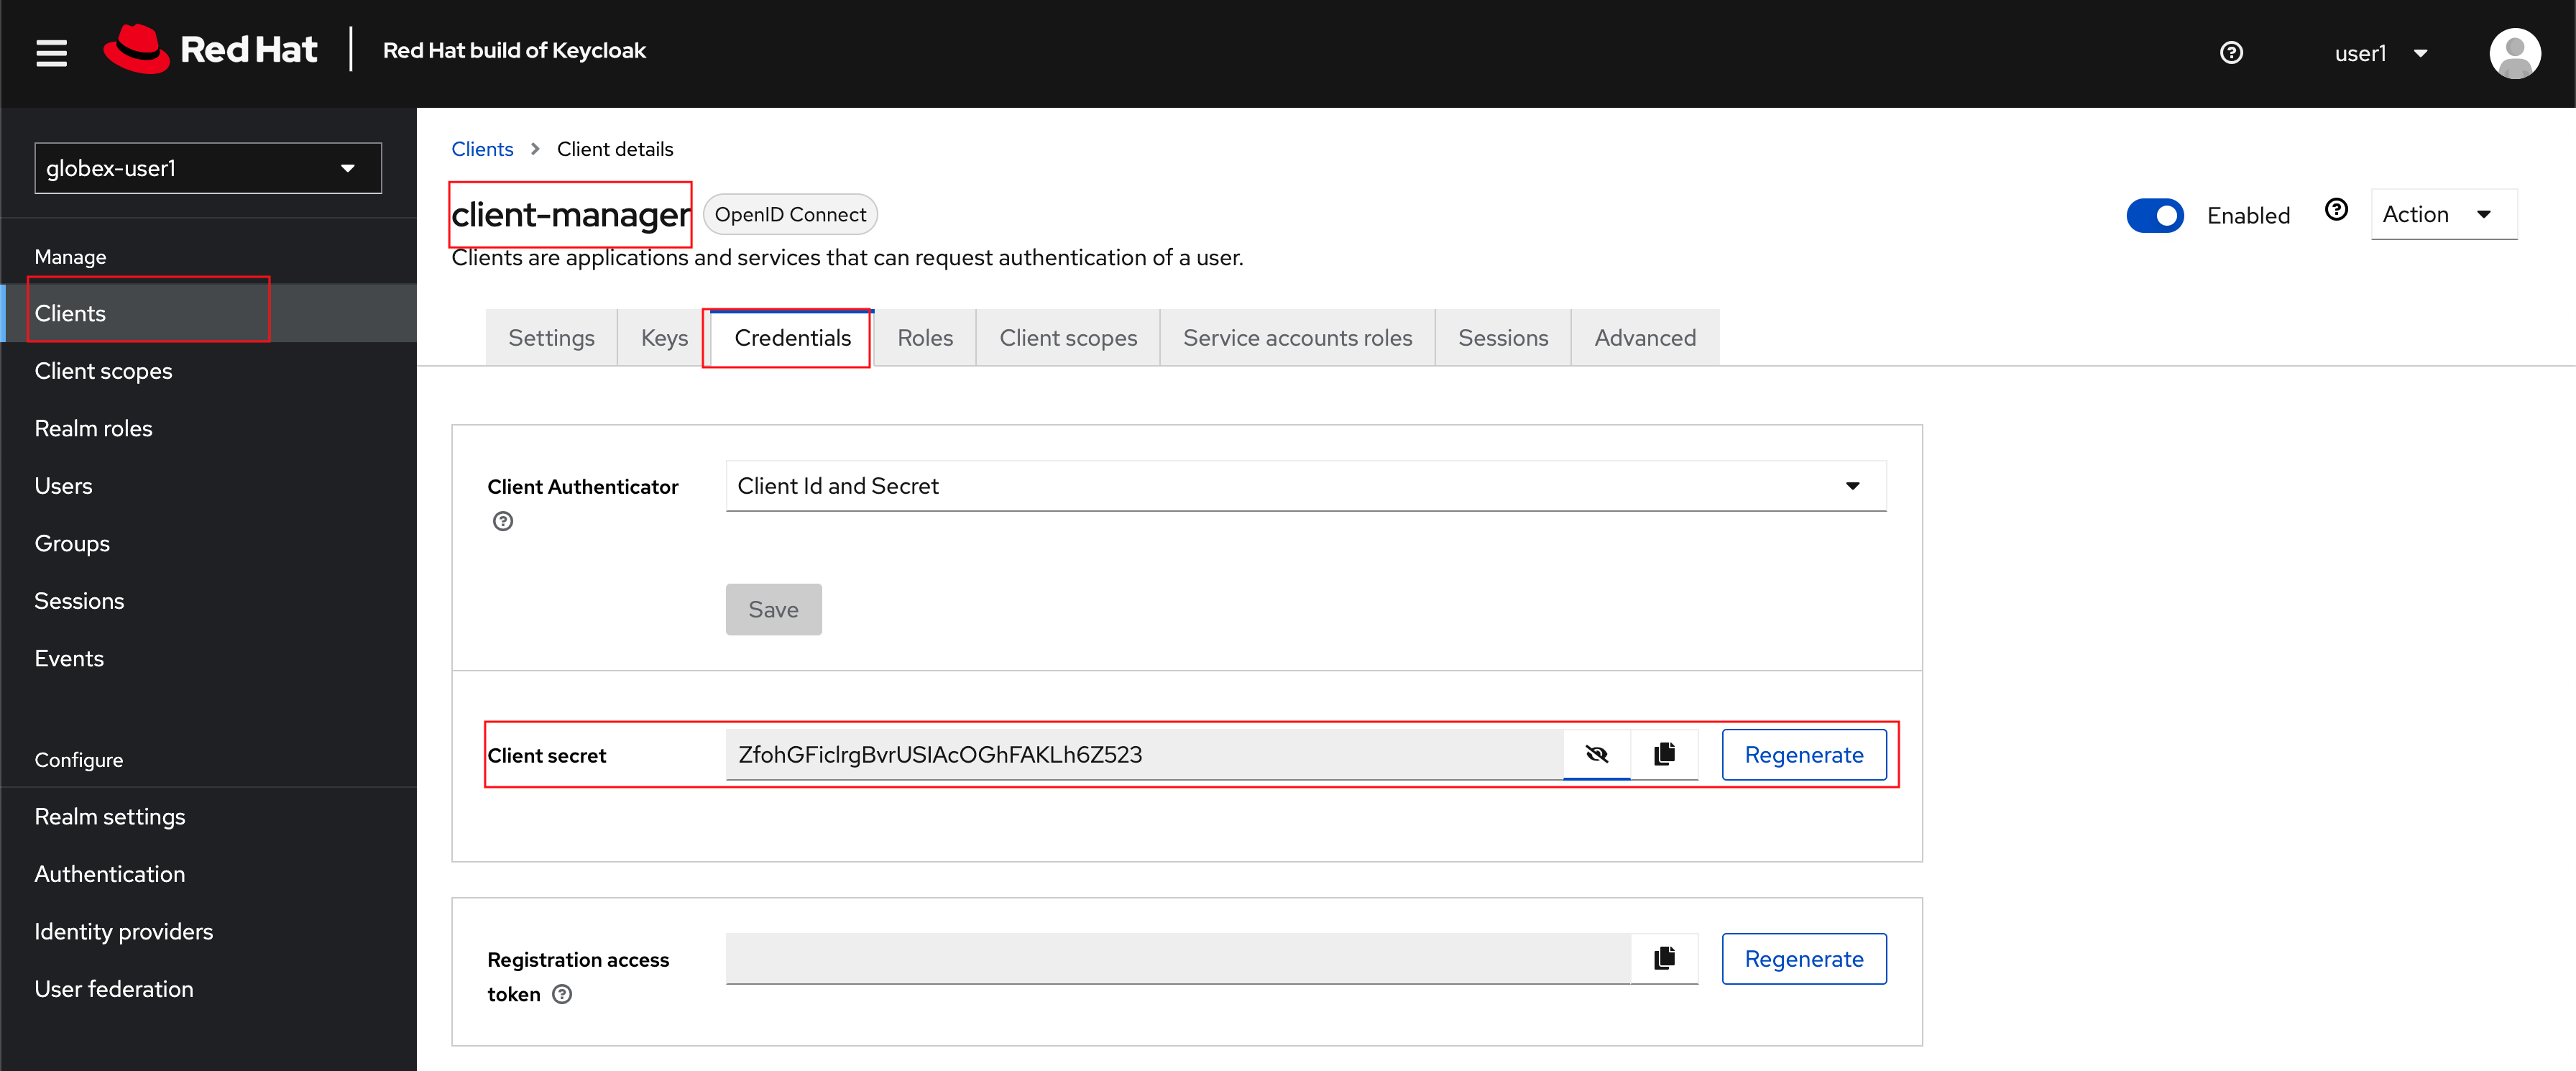 Figure 10. Keycloak: Client Credentials of client-manager
You can save this in the Scratchpad of DevSpaces for easier access while configuring the API management.