Event driven applications with Serverless Knative Eventing - Instructions
1. Overview of activities
Here is an outline of the activities you will achieve as part of this module.
-
Gain understanding of what has been already setup for you
-
Deploy the Quarkus Knative Services needed for the solution
-
Build an event mesh with OpenShift Serverless Eventing components
-
Try out the solution end-to-end to see how data flows through the various systems and services
2. Prepare your Development environment
2.1. Ensure lab readiness
|
Before you proceed it is critical that your lab environment is completely ready before executing the lab instructions. |
-
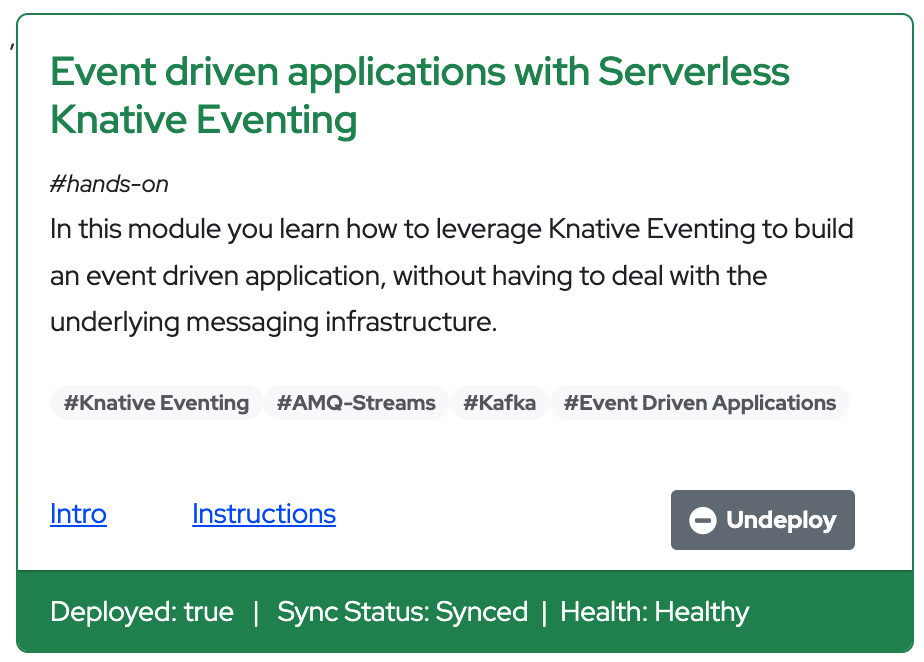
Access the Workshop Deployer browser tab and check if the Event driven applications with Serverless Knative Eventing card has turned green. This indicates that the module has been fully deployed and is ready to use.
3. Deployment overview and introduction
-
In a browser window, navigate to the {openshift_cluster_console}[OpenShift console, window="console"]. If needed, login with your username and password ({user_name}/{user_password}).
If this is the first time you open the console, you will be directed to the Developer Perspective of the console, which shows you the different namespaces you have access to.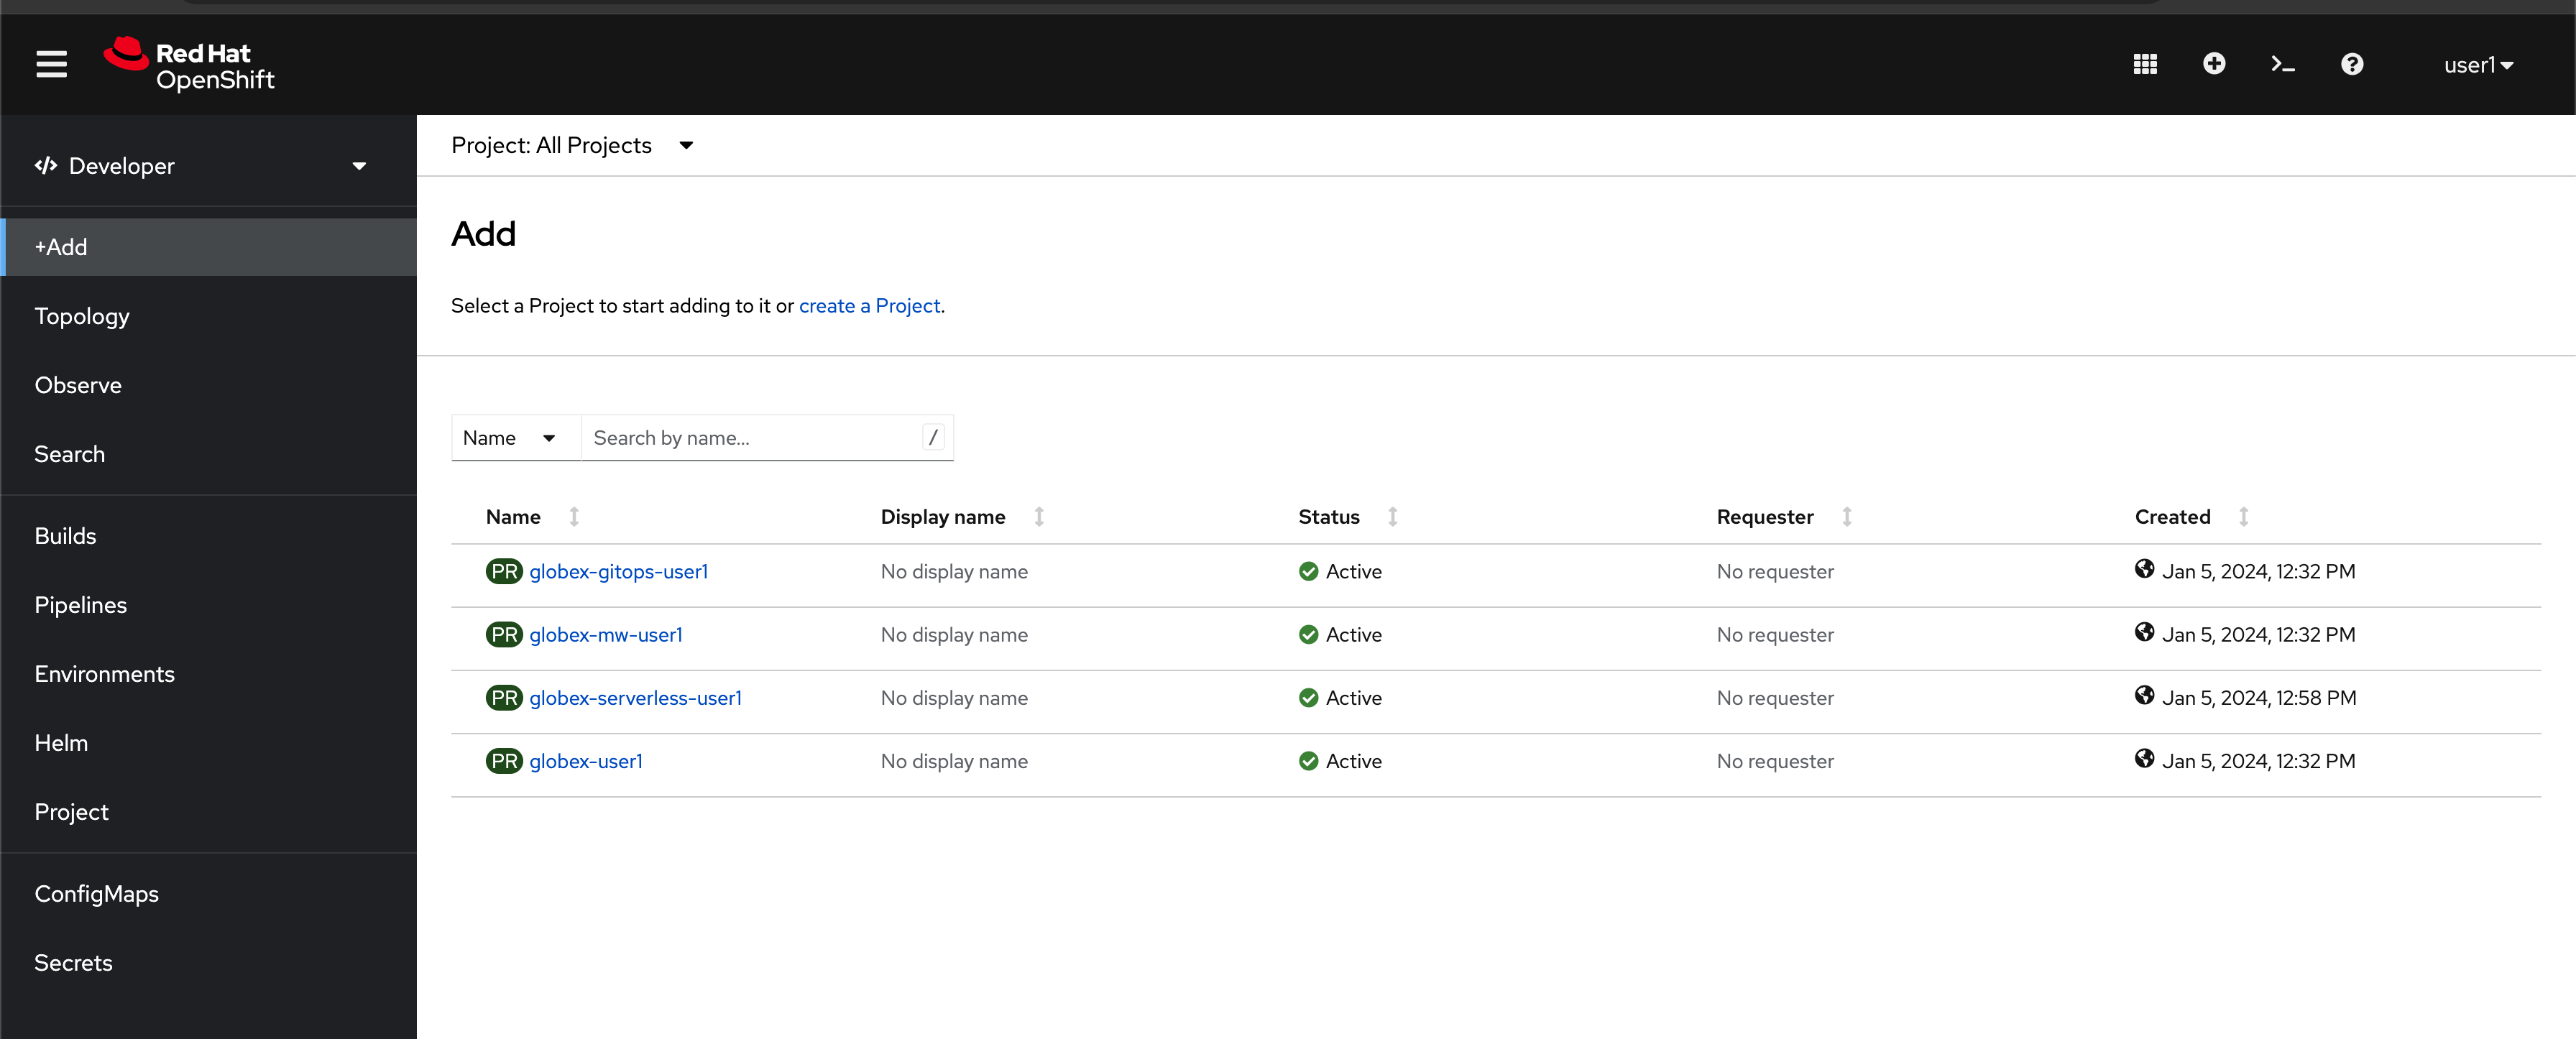
-
globex-serverless-{user_name}namespace contains the components you will be working on in this lab -
globex-gitops-{user_name}namespace contains the ArgoCD elements for GitOps. This is described in detail in the Introduction module. -
globex-mw-{user_name}contains Middleware deployments including streams for Apache Kafka -
globex-{user_name}namespace contains other services the application is dependent on. This is described in detail in the Introduction module.
-
-
Click on the
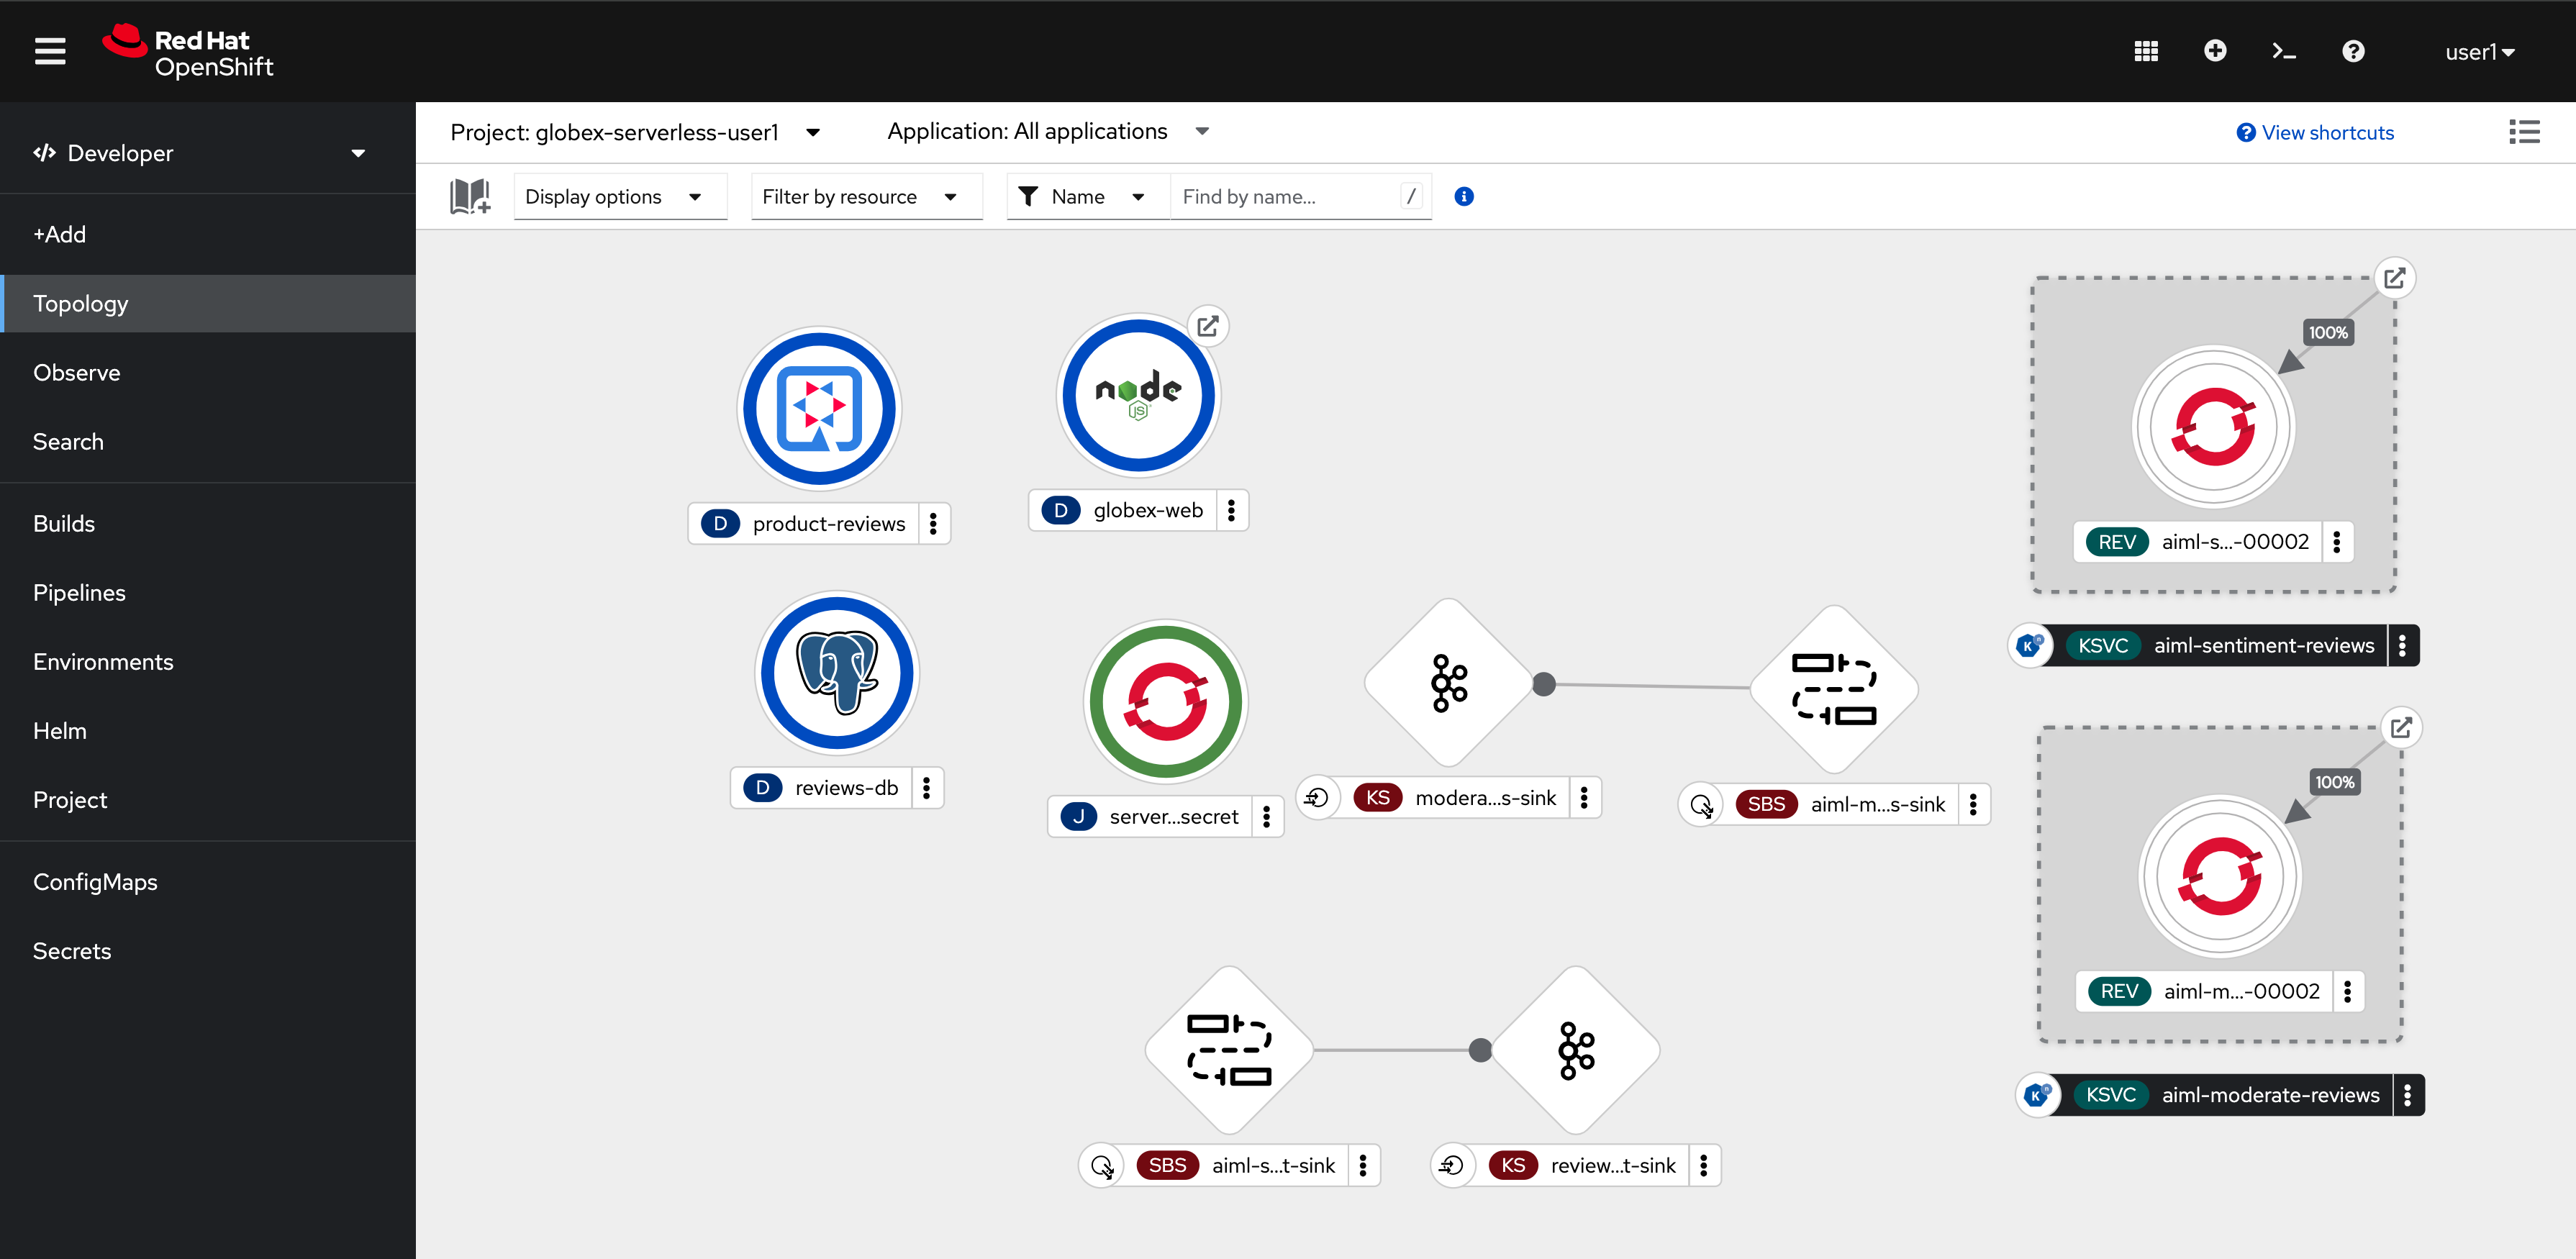
globex-serverless-{user_name}namespace link to select the namespace you are going to use in this lab, and selectTopologyfrom the left menu. -
The Topology view displays the components that have been setup for you already. Note that this screenshot shows the topology after the components have been moved around to be displayed well here.
-
Let us look at a few of the current components. The rest of the components are discussed in the next sections
Component
Function
globex-web
This is a NodeJS + Angular web application which serves as the front end website. This app relies on the core services deployed in the globex-{user_name} namespace and the
product-reviewsservices described below. [View Source]product-reviews
This Quarkus based service is a backend for the
globex-webweb application. [View Source]reviews-db
Postgresql DB to store the reviews once they are moderated. [View Source]
serverless-kafka-secret
For the purpose of this workshop, this job copies the Kafka credentials (
kafka-secretSecret) into the current globex-serverless-{user_name} namespace.
3.1. Red Hat streams for Apache Kafka setup overview
-
Red Hat Streams based on Apache Kafka has been setup for you already. The Kafka broker is installed in the globex-mw-{user_name} namespace.In the same namespace, streams for Apache Kafka console, a web UI for viewing Kafka topics and browsing consumer groups, is also installed.
-
Click to navigate to streams for Apache Kafka console.
-
This redirects you to the streams for Apache Kafka console login page.
-
For the purpose of this workshop, choose Click to login anonymously to access the console if you are not already signed in.
-
-
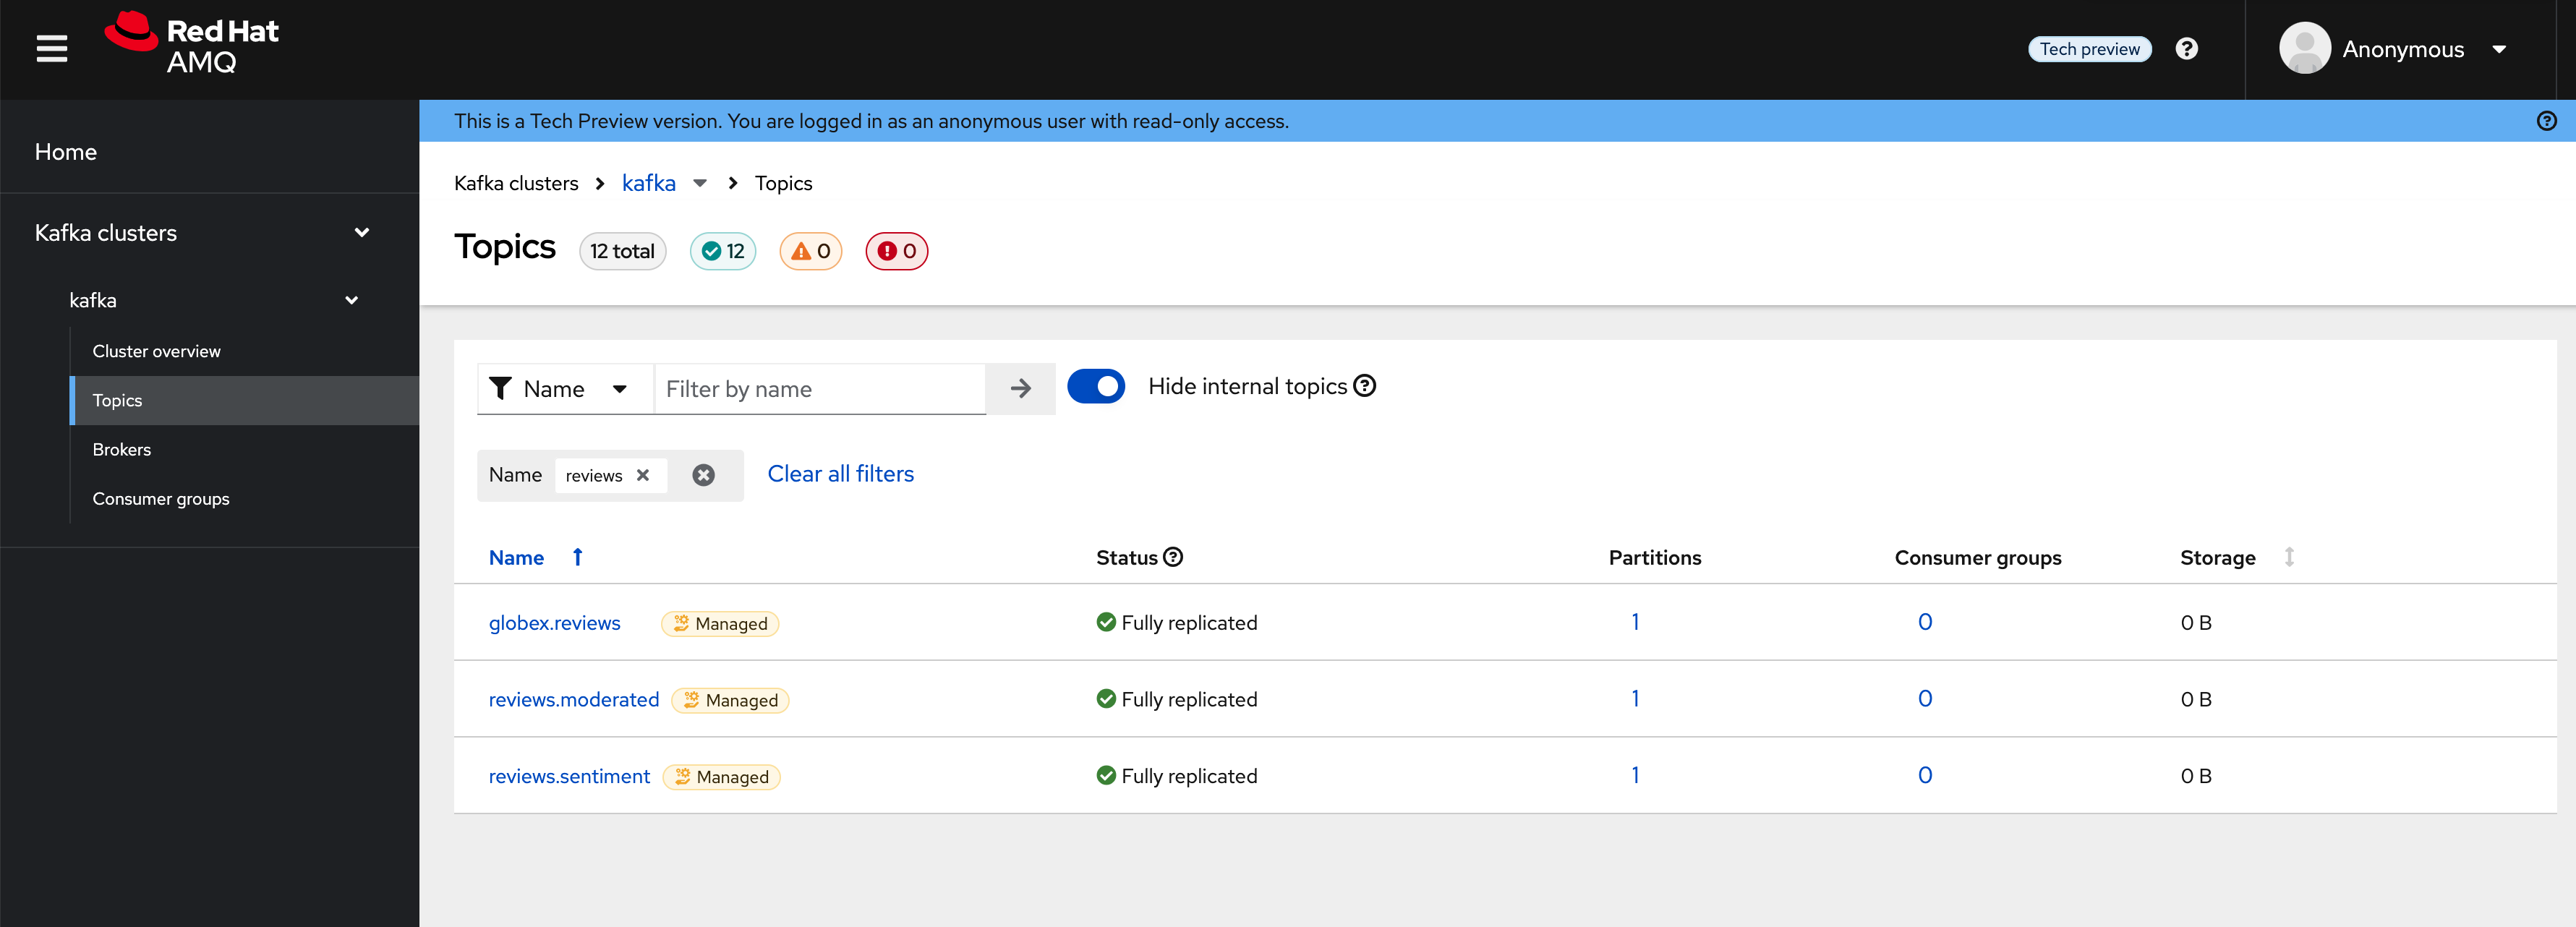
Navigate to the Topics menu on the left hand side. Notice that there are 3 topics which are relevant to this module (you can filter with the word reviews).
-
Here is what each of these topics are meant for:
Kafka Topic
Function
globex.reviews
When a user submits a review, that review is produced to this topic with Knative Eventing framework.
reviews.moderated
Reviews which are moderated are produced to this topic to be further persisted in a database.
reviews.sentiment
Holds the reviews after analysis with a sentiment score.