Create an Order in the Globex Retail Application
1. Create an Order
-
If you still have a browser tab open pointing to the Globex retail web application, open the tab. If not, navigate to {globex_web_url}[Globex retail web application, window="retail"].
-
In order to place an order, you need to login into the Globex application. Click on the Login link on the right of the top menu.

-
The Globex web application uses OpenId Connect powered by Red Hat build of Keycloak to authenticate users. After clicking the Login link you are redirected to the login page of the Keycloak server, where you need to enter your credentials.
The Keycloak server is set up with a number of users corresponding to customers in the Globex application. Login with one of the following users: asilva, mmiller, asanders, cjones or pwong. The password for all the users is {globex_user_password}.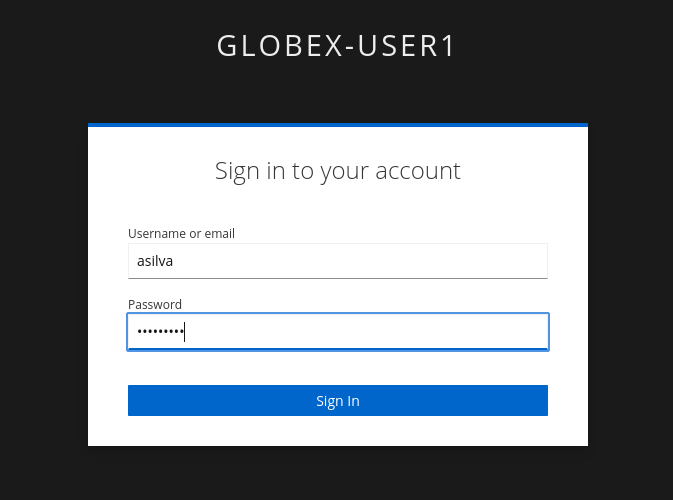
-
Once logged in, you can browse through the catalog and add items to the shopping cart.
Note: When adding an item to the shopping cart, there is no "close" button for that item. You can use the browser "back" button to return to the catalog. The Globex UX team has been notified and is already working on adding a "close" button ;-)
-
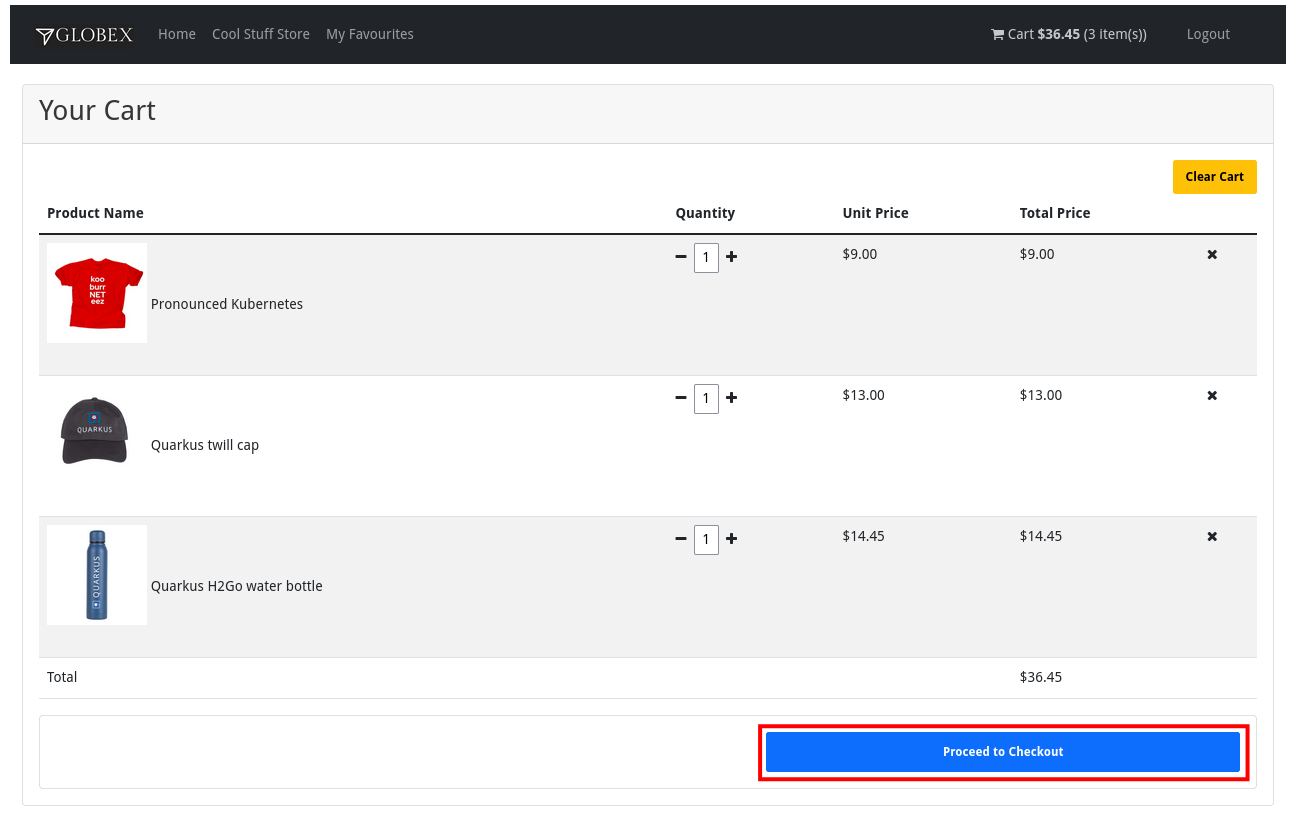
To check out the cart and place an order, click on the Cart link in the top menu.

-
This brings you to the cart view. From there you can proceed to checkout by clicking Proceed to Checkout.
-
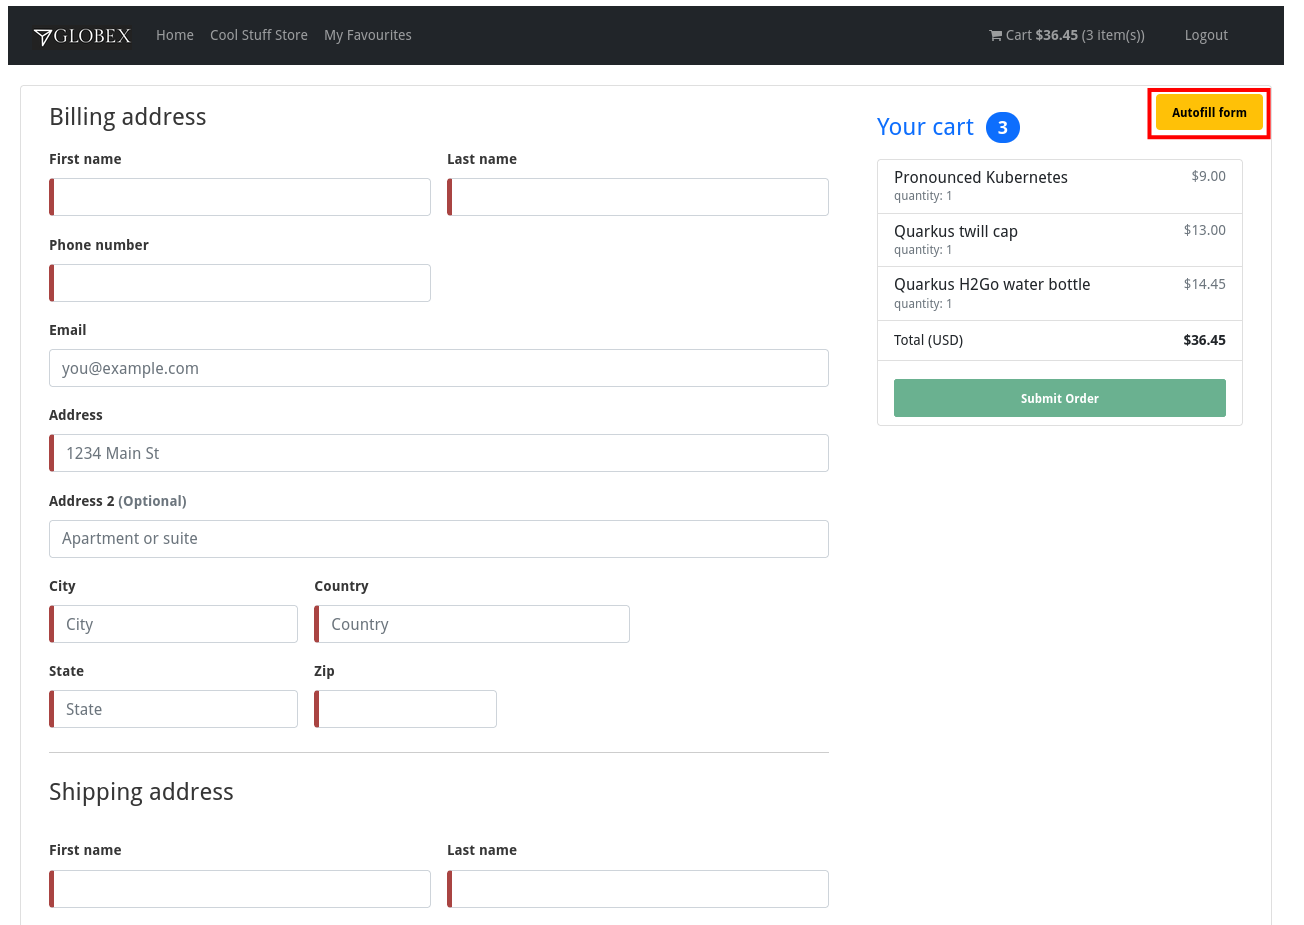
In the checkout page, click the Autofill form to populate the form with the details of the logged in user.
-
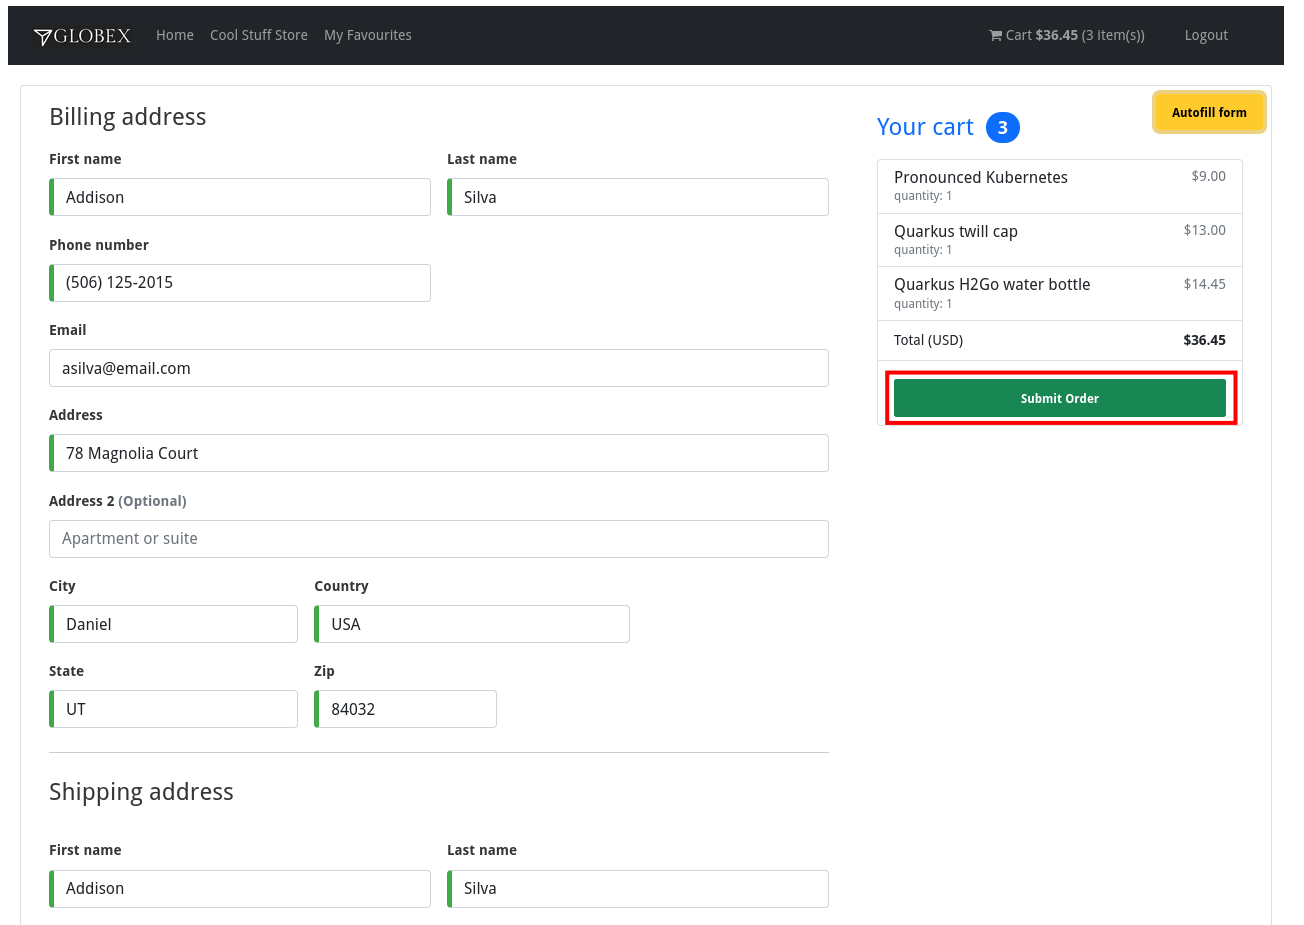
Finally, click Submit order to submit your order.
-
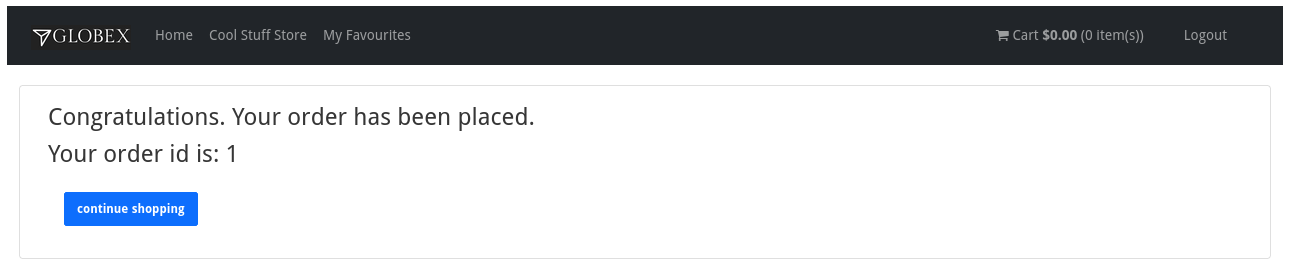
If the order is submitted successfully, you will be redirected to a success page:
-
At this point, an order has been added in the Globex application database. The records added to the orders and line_item tables have been detected by Debezium and produced as change events to Kafka topics.
We can easily check this with streams for Apache Kafka console. -
Open the browser tab pointing to the streams for Apache Kafka console UI. If you did close the tab, navigate to streams for Apache Kafka console.
From the Topics page, open the globex.updates.public.orders topic, and verify that the topic contains 1 message.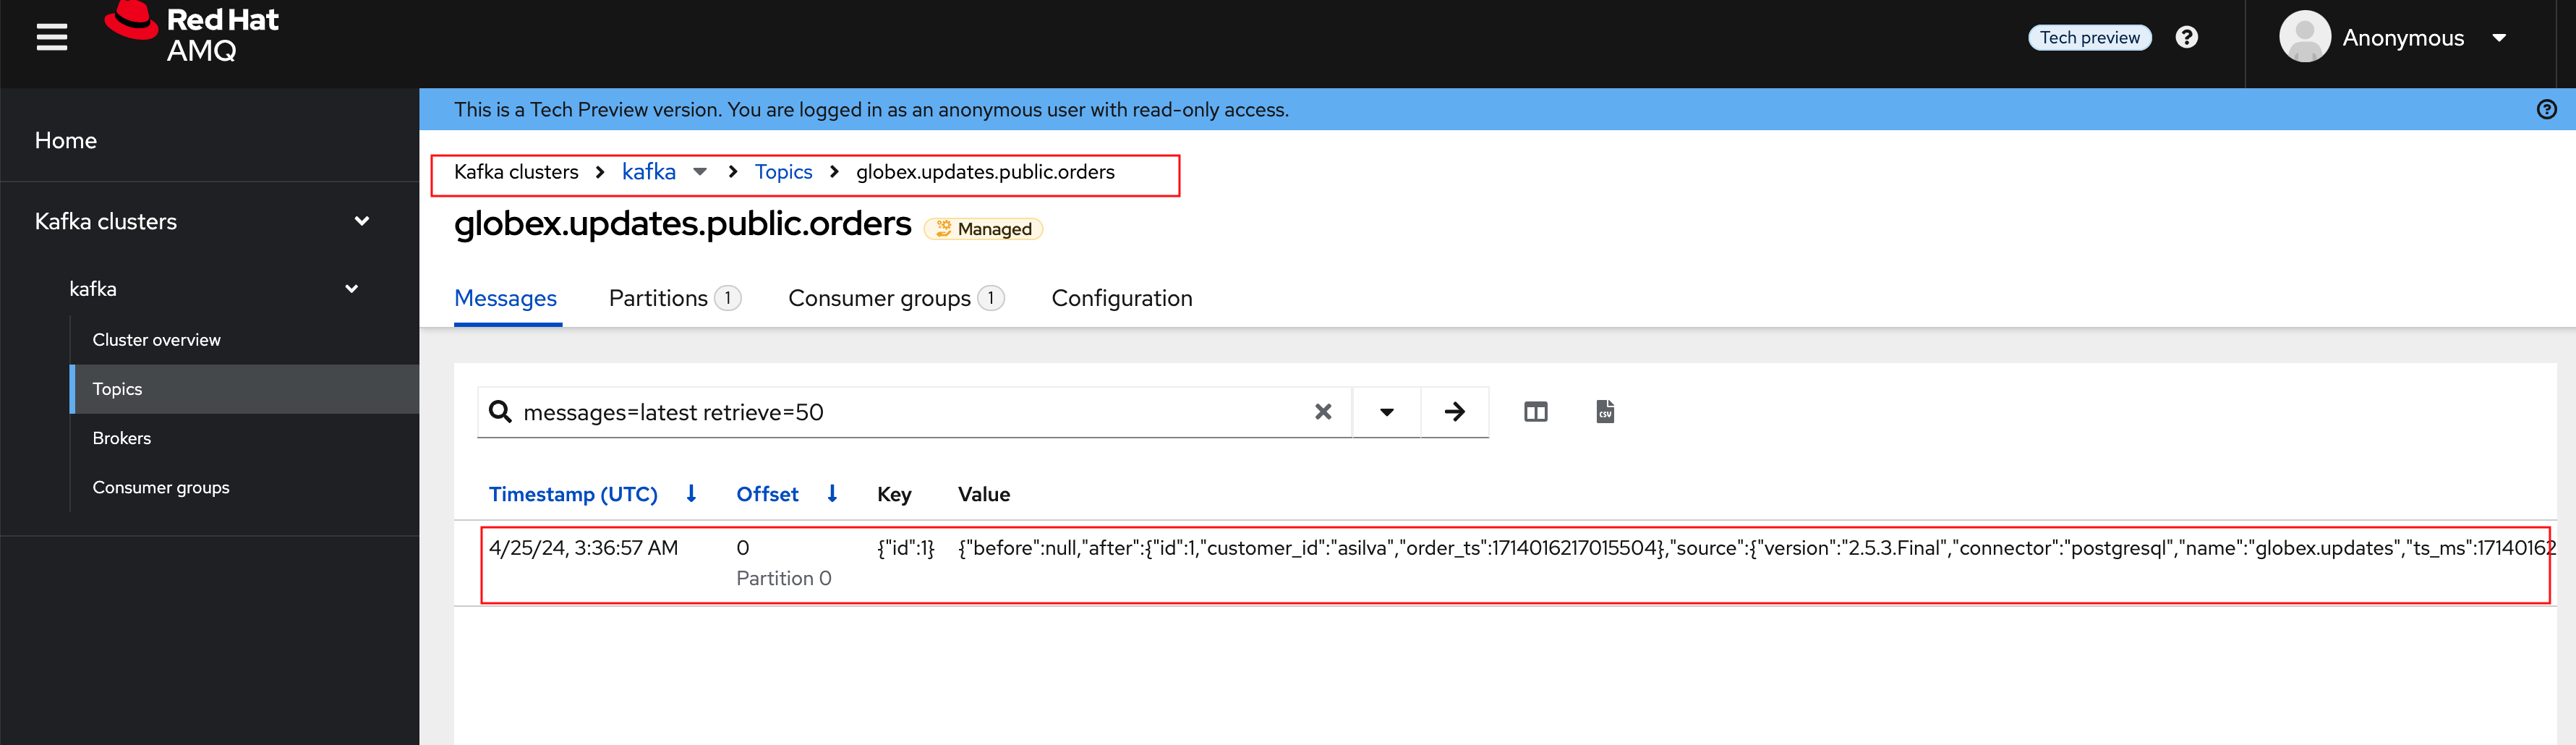
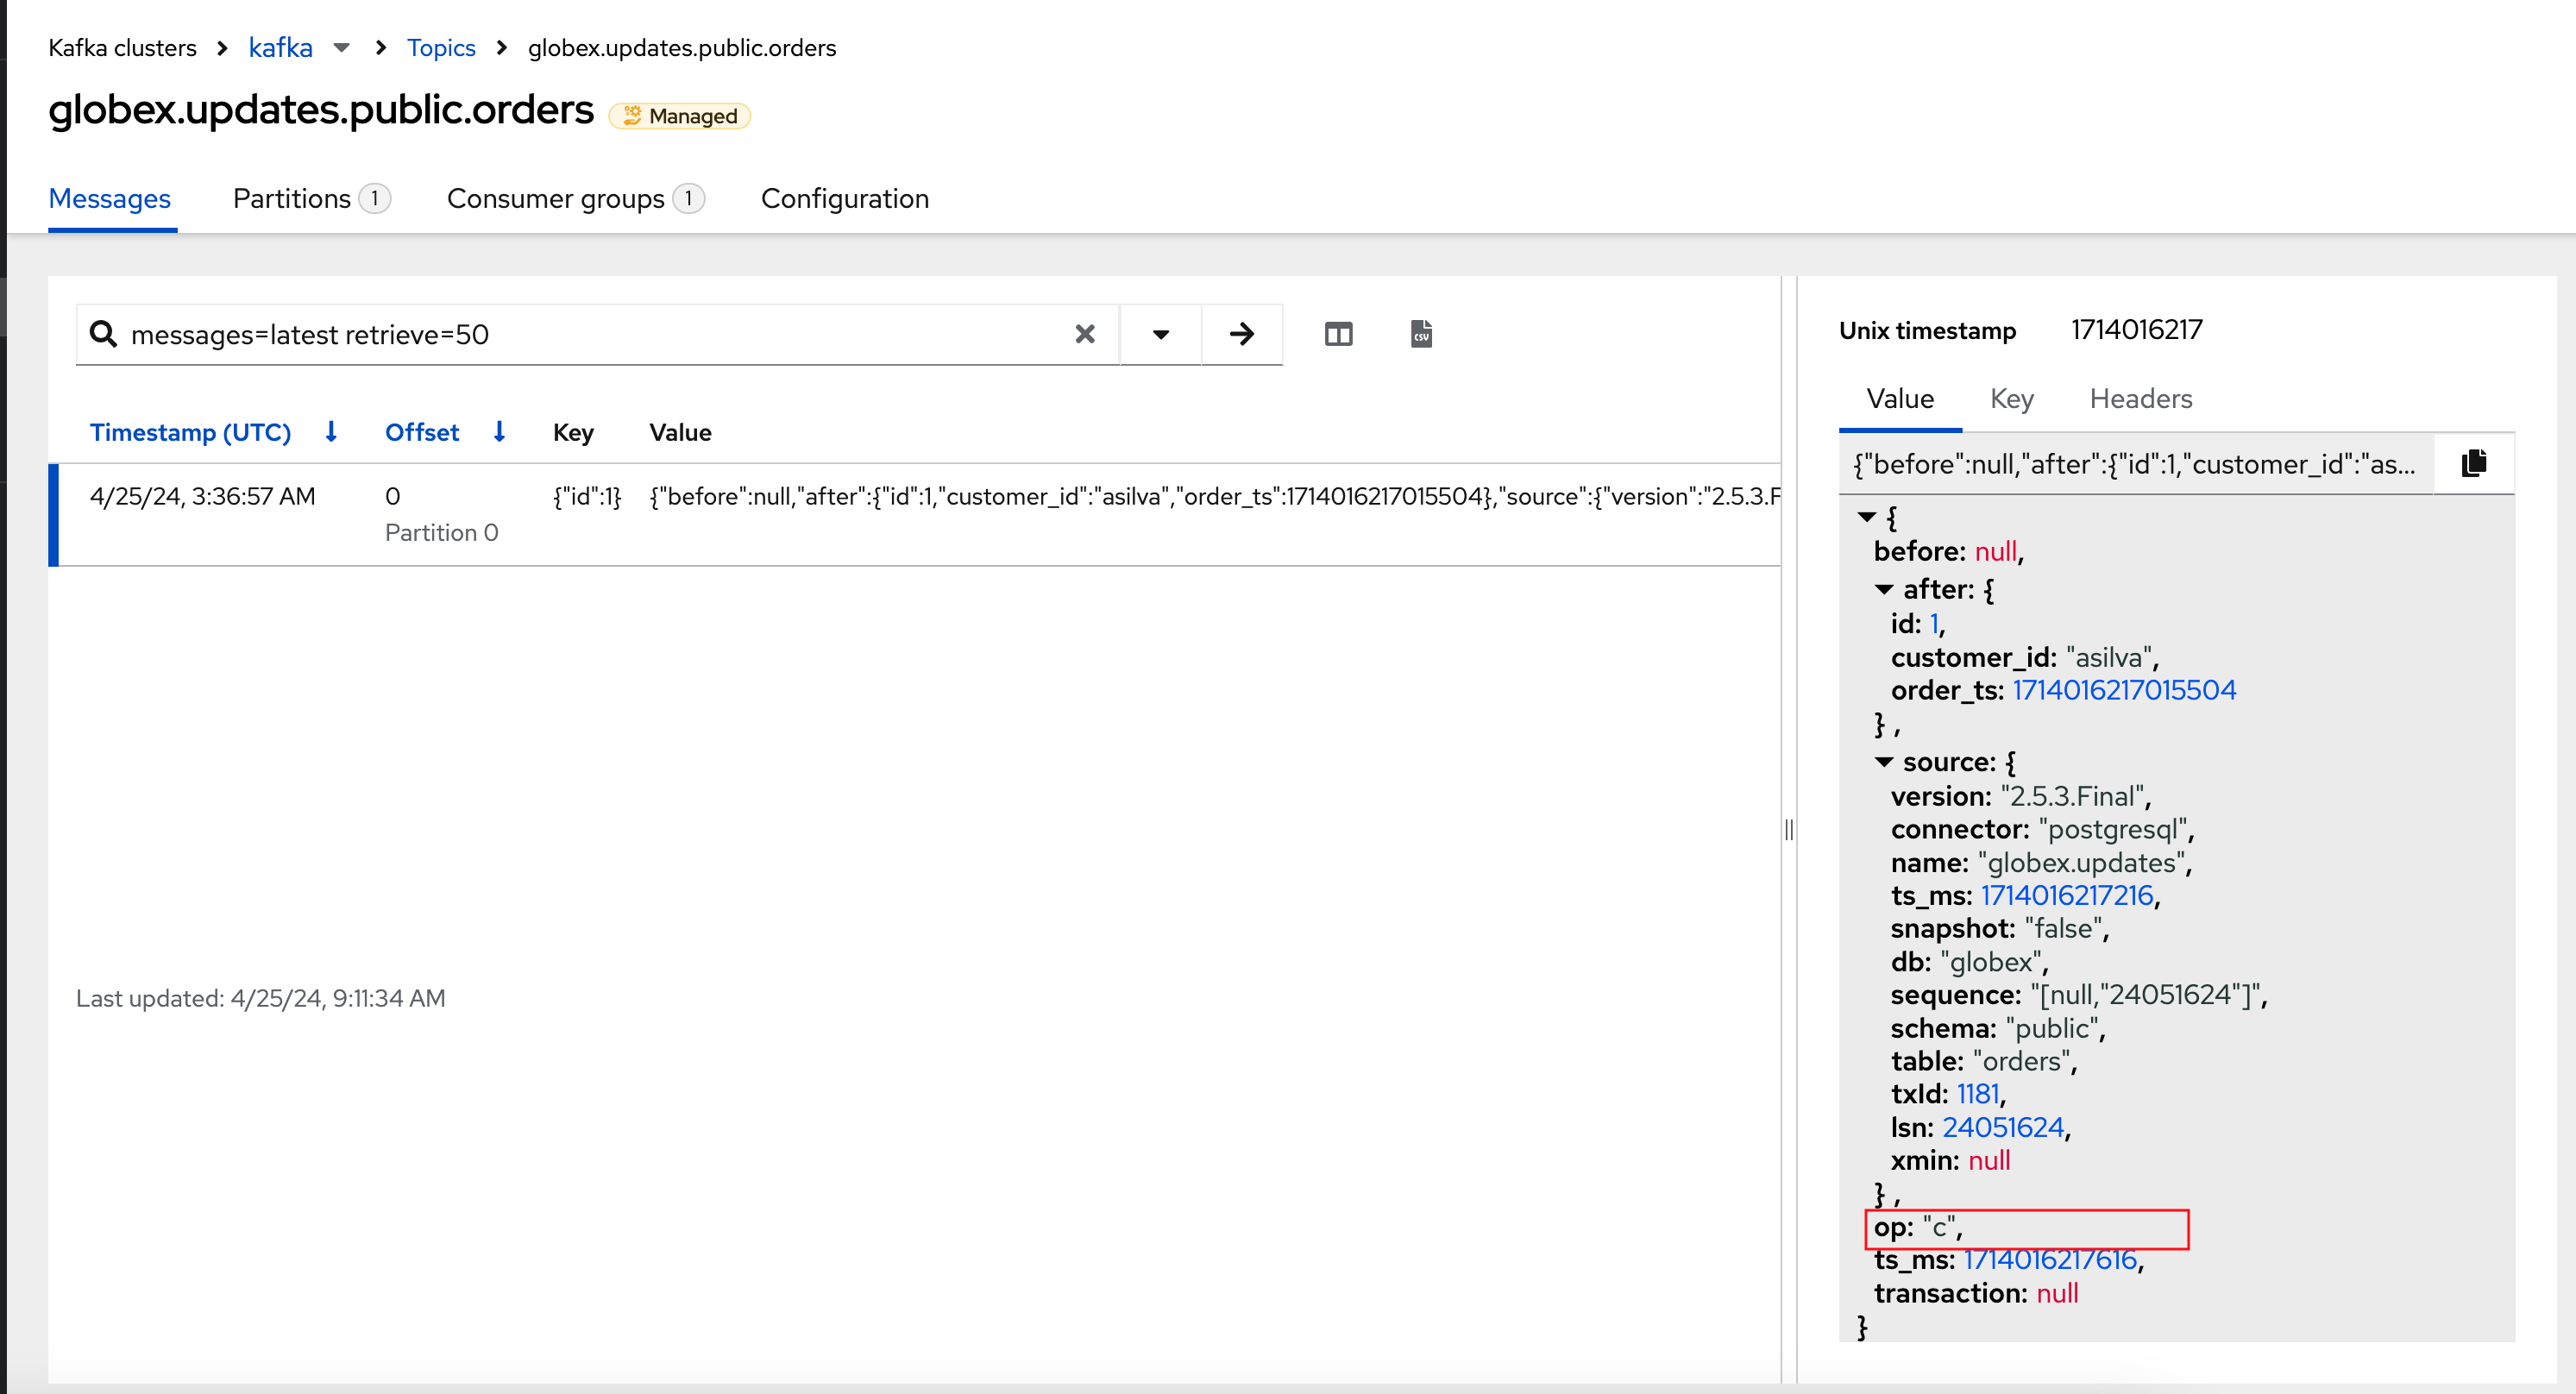
Expand the contents of the message. You should see a change event structure very similar to the ones for customers. Notice however that the operation is 'c', for create. This is expected as the change event corresponds to a new record in the order table.
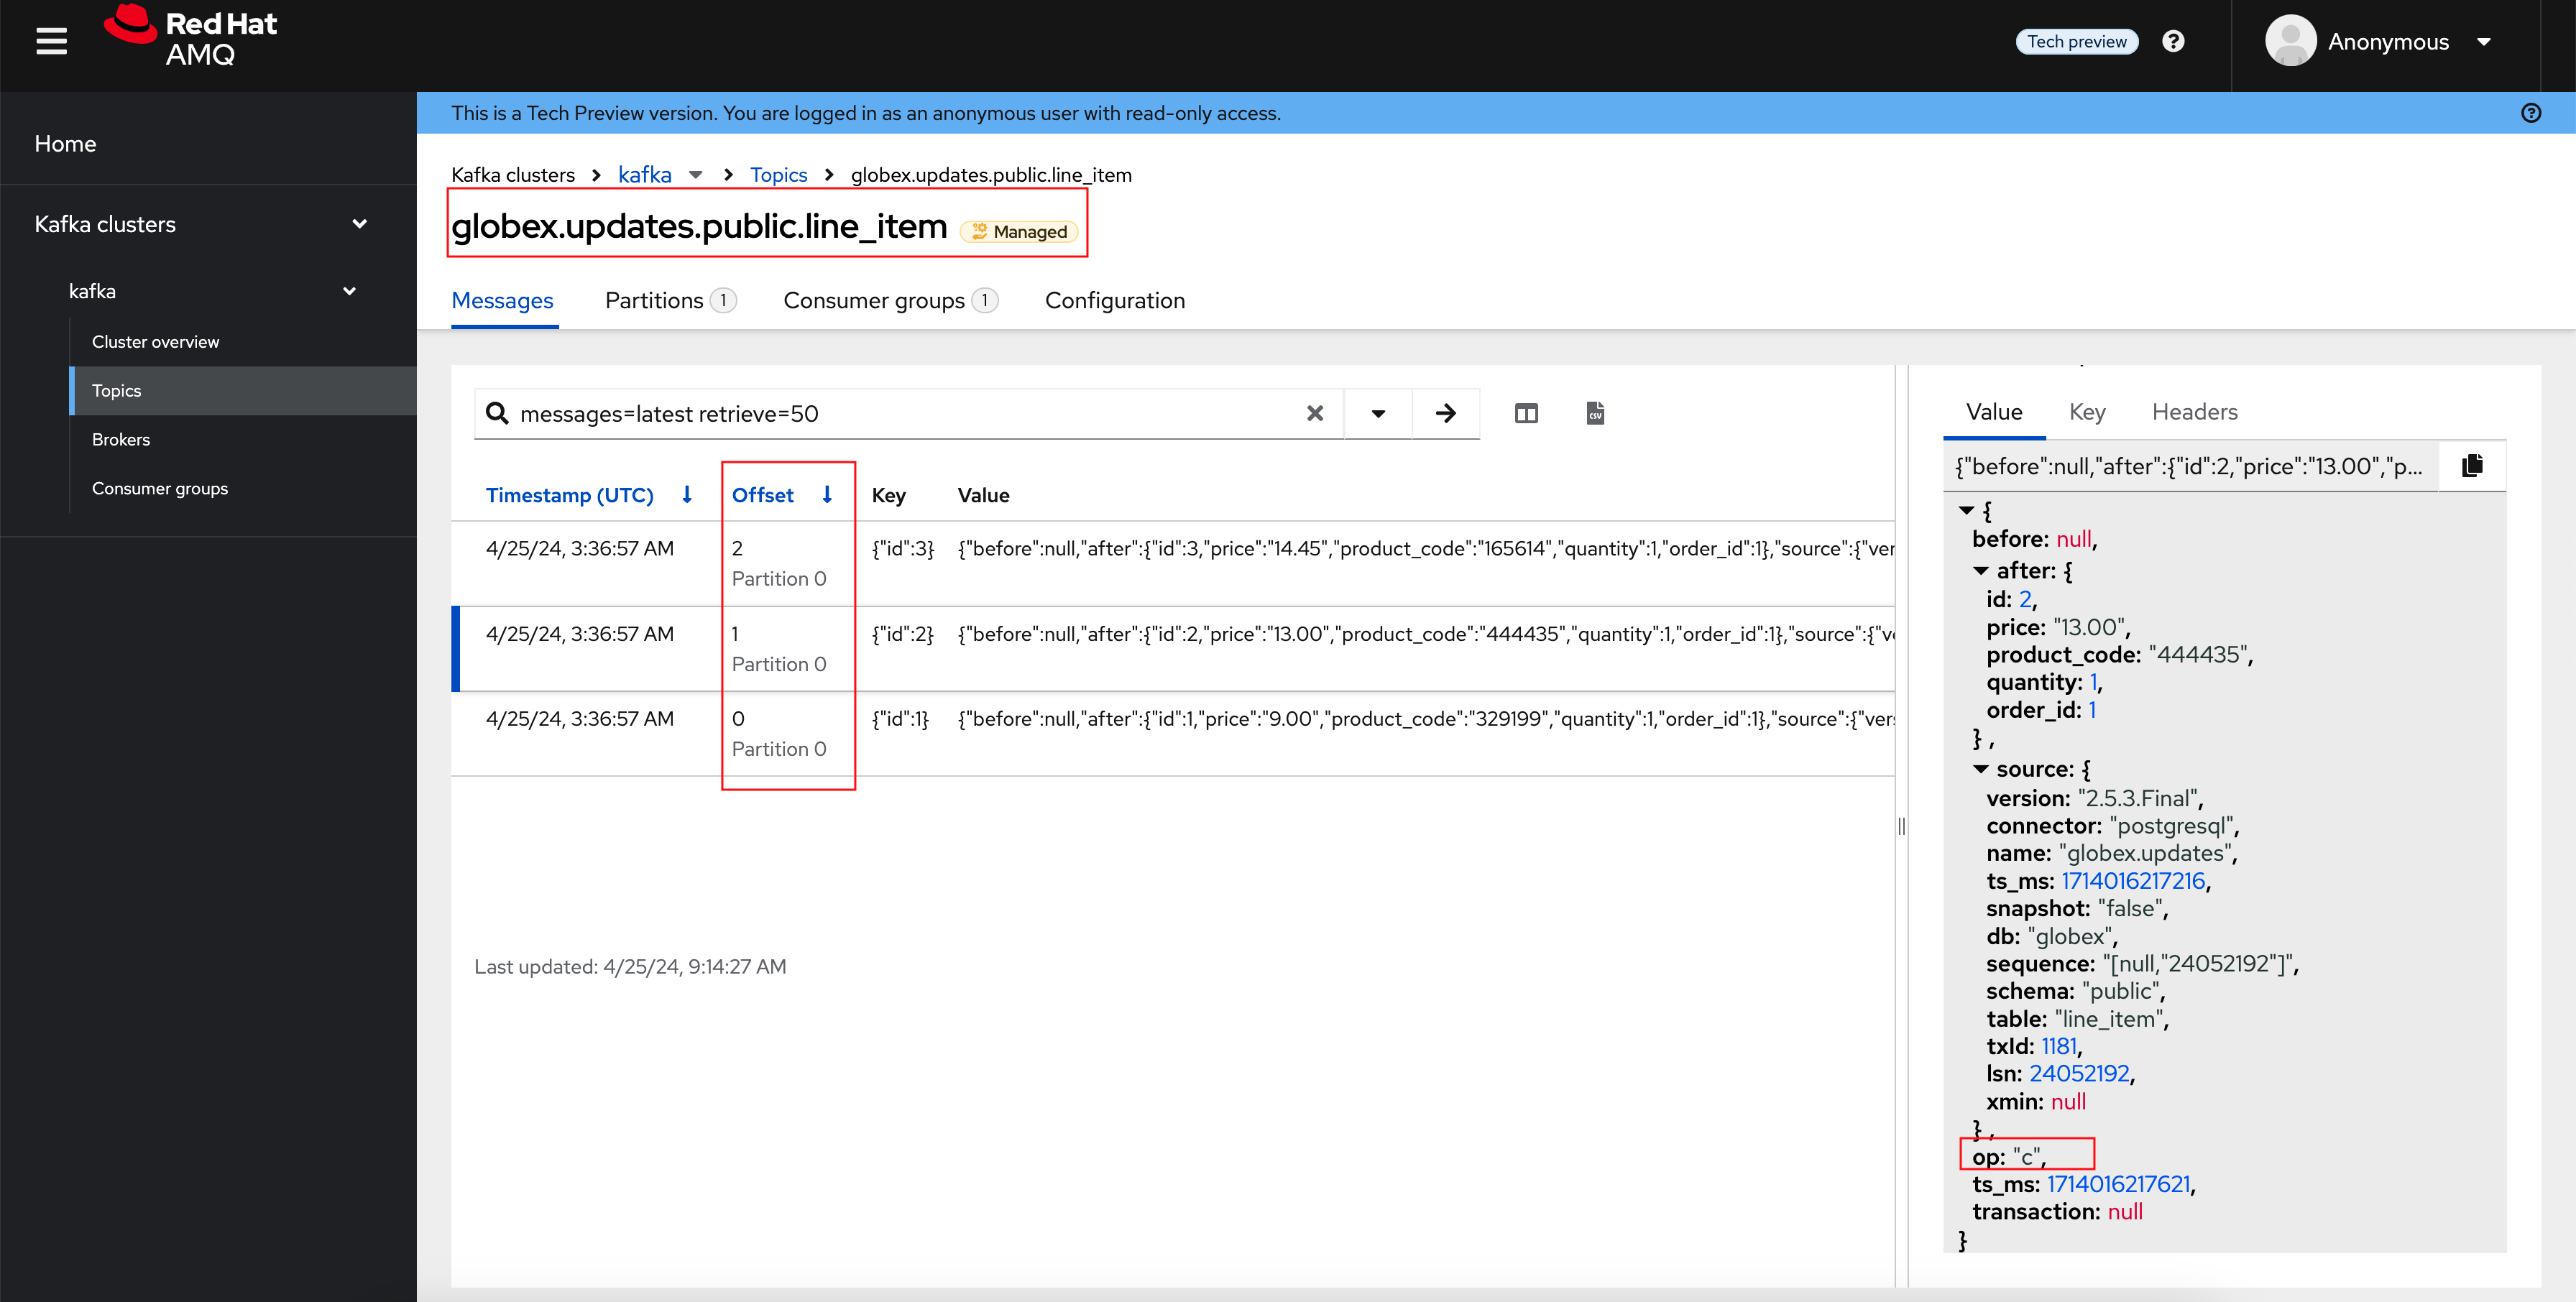
Go back to the streams for Apache Kafka Console topics page, and this time open the globex.updates.public.line_item topic. You should see one message per item in the order you created previously.
-
If you want to simulate a larger number of orders, you can use the Order simulator application deployed in the globex-{user_name} namespace on OpenShift.
-
In the browser window, open the tab pointing to the OpenShift console. If you don’t have a tab open to the console, click navigate to {openshift_cluster_console}[OpenShift console, window="console"]. If needed login with your username and password ({user_name}/{user_password}).
-
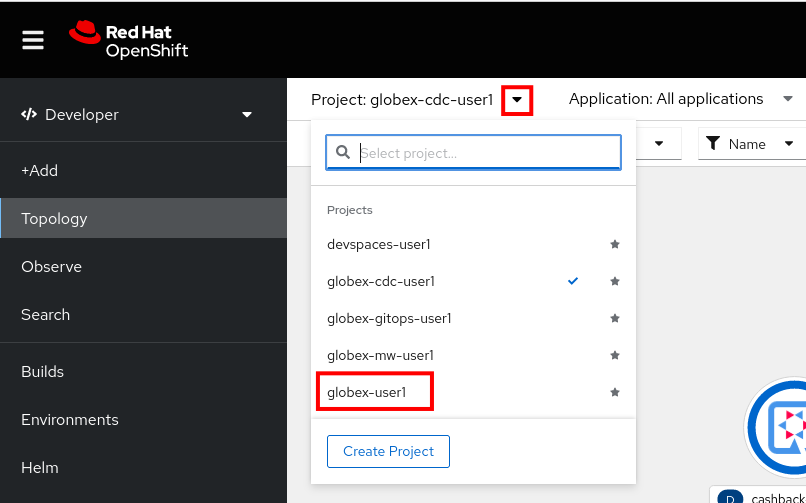
Select the Topology view in the Developer perspective. If needed, switch to the globex-{user_name} namespace by selecting the namespace from the namespace selection drop-down menu in the top left.
-
In the Topology view, click on the
 symbol next to the order-simulator deployment.
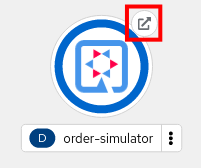
-
This opens a Swagger UI page showing the REST API of the simulator.
Click on the POST link, and then on the Try it out link on the right. From the Examples drop down, select random customers to create orders for random customers. Feel free to change the numbers of orders you want to simulate (the default is 50).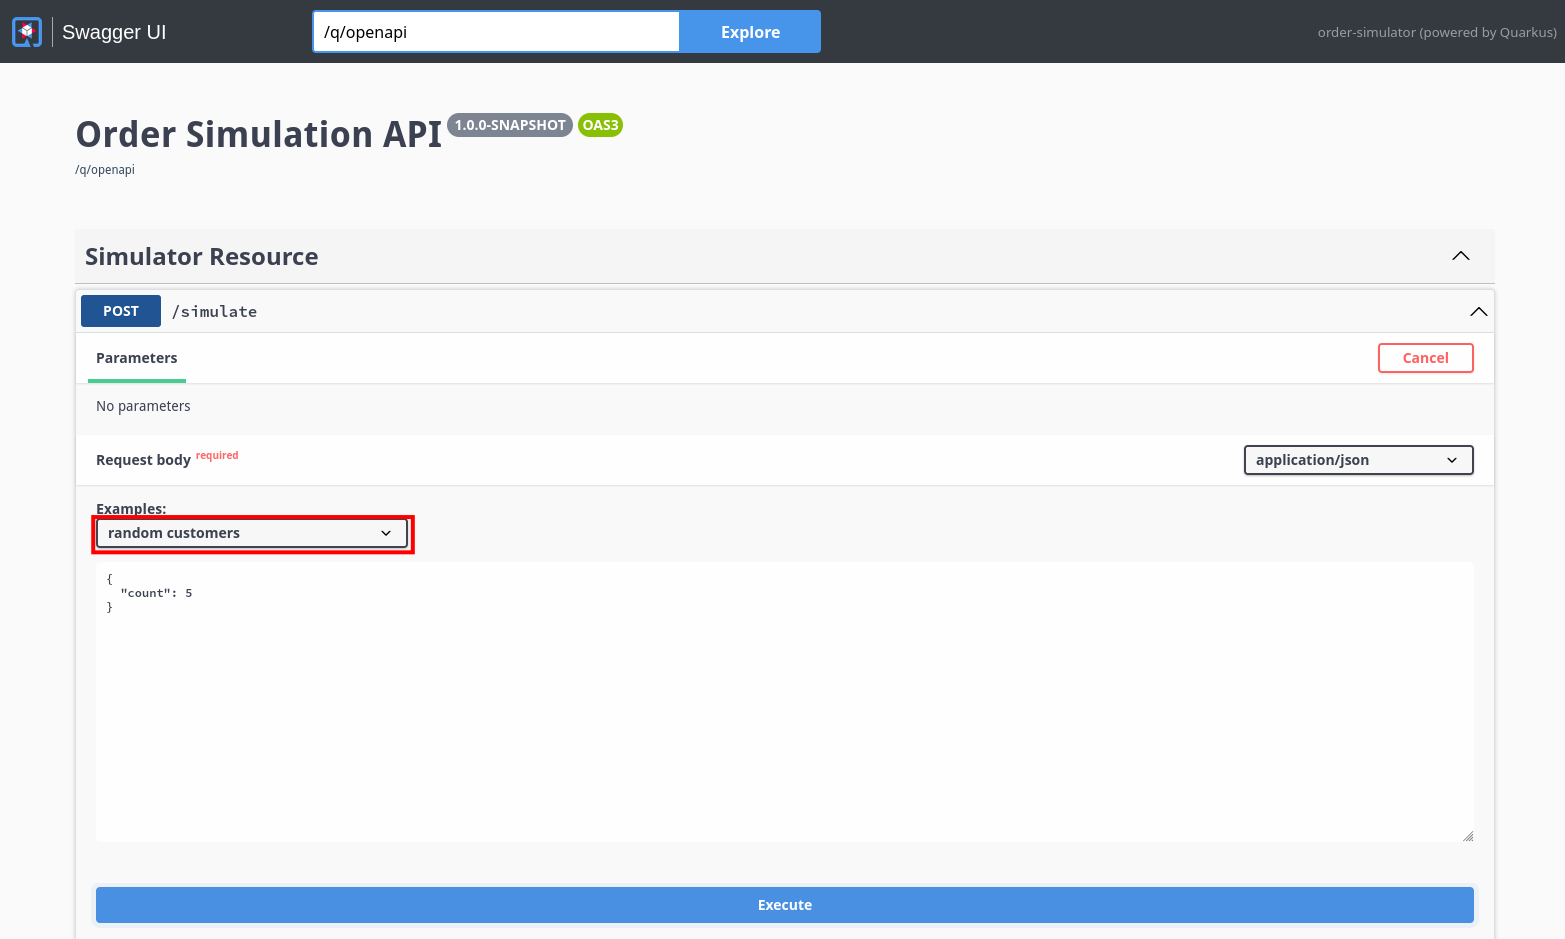
-
Click Execute to execute the REST call to the simulator.
-
Check in streams for Apache Kafka console that new messages are produced to the globex.updates.public.orders and globex.updates.public.line_item topics.
-